After sorting out with the manufacturer that the lead screws are in fact imperial, not metric, everything makes a lot more sense. I had been wondering whether they were, but for some reason even trying it with the imperial settings didn’t produce sane results. As often happens with debugging, coming at the problem fresh the next day made a big difference. It’s pretty hard to tell the difference between 5.08mm and 5mm pitch if you don’t pick just the right number of threads to count.
I also received the replacement X ball nut holder, so I tore the machine back down and installed it last night. I think it makes a big difference, as I don’t hear the same slight binding noise I was hearing on X. It’s still not “dead nuts” on when I command the table to move, but it’s close. Once I get further into it I may try to do either screw compensation (aka screw mapping) or see if there’s a slightly more precise scaling factor that matches the actual screw pitch. For now, it’s “pretty good” and within a couple of thou most of the time it seems.
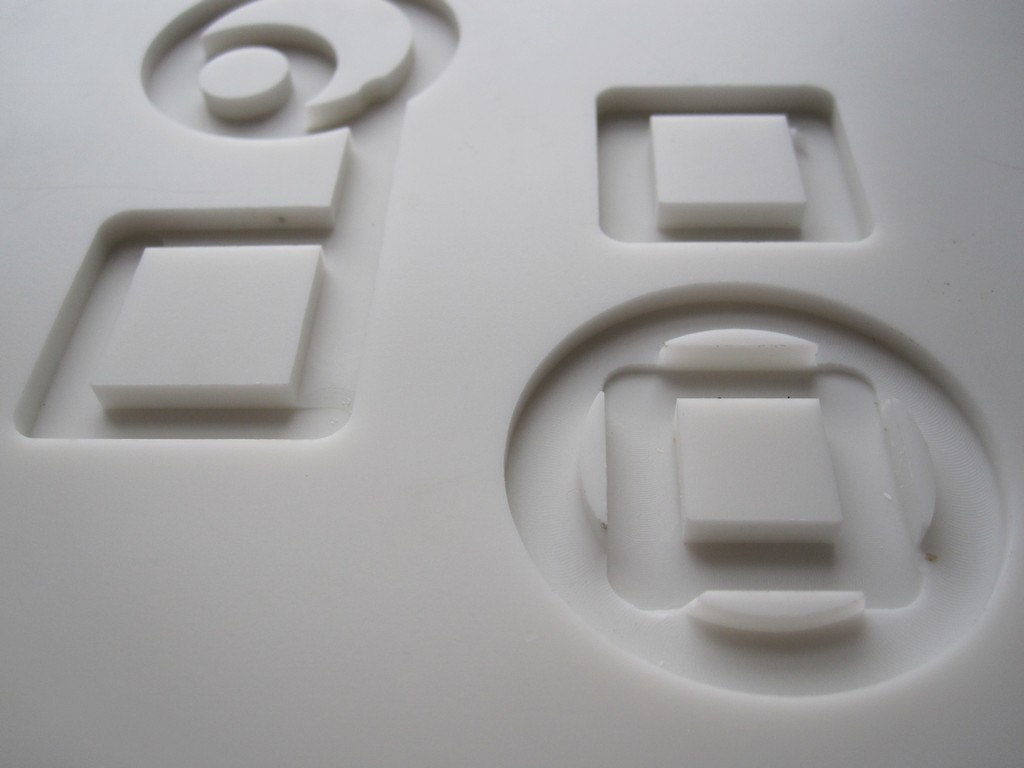
Last night was the first chance I had to sit down and start to learn some G-Code and do some experimental machining. I did some simple coordinated linear and arc moves of known dimensions and measured the workpieces. MUCH better looking – still not 100% perfect, but it’s approaching being within the tolerances of the machine now. I was also able to get backlash compensation working in software, and it seems to make my circular cuts much more round! Good news indeed.
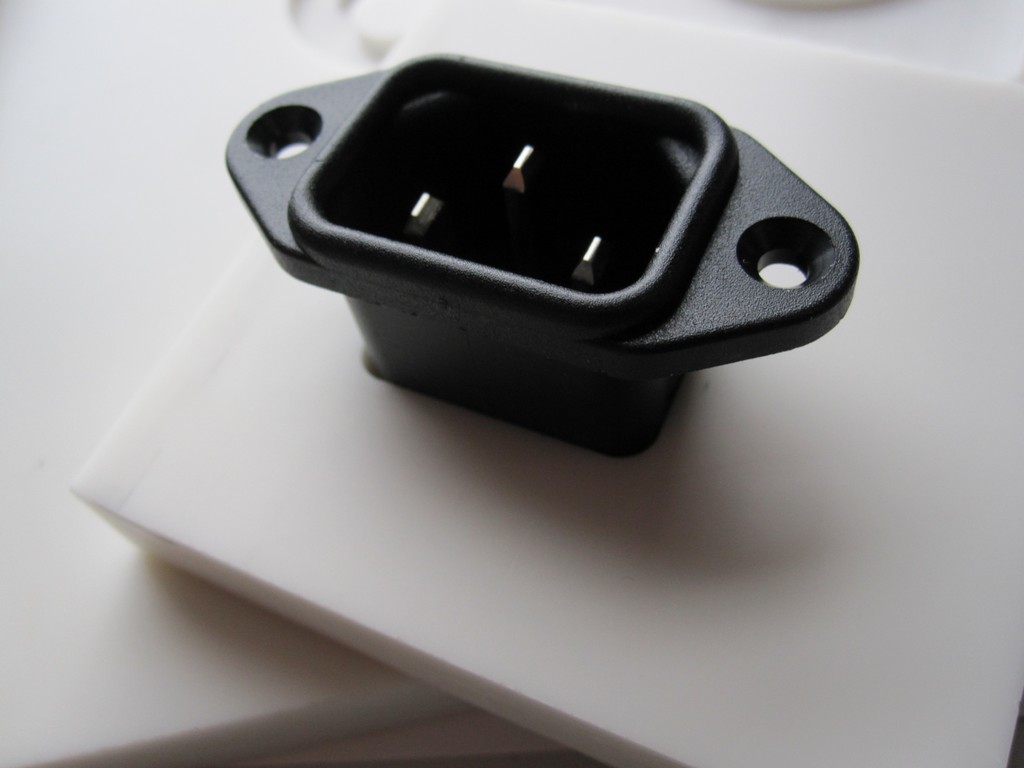
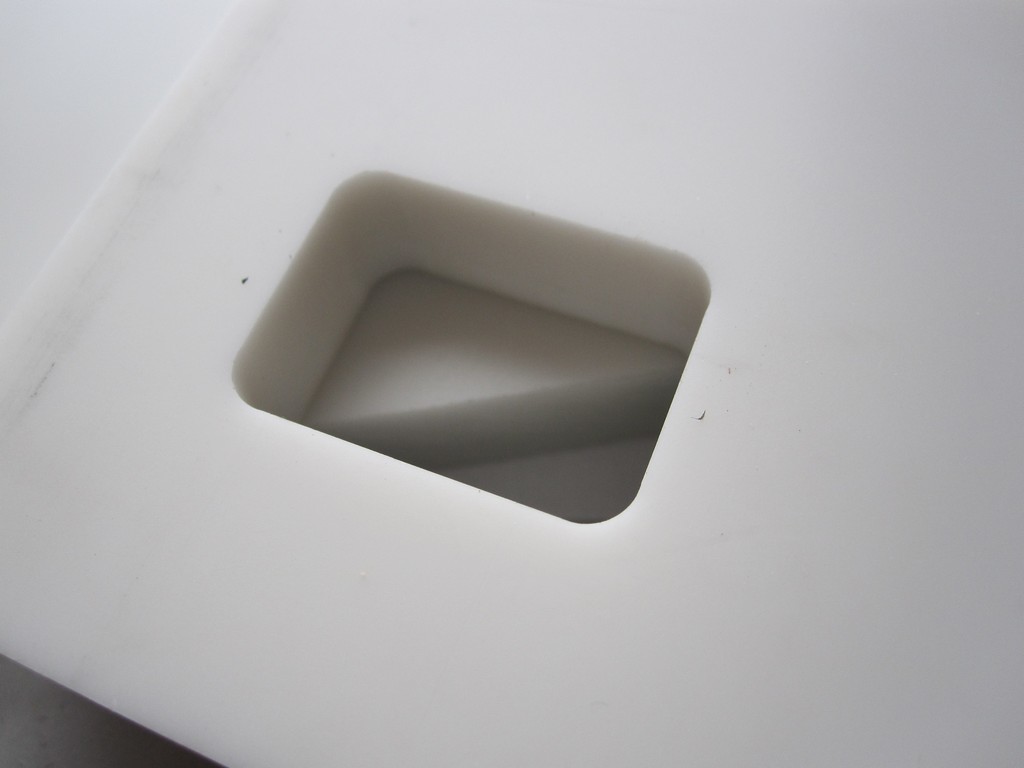
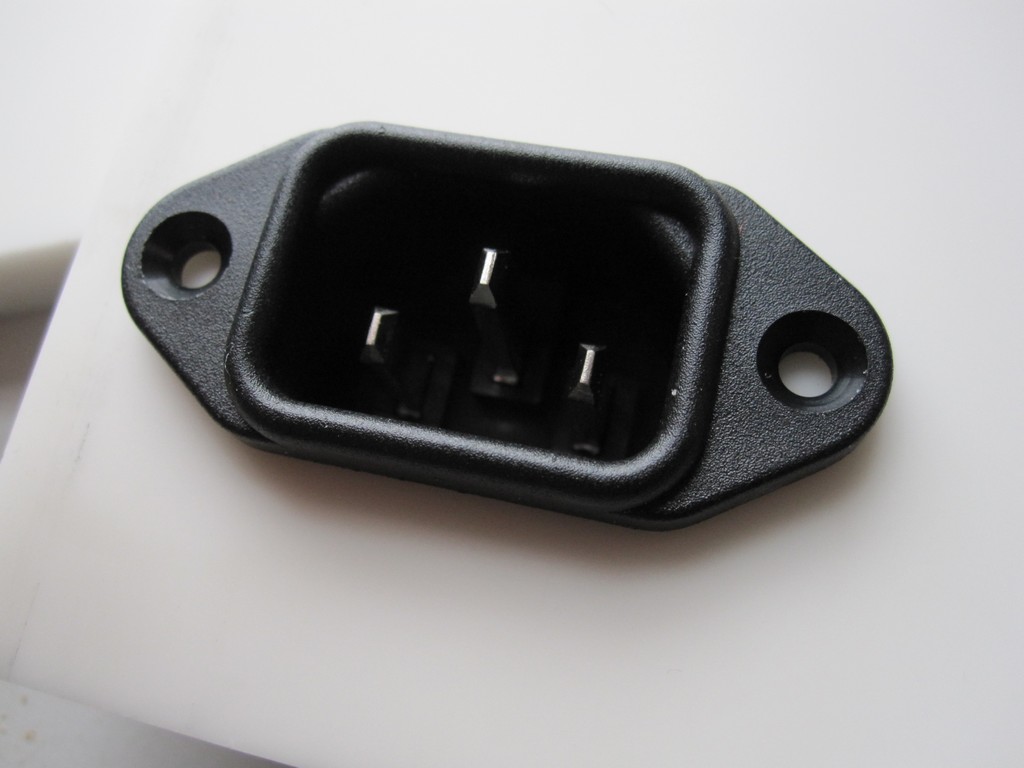
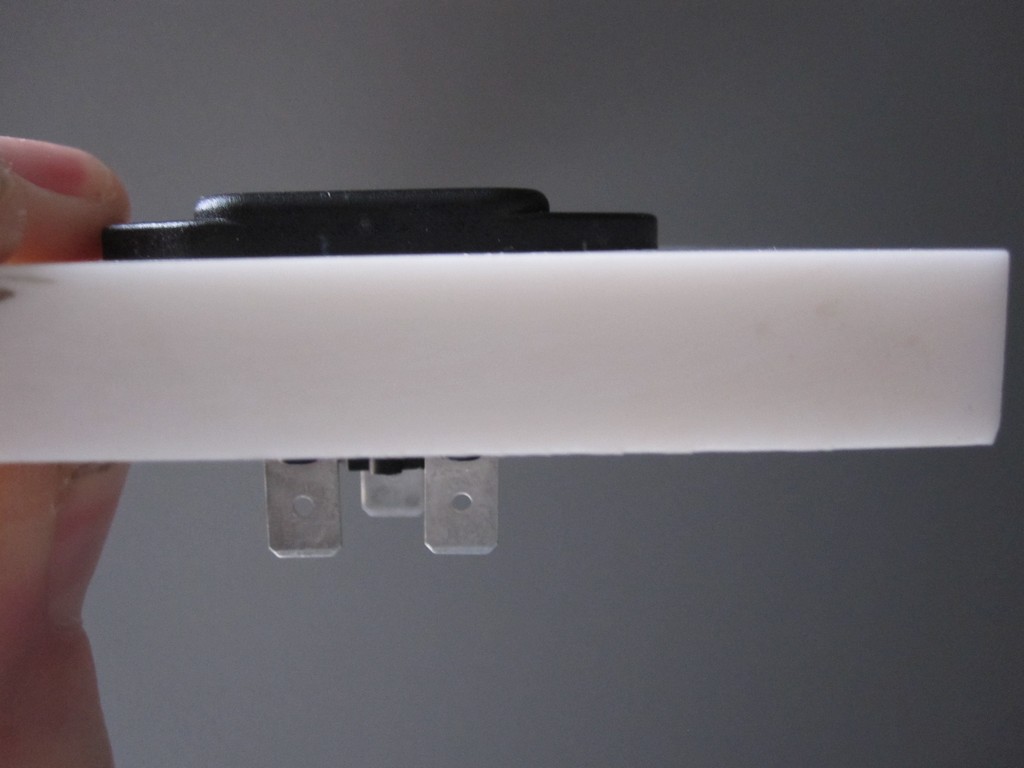
I did a final test measuring an IEC power inlet, adding a few thou of clearance, and machining a hole in a chunk of corian. Once I worked out proper feed rates and approached the cut as 3 passes, I ended up with a hole within a thou or two, and the power inlet fit right in. Very basic stuff, but WHAT a revelation after doing this sort of thing with drills and files for my whole life. I am starting to get a ton of ideas for things to try – this is going to bring my homebrew stuff to a whole new level!


Wow, man! That looks incredible!