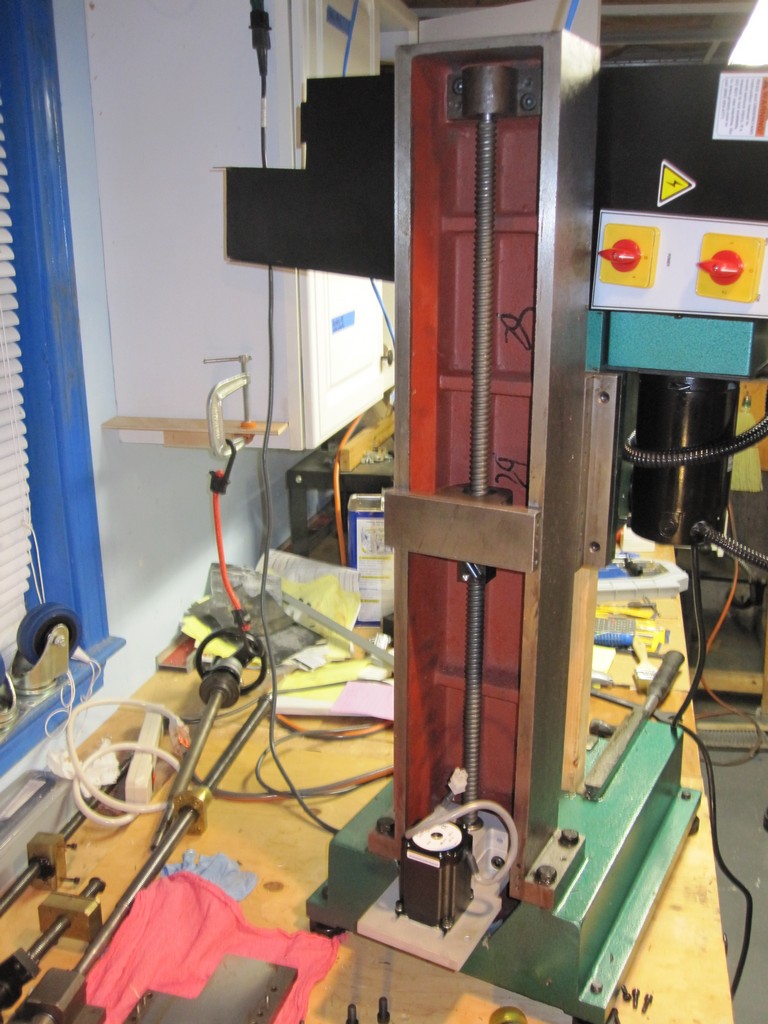
Last night I finally was able to start the process of tearing down my milling machine and rebuilding it with the parts from the CNC kit. I was able to complete the teardown and get all of the Z axis work done last night, with only one mishap. In what is probably a very common first-timer mistake, I managed to spill out many of the ball bearings from the ball nut as I was transferring it onto the ball screw. Unfortunately I was being a little reckless and wasn’t doing it as carefully as I should have been, over a bench. So, a 15-minute search on my basement floor for loose bearings ensued. I think I found them all, and I got a good lesson (after several tries) on how to take the ball nuts apart and re-load them. This is a recommended maintenance step, so it is not a wasted learning experience. The rest of the Z axis went together without much difficulty at all.
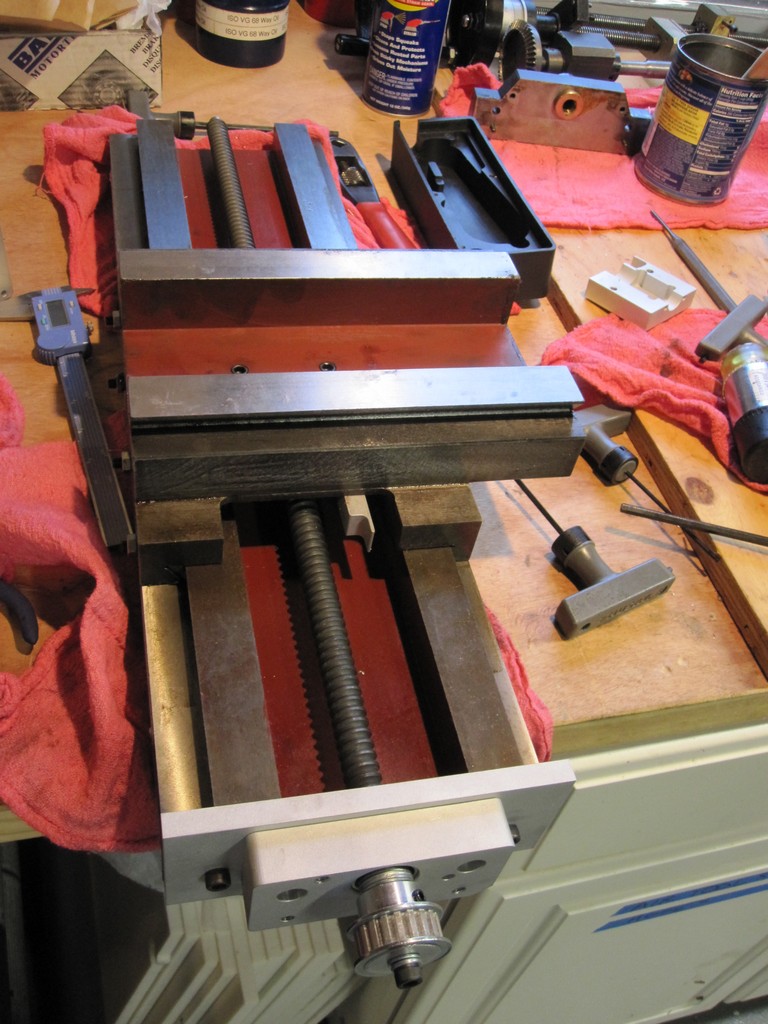
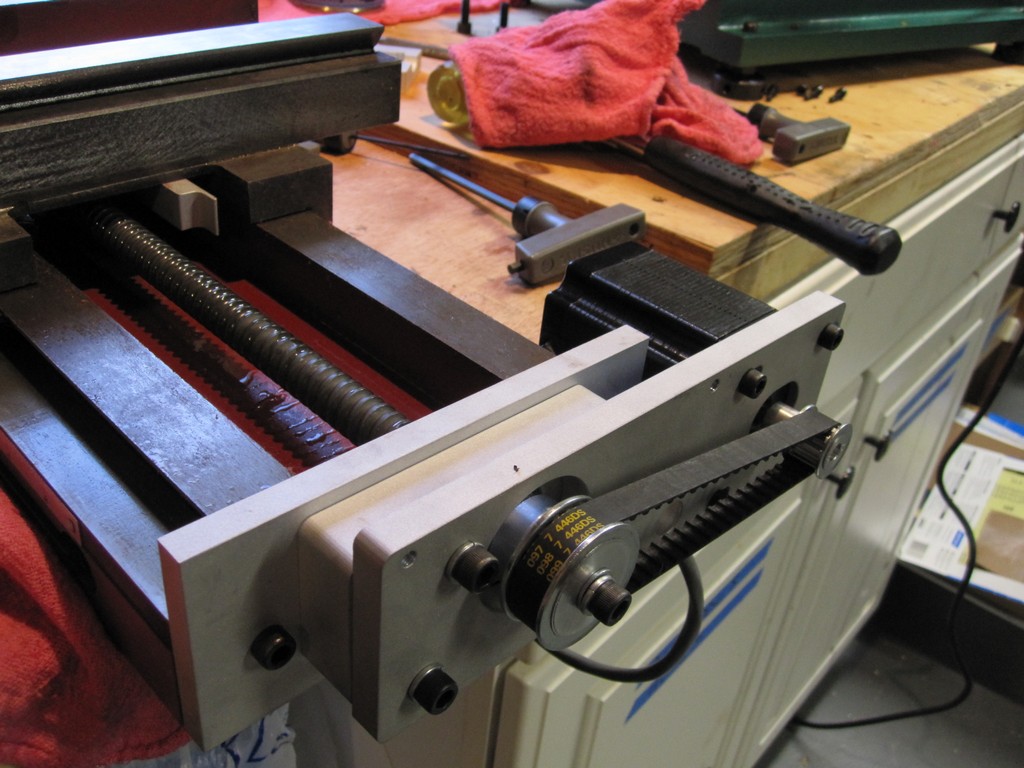
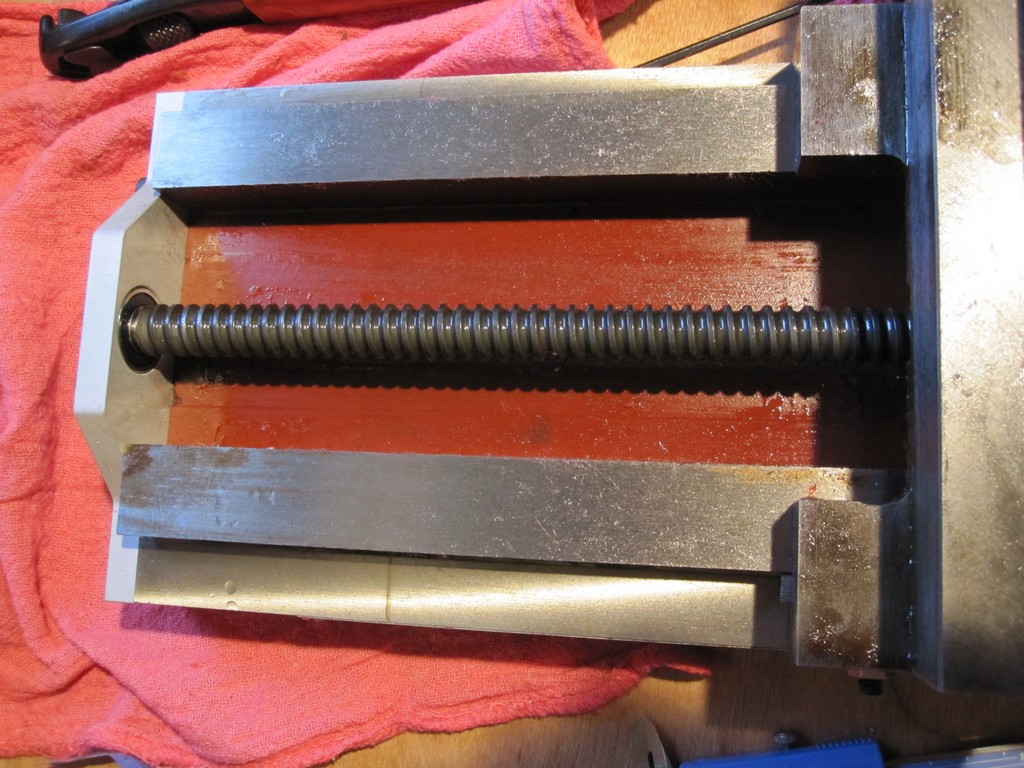
Once I finished the Z, I moved on to building out the X axis. Unfortunately I immediately ran into trouble. It seems one of the components from my kit has a small manufacturing error, and the ball nut will not seat properly into its holder because of an under-sized pocket. I’m currently in touch with the manufacturer, and I’m sure they’ll take care of me. It’s something I could fix myself if they gave me some proper dimensions, and most importantly, my milling machine wasn’t in pieces. Sigh.


Heh heh heh he said …. z axis… heh heh heh