[singlepic id=123 w=360]
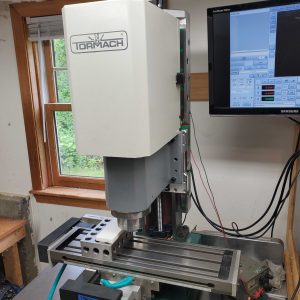
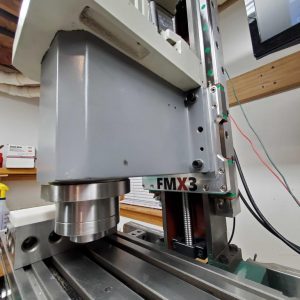
I’ve been working for the last week or so on a mount to hold an auxiliary high speed spindle on my mill. I chose a Proxxon Micromot 50/EF tool, which is a fairly slim 12V handheld rotary tool (think Dremel). I wanted something powerful enough to do high speed engraving, but probably not a lot more. The tool spins at 20,000 RPM unloaded, which is literally 10X faster than what my X3 mill spindle spins at. The general rule with cutting tools is that you need higher RPMs when the tool diameter shrinks, and the engraving cutters are ridiculously small.
I wanted to use the opportunity to try out some new techniques and make the part “the right way.” I knew I wanted to try making a fixture for the part, and I wanted to pay extra attention to speeds and feeds and shoot for a nice finish on the part. It took one attempt with taking cuts that were too aggressive to dial back and fine tune the feed and depth-of-cut (DOC). The second attempt turned out much better, and I attained a nearly mirror finish on the vertical surfaces, along with a much happier sounding tool. I used a mix of MDI (manual commanding of the machine, e.g. ‘go to X=1.0 Y=0.175’), manual drilling with the quill, a facing wizard program to face off the aluminum stock, and CAD/CAM to design and generate G-Code for the bracket.
I put together a video that shows many of the steps of the process for making the part, with a quick bit at the end showing the high speed spindle doing some engraving.
I still need to drill and tap for the clamp screw, but the fit was tight enough to run the engraving without it.
[youtube tFepQLxqtsI]
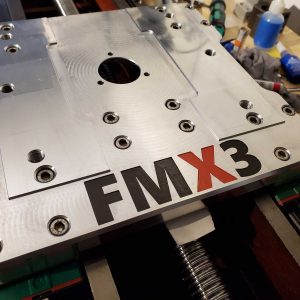
Here are several photos of the process, too.
[nggallery id=17]

Is possible you send the CAD file which you used to do the proxxon mount? the final result was amazing