[singlepic id=276 w=320 h=240 float=left]I’ve had my uncle’s broken Ampeg SVT-4 Pro sitting down in my electronics lab for a couple of years now. The story was that the amplifier failed before a gig, with output being practically nil, but just barely audible. Not long after it stopped working, we tried a few simple things to fix it to no avail, so he left it with me. My usual queue of projects and general distractability meant that it sat around for a long time before getting around to taking a look at it.
I removed the cover of the unit and performed a thorough visual inspection. Nothing looked obviously burnt, charred, or otherwise amiss. I decided to write to Ampeg to try to get some schematics and repair info, and started to move the amp back to its resting spot on a shelf to get it out of the way while I waited for a response. As I picked up the amp, I heard something rattling around which piqued my curiosity. After a challenging game of ball-in-maze, out popped not only one, but two small aluminum heatsinks.
[singlepic id=271 w=320 h=240 float=right]A closer visual inspection of the board revealed two packages that were missing their clip-on heatsinks. The designers deserve a tongue lashing for choosing cheap clip-on heatsinks and not adhering them with thermal epoxy or RTV. For a product that is meant to be carried around between gigs, subjected to vibrations from travel and use (parked on top of a loud bass cabinet), this choice is pretty inexcusable.
Since I dislodged the heatsinks from under the PC boards, it seemed to be a good theory that one or both of them caused a short circuit. I dove into further disassembly of the unit, disconnecting all of the transformer connections and inter-board wiring connectors. A handful of screws holds the PCB to the chassis, and once removed the large PCB/heatsink/fan assembly pops right out.
[singlepic id=277 w=240 float=left]Once out, I immediately spotted a smoke spot on the bottom metal plate of the chassis, with a “shadow” shaped just like the profile of the heatsink. Bingo. It didn’t take long to find the matching spot on the PCB where the heatsink must have shorted it out, with some rather gnarly looking melted solder points across a capacitor.
With the cause of failure pretty well identified, now the tricky part remains: figuring out what has failed on the board. My first plan of attack was checking out the P-channel MOSFETs which were adjacent to (and connected to) the point of arcing. The amp uses a boatload of IRFP9240 P-channel and IRFP240 N-channel MOSFETs. My initial tests show that the P-channel FETs seem to be fine, though I only tested the directly impacted one out-of-circuit. The rest of them were quickly tested in-circuit, so the results may not be 100% reliable.
Next up is testing the P-channels MOSFETs, and hopefully once I’ve obtained schematics from Ampeg, I can find some more likely targets to investigate on the board.
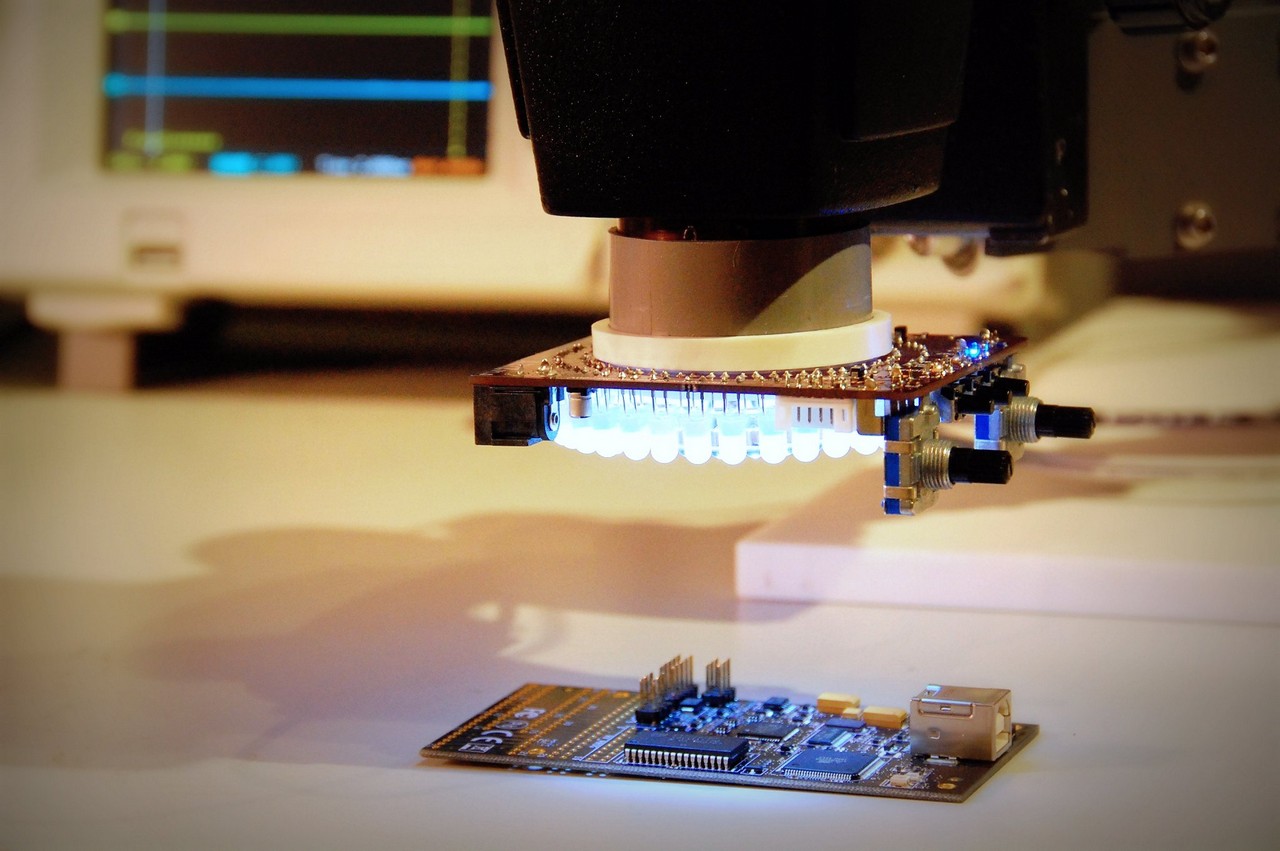
[nggallery id=31]


Where do the clips belong? I would like to check mine
I have downloaded schematics for this amp directly from the web, and printed them. (MANY pages, however) I know someone else who has had similar failure of this amp… overheats, and loses power.
Hi I have a similar problem with the amplifier, the input just mutes. can you help me getting with the circuit diagram of the amp. the ones that are available have valves on the output stage.the diagram that i need has mosfts on the output stage
I’m working on my friend’s SVT-4 and I just took off the front panel last night with time only to desolder the input jack (the supposed problem) but found nothing visually wrong with it or any adjacent components on the board. I will continue troubleshooting and would very much appreciate any advice you may have and the schematics as well if you don’t mind emailing them to me when Ampeg sends them.
Much appreciated in advance,
-Evan
Hi I had the similar problem with my amp and finally figured what the problem could be. Its a faulty power transformer.Initially when the amp starts up all works well. but as it warms up the transformer too heats up and there is a brake down with the lamination in the primary of the transformer.Hence the change in voltages only after the amp has heated up.These change in voltages triggers the saftey circuit which in turn mutes the amp. and the mute led switches on.