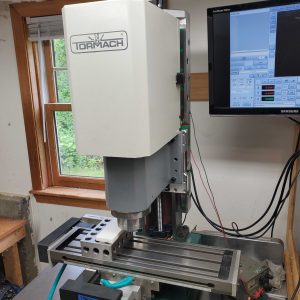
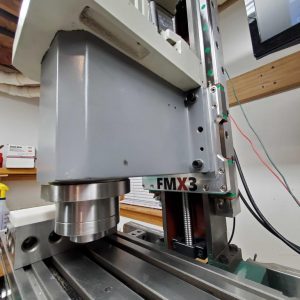
 I have been trying to come up with a good way to attach a rotary encoder to the spindle of my CNC milling machine, so I can have closed-loop control of the spindle speed. I found a potentially good spot in the gearbox where I could possibly mount an encoder, but I’d need to make a coupler.
When coupling two shafts together, it can be very difficult to get them absolutely concentric with one another. If you try to rigidly couple the two, and then rigidly mount both ends, you’re very likely to have binding and will put strain on the bearings that will most likely eventually damage the weakest part.
Several commercial solutions exist which help solve this problem. Oldham couplings, helical (aka ‘beam’) couplings, and others. One issue is that these tend to be pretty expensive. Another issue is that they tend to be suited for larger shafts, and generally are intended to transfer a fair amount of torque (e.g., a motor driving a lead screw). As I was falling asleep, I got to thinking about how I might be able to replicate a helical coupling with stuff I might have lying around the shop, when it occurred to me: why not use a small spring to couple the shafts together?
My application is near zero torque transfer since the encoder shaft is on bearings and spins very freely. This meant that I didn’t need to use a particularly large or robust spring. Conveniently, I have a large assortment of random springs that I purchased at one of the big box home improvement chains, and I picked out a couple of likely candidates and set to work throwing together a prototype.
In short, it shows a lot of promise. It was good lathe practice, to boot. I love coming up with an idea, and being able to prototype and test it over my morning coffee! Here’s a short video showing the construction and testing.
[youtube EL5PwN8wQgI]
