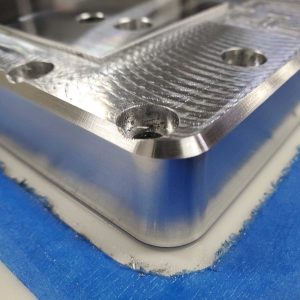
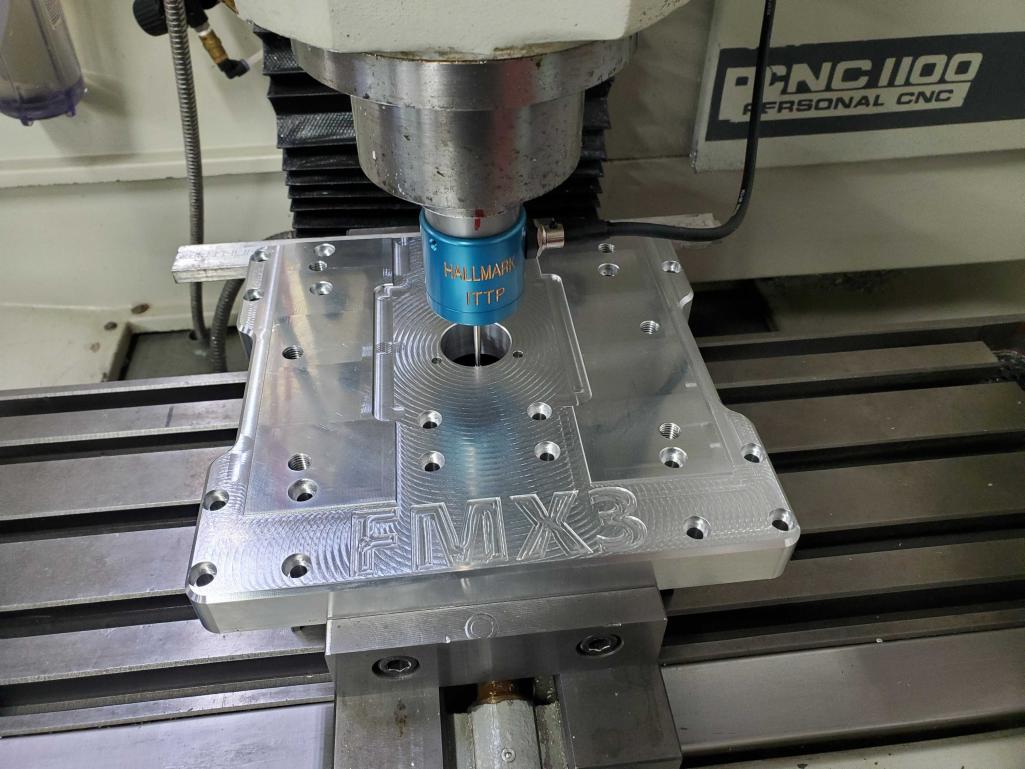
Had some productive time in the shop during the holiday. First step was to make the counterbores for the M6 cap screws a bit deeper. Easy to hold the workpiece in the vise with the jaws flipped to the outside. The touch probe is fairly new and I’m still enjoying the pure luxury of using it.
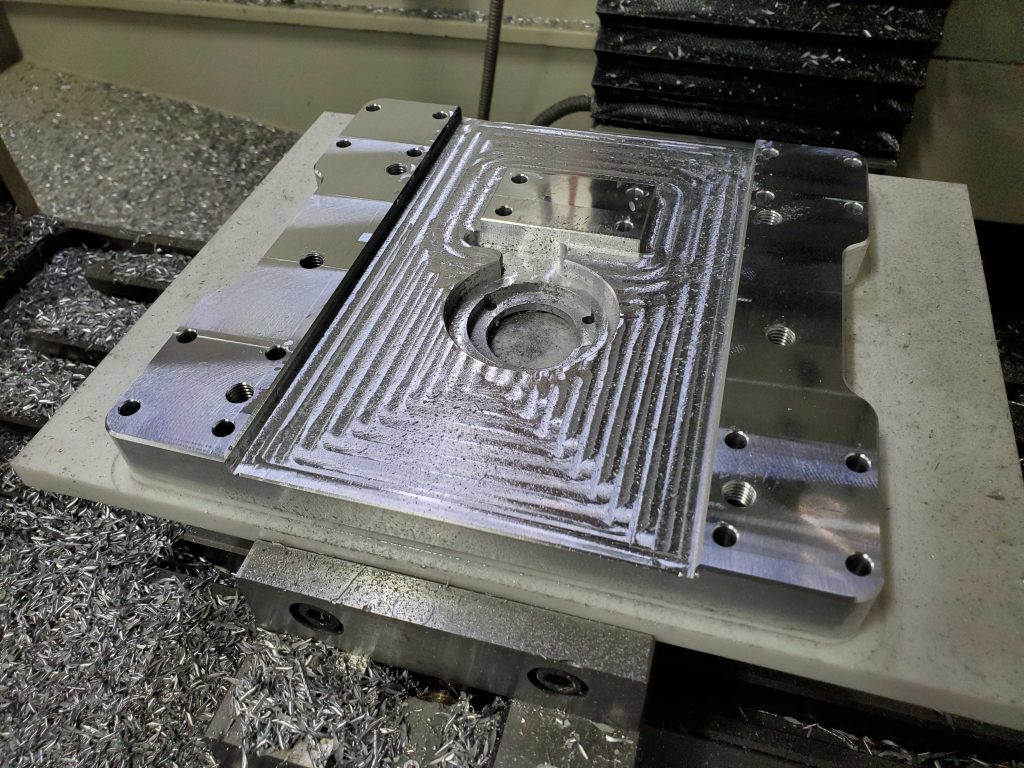
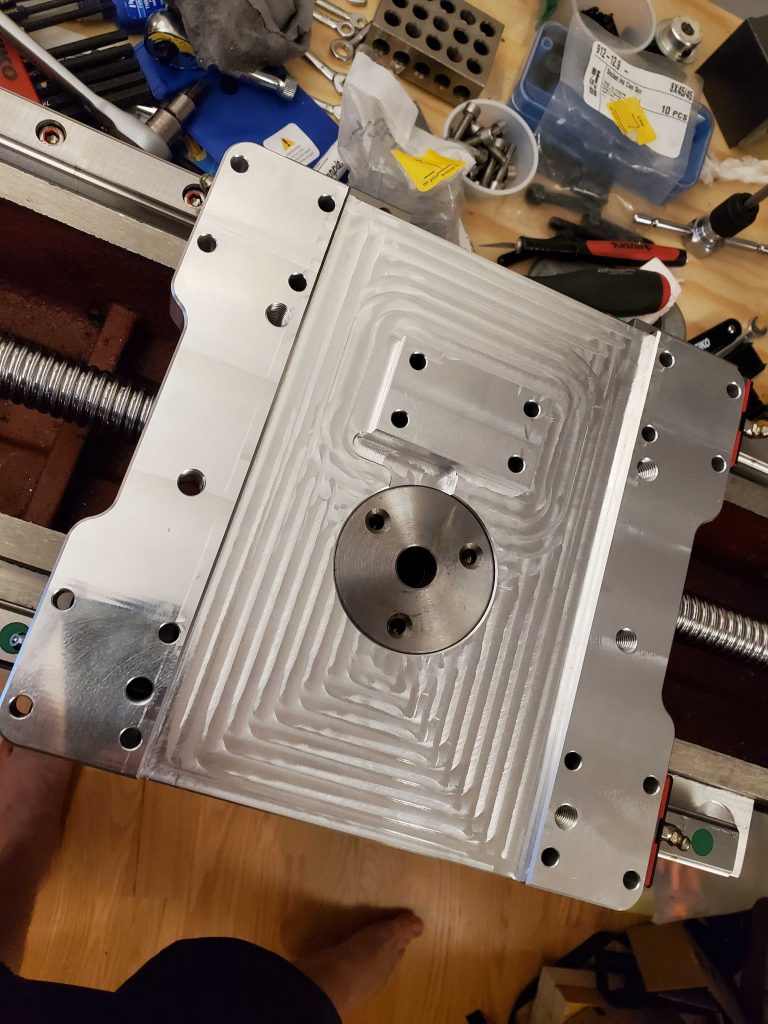
The major event was machining the back side of the part. The part has 6 M10 tapped holes where the head mounts. I was able to use these to mount to a fixture plate, and then held the fixture in the outer vise jaws. Fairly uneventful except for one programming error that screwed up the pocketing for the middle large bore. But it isn’t critical and the mistake was not catastrophic.
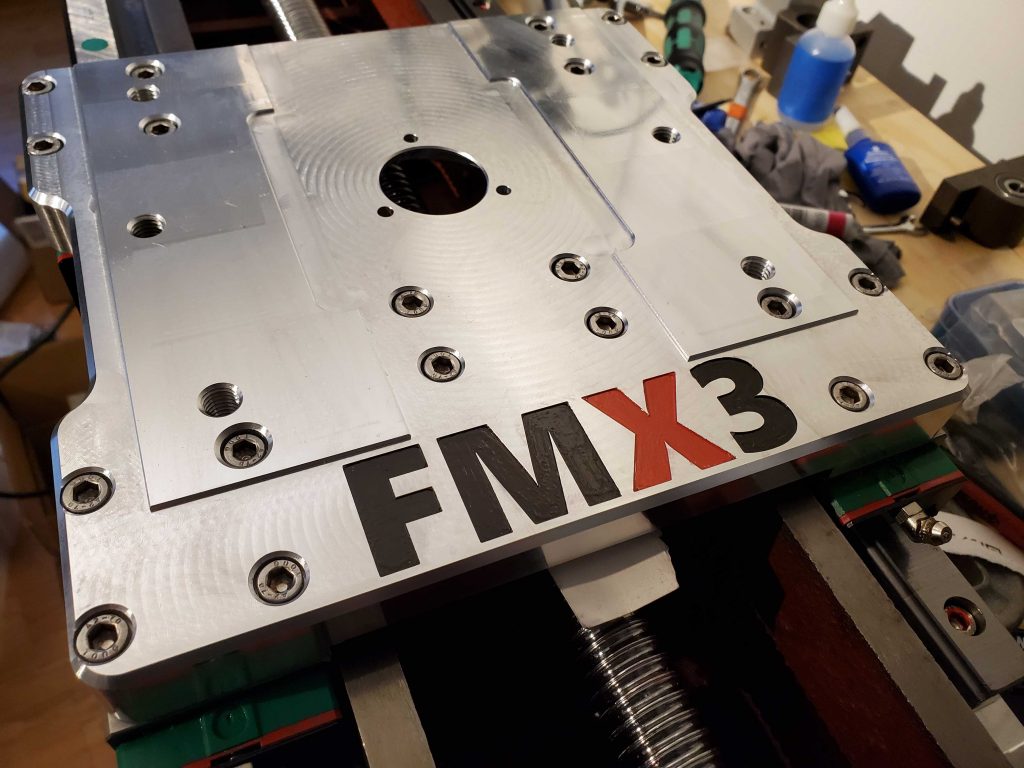
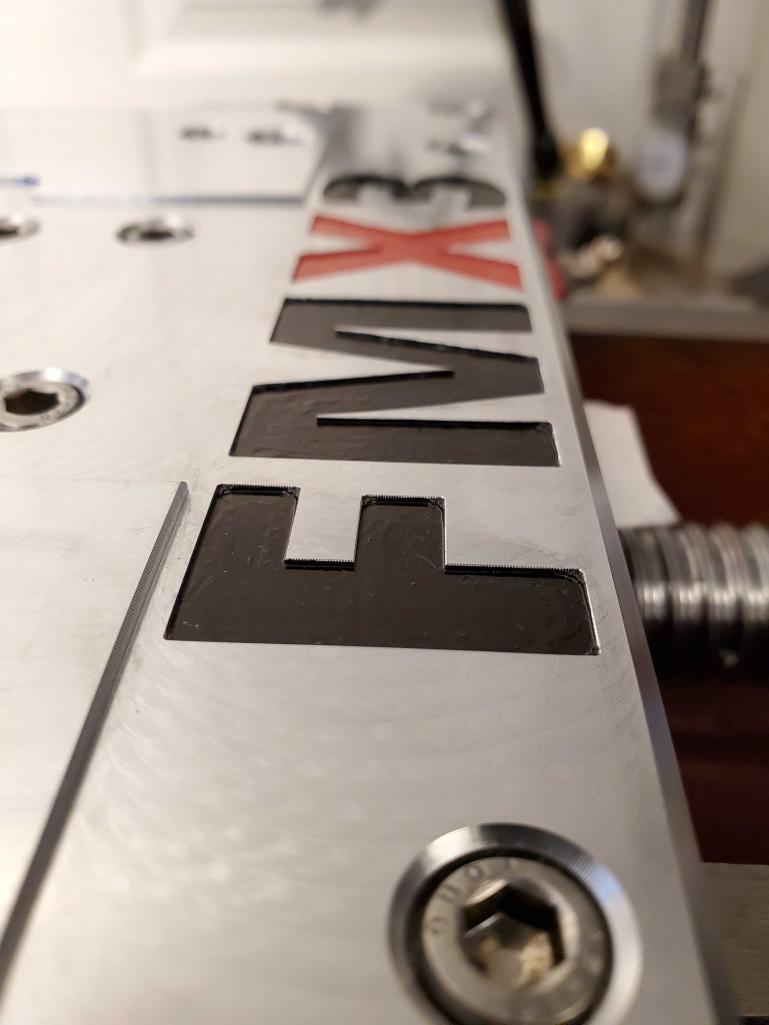
A bit of a diversion filling in the logo with paint.
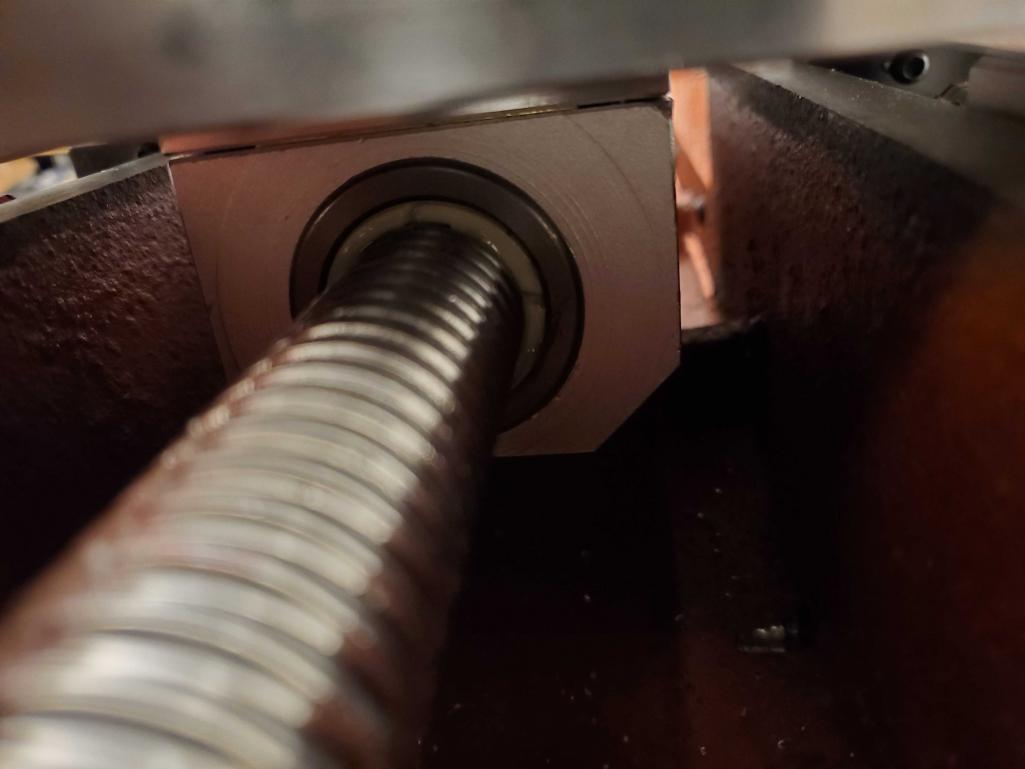
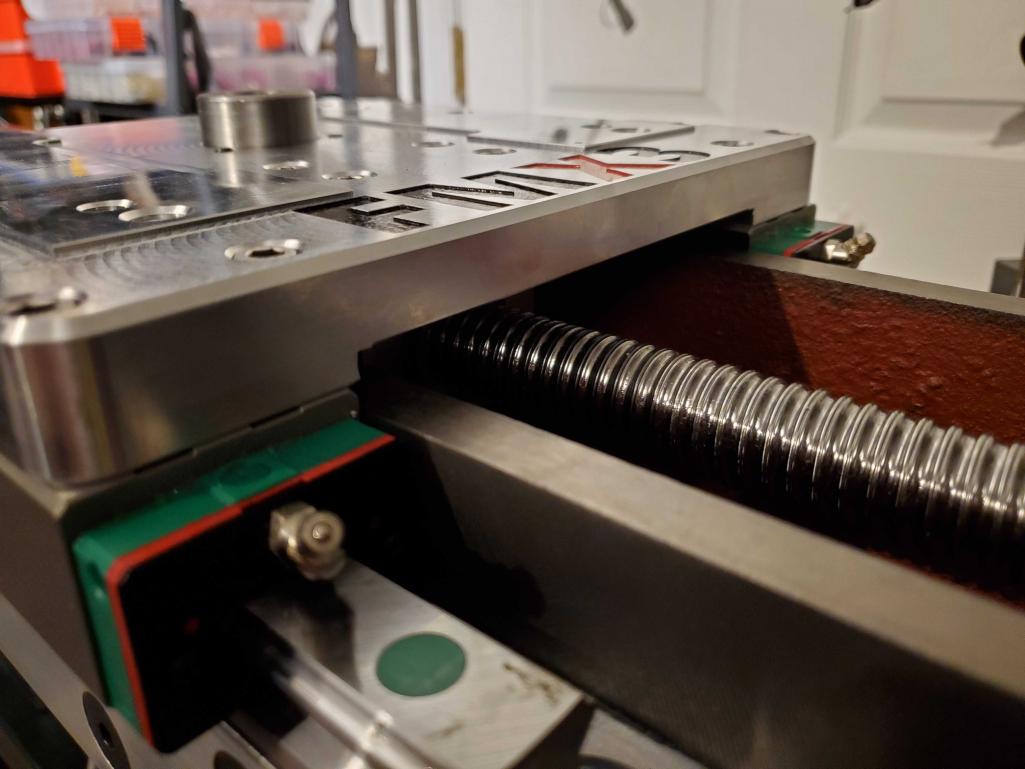
I designed this plate so the final clearance between the ball nut and the Z plate would be shimmed to final distance. Using my feeler gauges I found the correct thickness (0.014″) and cut a temporary shim out of brass shim stock. We have a MOPA laser at our makerspace and I think I can cut brass on it with some patience, so I will probably make a nicer one at some point.
The majority of the machining on the back side was to create a clearance so that I can bolt on a 0.375″ plate to the front of the column, to hopefully improve its torsional stiffness. I will probably get that done at SendCutSend since it will have some complex cuts for the ball nut clearance, etc.
With things along this far in the mechanical work, I was motivated to rebuild enough of the control electronics on the bench to get some motion and homing working on the new Z axis.