Project Frankenmill – Part 30, Do You Even Lift Bro?

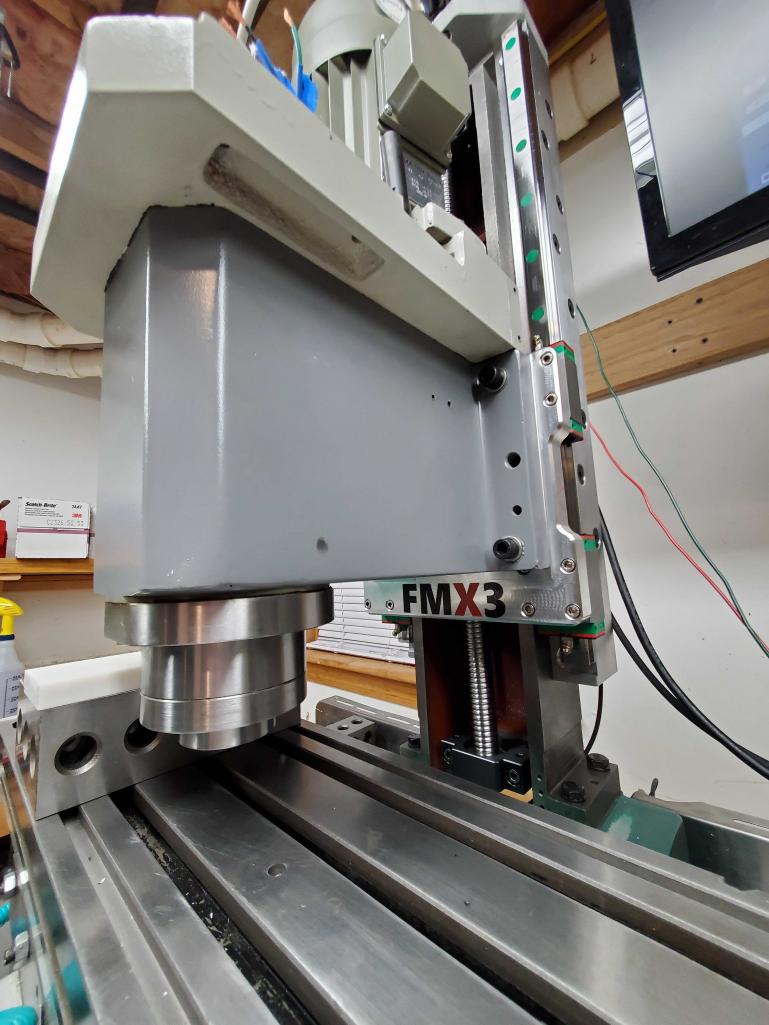
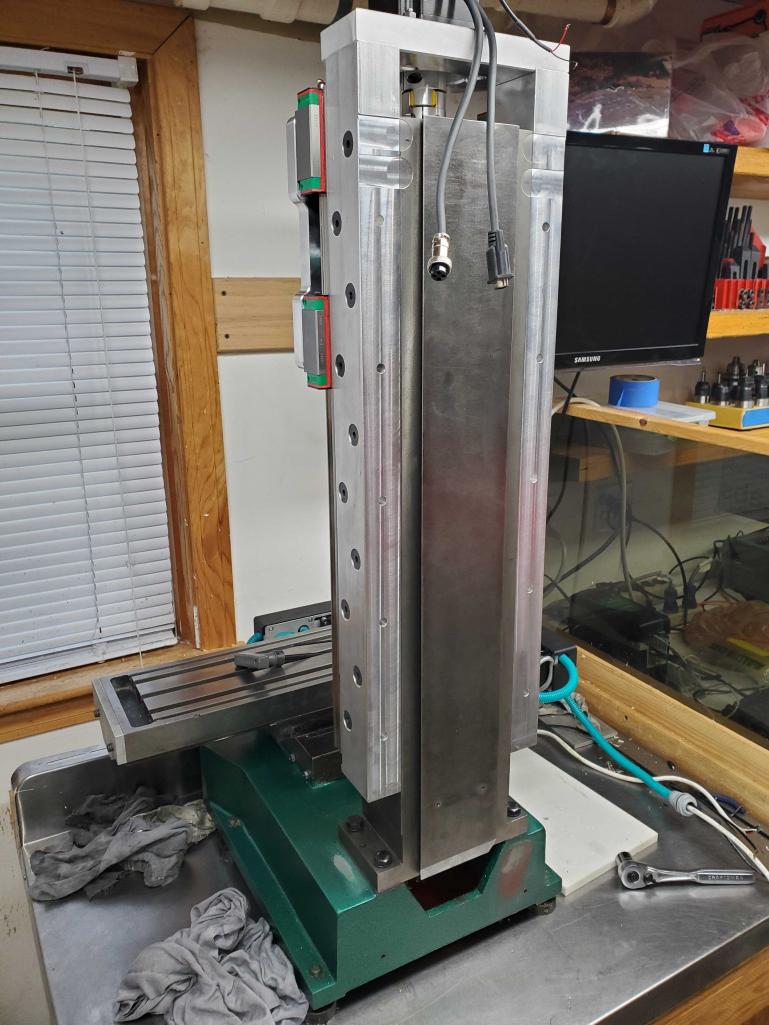
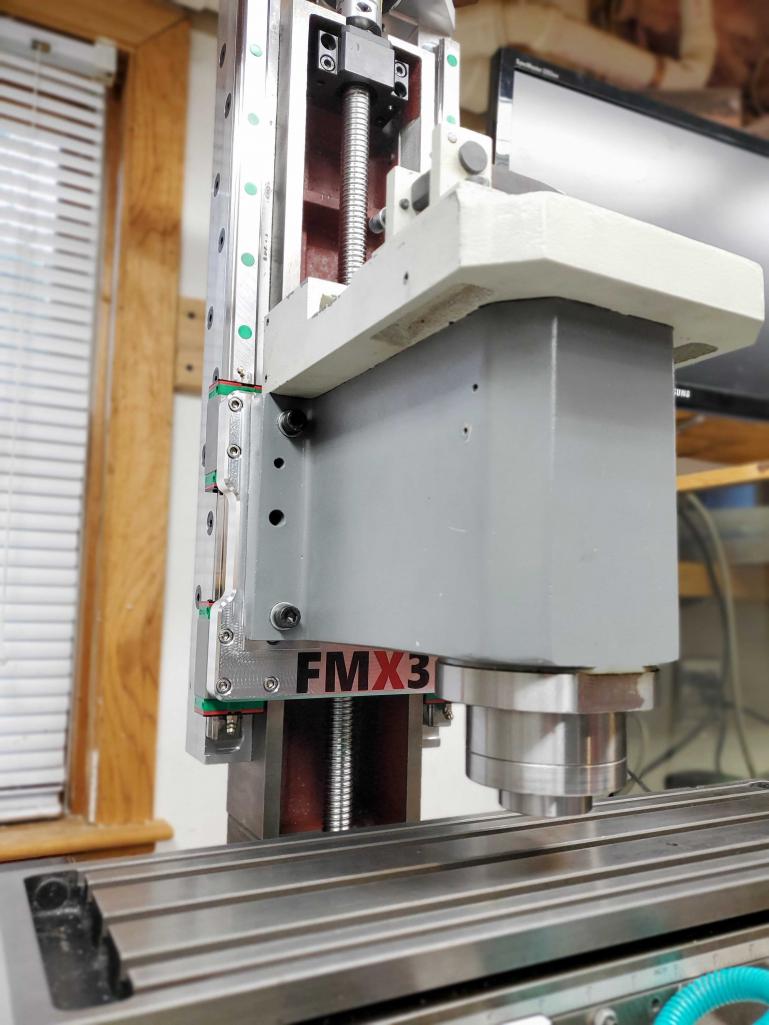
Hauled the column back down to the shop and mounted it back on the machine. Sure is a lot heavier than it used to be!

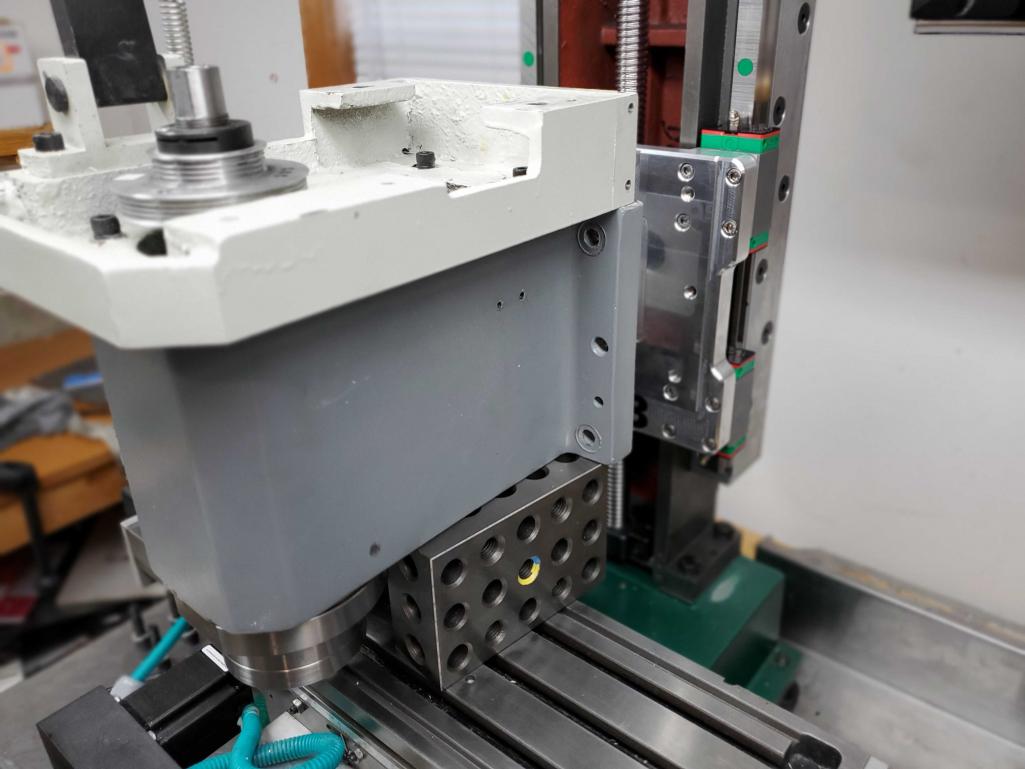
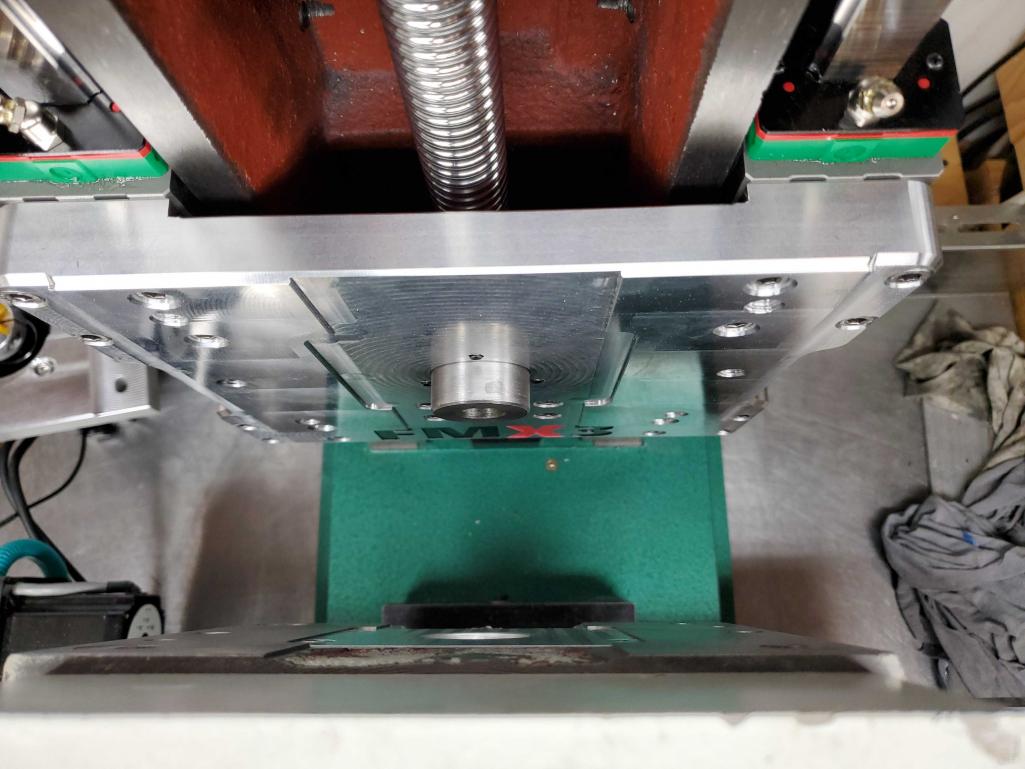
Muscling things around was a theme for today. It took some careful work to hoist the head back onto the table and get the tramming pivot aligned with the hole in the back of the head. But once aligned, it all bolted up beautifully. It’s extremely satisfying when parts mate up like they were designed.

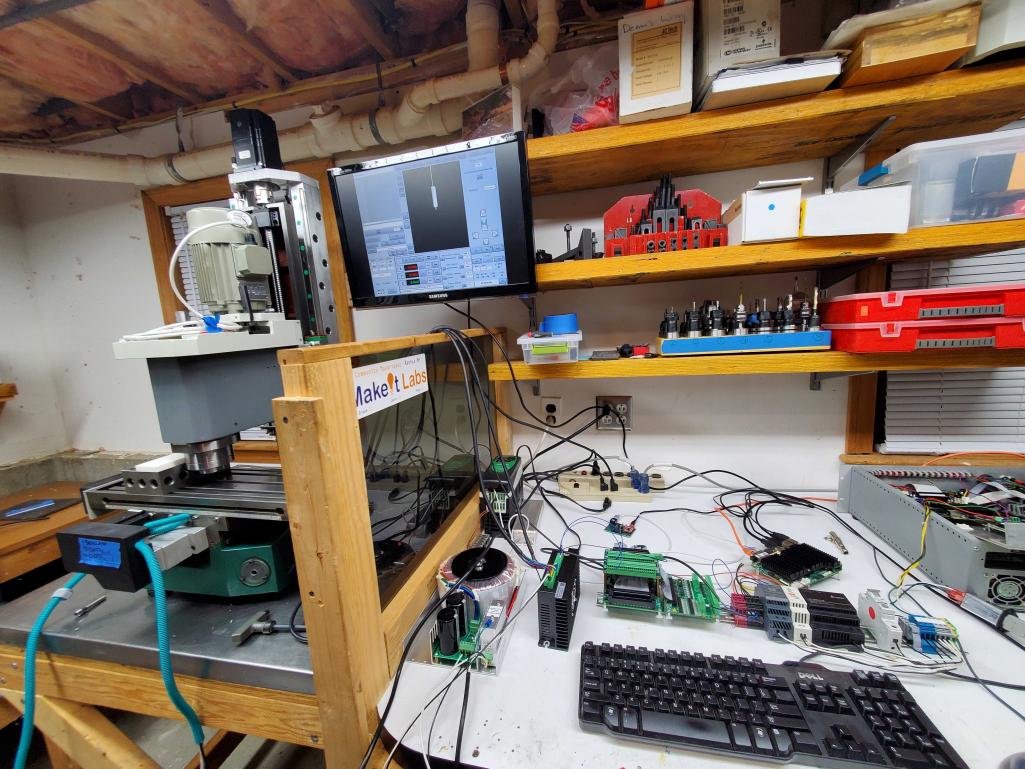
By this point it was getting late and I was tired, but I wanted to get it powered up and moving around. Here’s a shot of the chaos in progress. I’m re-doing the control electronics as part of this 10-year revisit. What you see on the bench is the partial breadboard of the new electronics clipped onto a DIN rail. The old electronics enclosure is the gray rack box on the right. And the sticker is a good reminder for a shout out to the folks at our awesome makerspace, MakeIt Labs!

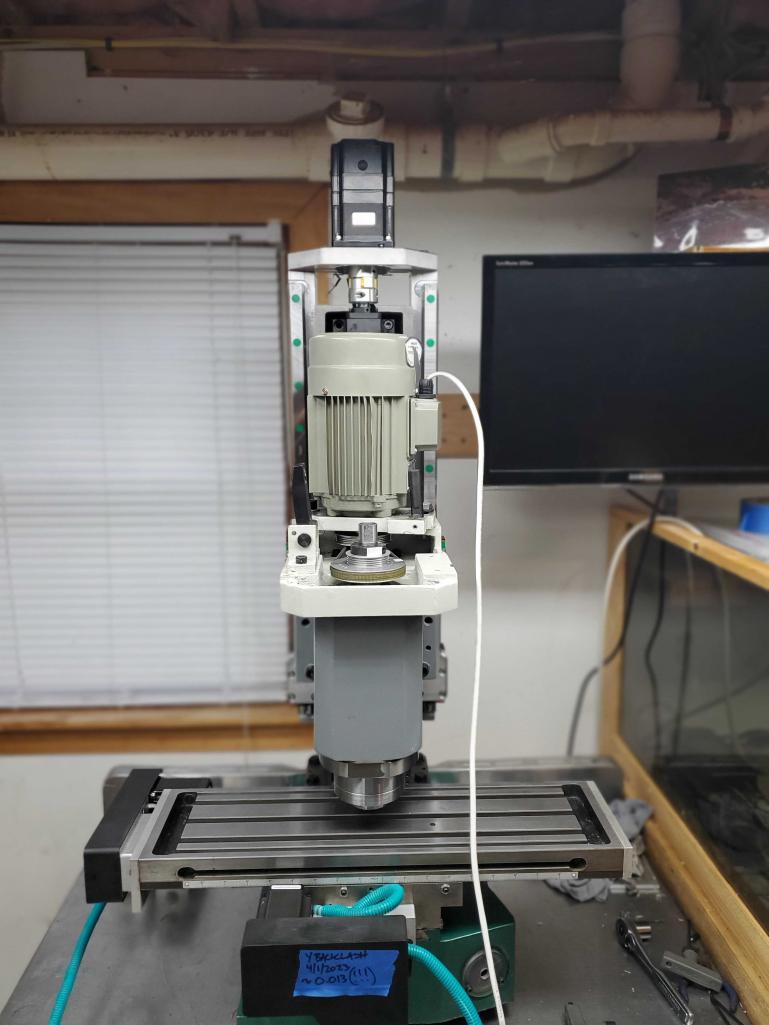
Maybe I buried the lede a bit here… but it moves under full weight with little effort, at somewhat blistering speeds (for stepper motors anyway) – 190IPM!

I was much too tired to get into checking squareness and tram last night, so that will have to wait until next time. But this is a great milestone for the last few months of effort, and the last 14 years of owning and tinkering on this machine.

Related Posts

Project Frankenmill – Part 33, Claustrophobia

Final positions for the DIN rails and wire management have been nailed down. It’s much more tight than one should really wire a panel like this, but…

Project Frankenmill – Part 32, You’re Gonna Need a Bigger Boat

It seems to be a rule that no matter what size electronics enclosure you have, you will always have at least 10% more stuff that you need…

Project Frankenmill – Part 31, Full Pull

While I still haven’t gotten into the detail of squaring and tramming, I’ve been intensely curious to see if the new Z axis would be happier with…

Project Frankenmill – Alpha and Omega

Since 2009, I’ve been messing around with CNC machines. I started out with a small manual milling machine from Grizzly, and converted it to CNC using a…

Project Frankenmill – Part 29, More Machining and Motion

Had some productive time in the shop during the holiday. First step was to make the counterbores for the M6 cap screws a bit deeper. Easy to…

Project Frankenmill – Part 28, The Home Stretch

I used the “saw” feature of the Protomax waterjet to cut stock to rough size for the head mounting plate the other night. At the moment we…

Leave a Reply

Your email address will not be published. Required fields are marked *