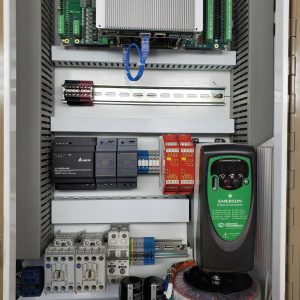
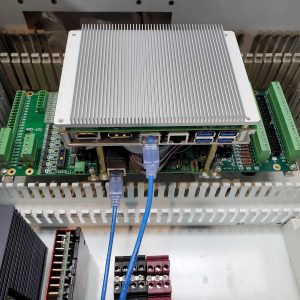
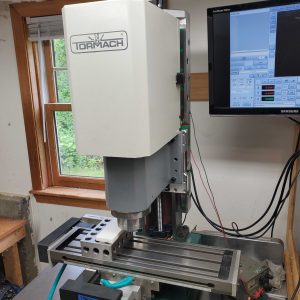
 Santa’s workshop was busy today. I finally got some motivation and time to continue work that I started a year ago, but really, has been a nagging task since day one of getting the CNC up and running. I have the machine up and running enough to make parts, with all of the controlling electronics splayed out across a bench. This is just asking for trouble with errant flying chips or dropped tools, which is why it’s imperative that I get the enclosure project done.
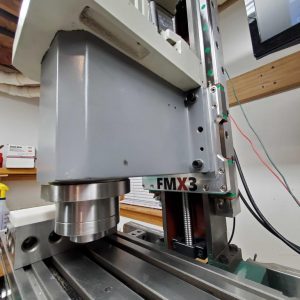
In a sense, this is actually the sort of work I wanted the machine for in the first place. I’ve long made electronics projects and struggled with primitive shop tools to make nice enclosures for them. Other than a few small panel cutouts that I did early on, this is the first panel milling I have done on the machine. Of course, it’s still making parts for the machine, but who’s counting?
[nggallery id=42]

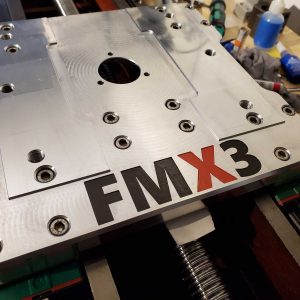
Pretty smooth! Way better than hacking away with a drill and nibbler!