[singlepic id=391 w=640 h=480]
I’ve wanted a stereo microscope in my home lab for ages. In the last couple of years, it’s become an increasingly urgent need as I’ve hit the age where my eyesight is beginning to change. Soldering and inspecting fine-pitch SMD work is becoming difficult without the aid of magnification. So, I finally picked up a stereo microscope head on ebay for about $150, but it did not come with a stand. It turns out this is the best way to find bargains on stereo microscopes, as the complete units with stands tend to go for hundreds of dollars more. The heavy cast base also increases the likelihood of shipping damage due to poor packing, and increases shipping costs to boot.
I figured with a machine shop at my disposal, I should have no trouble putting together my own stand. This turned out to be true, but in typical form I went a bit over the top with it and ended up spending an enjoyable long weekend designing “on the fly” and putting many fabrication skills to work. Of course, the economics of this only make sense if I value my time at $0/hr, but that’s never the point of doing projects.
My main design goal was to create a sturdy stand with a fairly long reach. This would allow me to position the base towards the rear of my bench, yet still allow me to look through the microscope sitting in front of the bench. I wanted it to integrate with the standard Bausch & Lomb “E-Arm” with no modifications. It needed to have a stand which would provide for quick gross height adjustment, to account for viewing taller objects. An articulated arm was a “nice-to-have” feature, allowing me to tuck the microscope out of the way when not in use, as well as provide some flexibility in front-back positioning. All in all, I think I my design met these goals pretty well.
It’s not 100% complete, as it still needs to be mounted to the Corian base plate, and I’d like to actually put some kind of finish on the metal parts. It’s the perfect candidate to be the guinea pig in a home powder coating experiment, so maybe I’ll do some shopping to get set up for that. I also have a project brewing to make an LED illuminator, which is another necessary component of a useful stereo microscope system.
I put together a video which gives a brief overview of the stand, and also has a bunch of footage from the actual build:
[youtube TvZXjUfDOlQ]
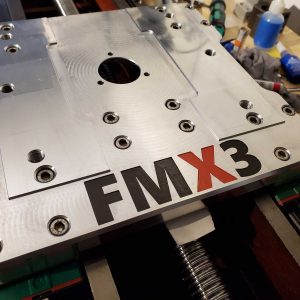
Also, here are some still photos of the build process:
[nggallery id=43]

nice work. what aluminum did you use? to what tolerances did you build this? which cnc mill are you using?
thanks for sharing. this is what it’s all about
Mike
Hi there. I used 2024-T351 (mostly 2″ x 1″ bar stock, 2″ x 3/8″ bar stock, and a scrap of a larger piece to make part of the clamp). I tend to keep 2024 on the stock shelf because I really like how it machines, though it is a bit more expensive than 6061.
I kind of improvised this design on the fly, and it’s quite forgiving, so I didn’t really work to maintain any overall tolerances. Overall it’s probably +/-0.010″ or worse, though some parts are probably better than that. I machined some of the parts together, so they ended up pretty well matched in those dimensions. My machine has developed a new issue with Y ballscrew backlash that I need to chase down, so I tried to do as much with only the X axis as I could.
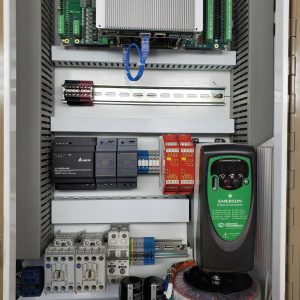
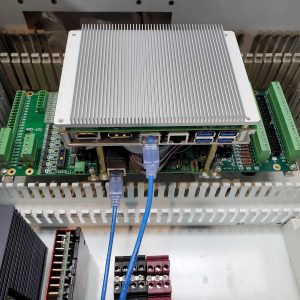
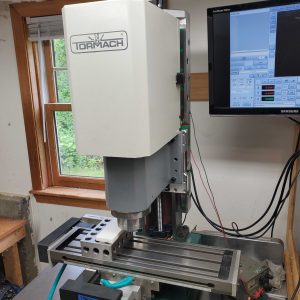
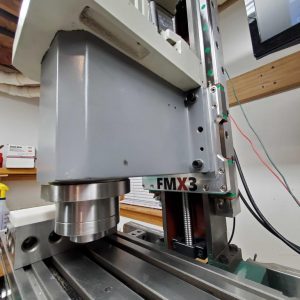
My CNC mill started life as a manual Grizzly G0463 mill (http://www.grizzly.com/products/Mill-Drill/G0463) … I did the CNC conversion myself, with most of the mechanical parts coming from a kit. I did all the electronics for the controller, and all of the subsequent tweaking and improvements. Lots of posts on my blog about it under the CNC topic: http://www.tangentaudio.com/?cat=8
Shit man, I want one! I’m jealous as a sunufab#@*@@#R!!
How can I find something like this. None of the stands out there look even remotely as cool as this one does. I’m doing the same thing you are (did), trying to hunt a microscope on the cheap. The boom is the one thing I don’t want to chince on though! I literally have been searching for all metal/aluminum/etc etc articulating boom mounts and there are NONE. You made one, can I hire you to make one for me?
pretty please?
🙂
brendan