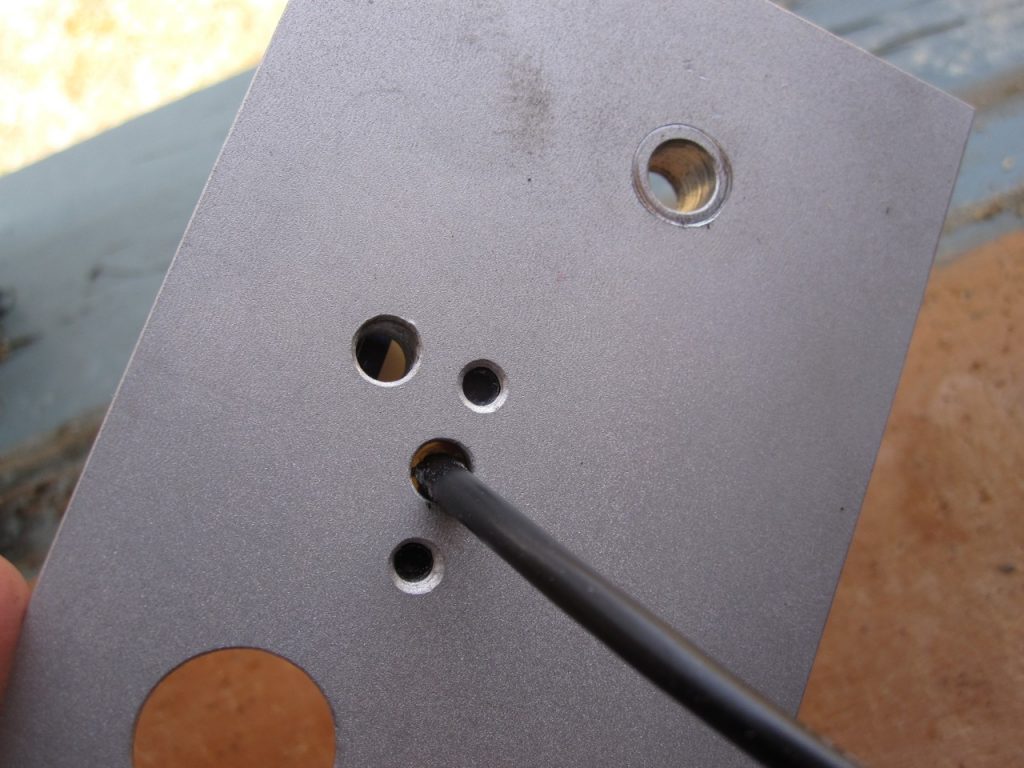
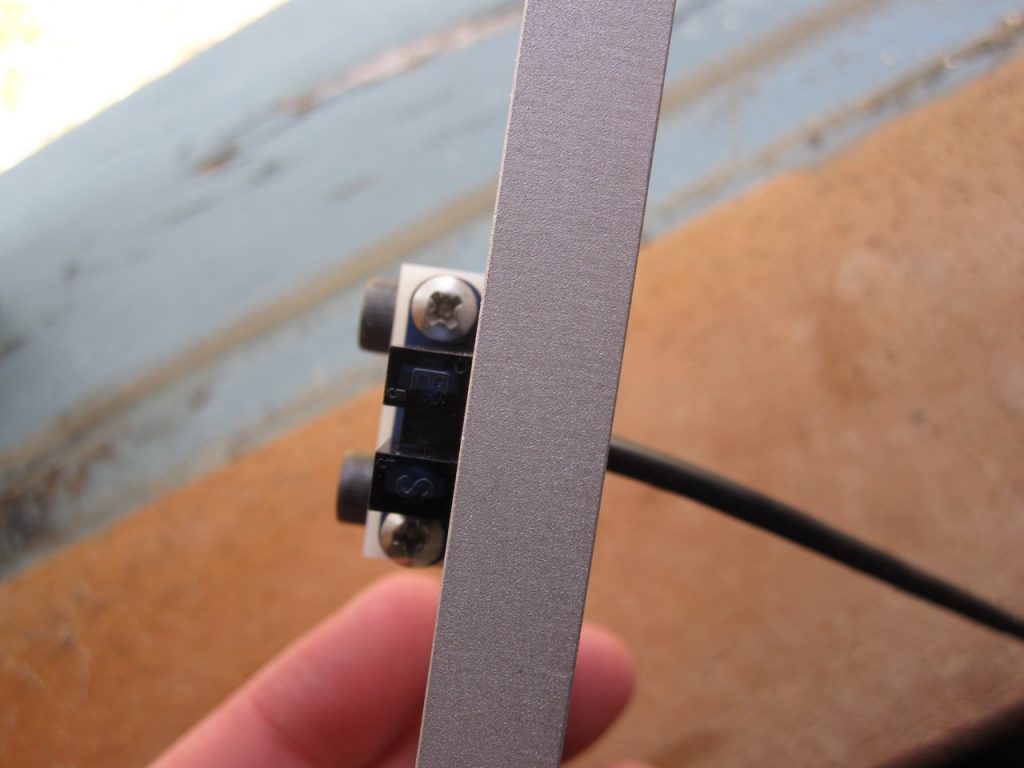
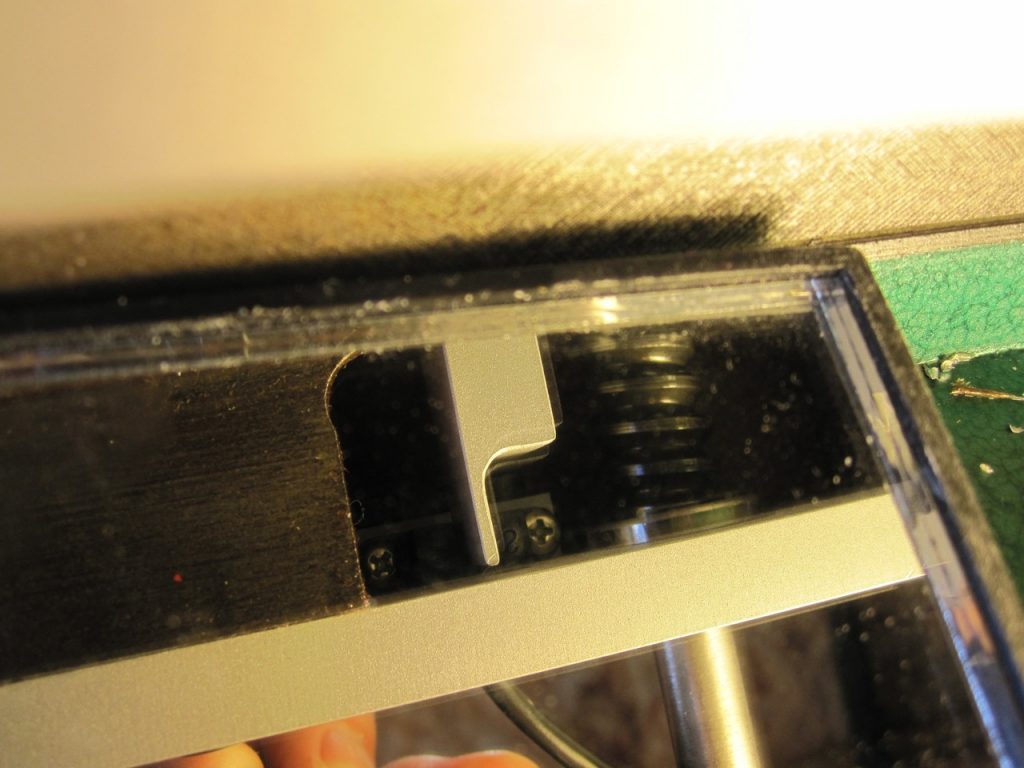
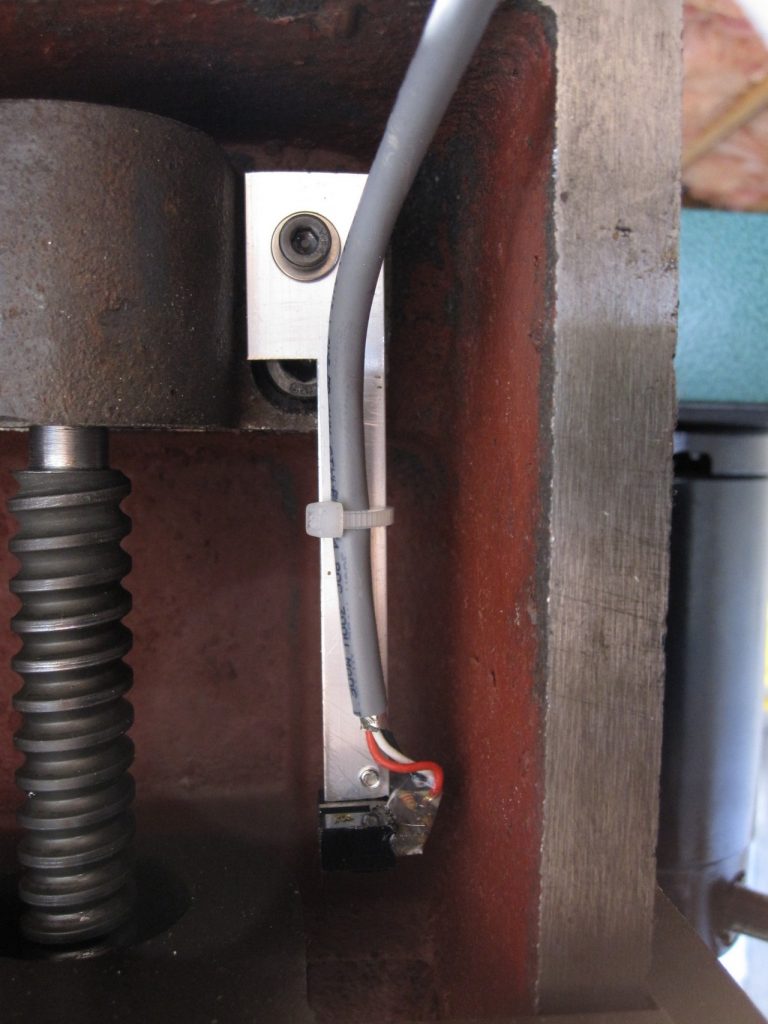
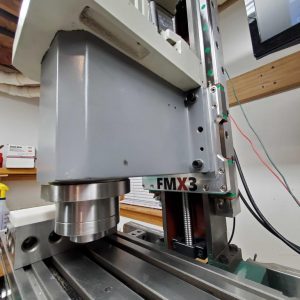
After more work than I anticipated making the Y homing sensor mounting block and making a bracket and sensor setup for the Z axis, tearing down half of the machine, rewiring, adjusting/loc-titing/rebolting, circuit hacking, and other general tomfoolery, the machine has functional homing capability!
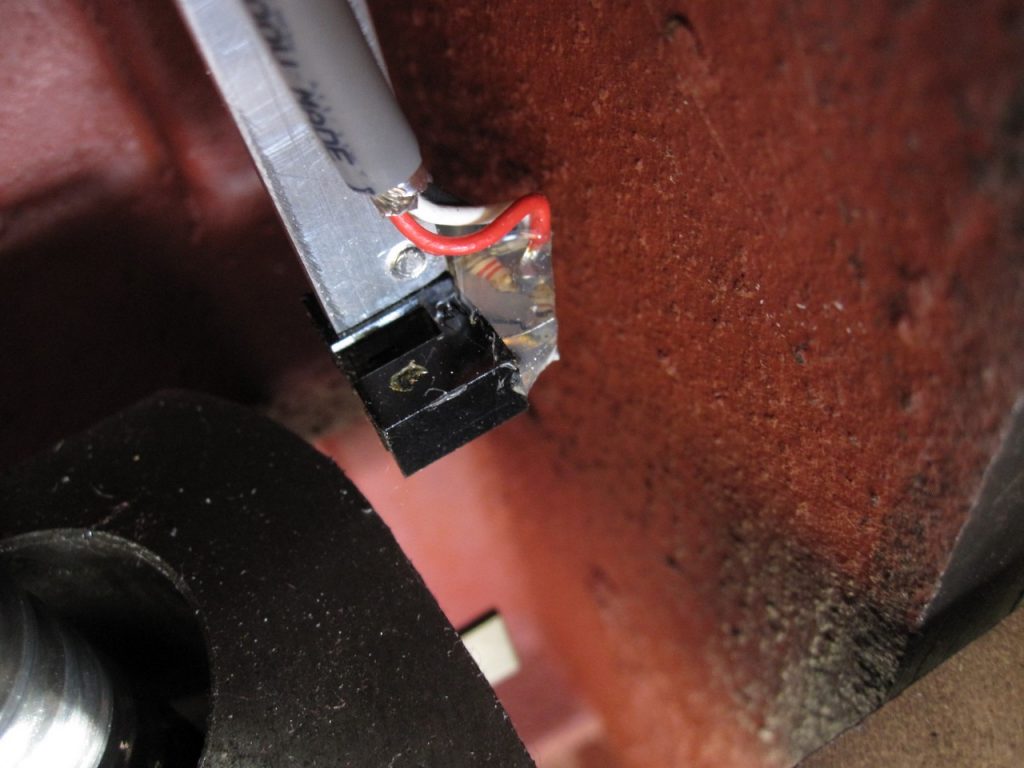
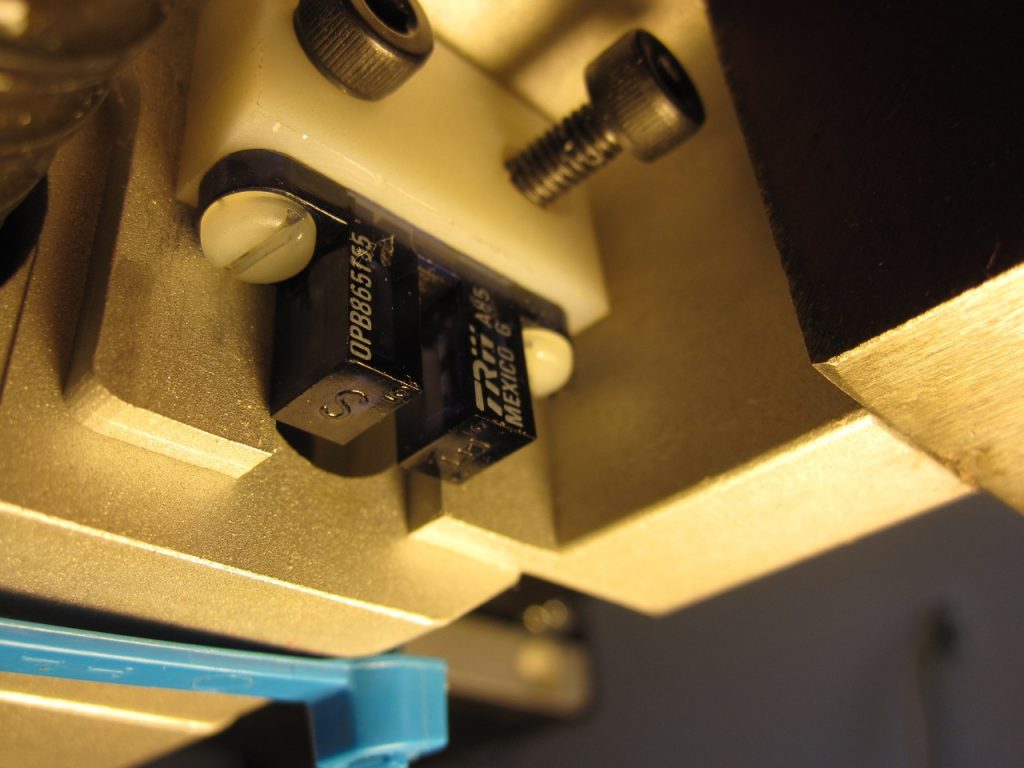
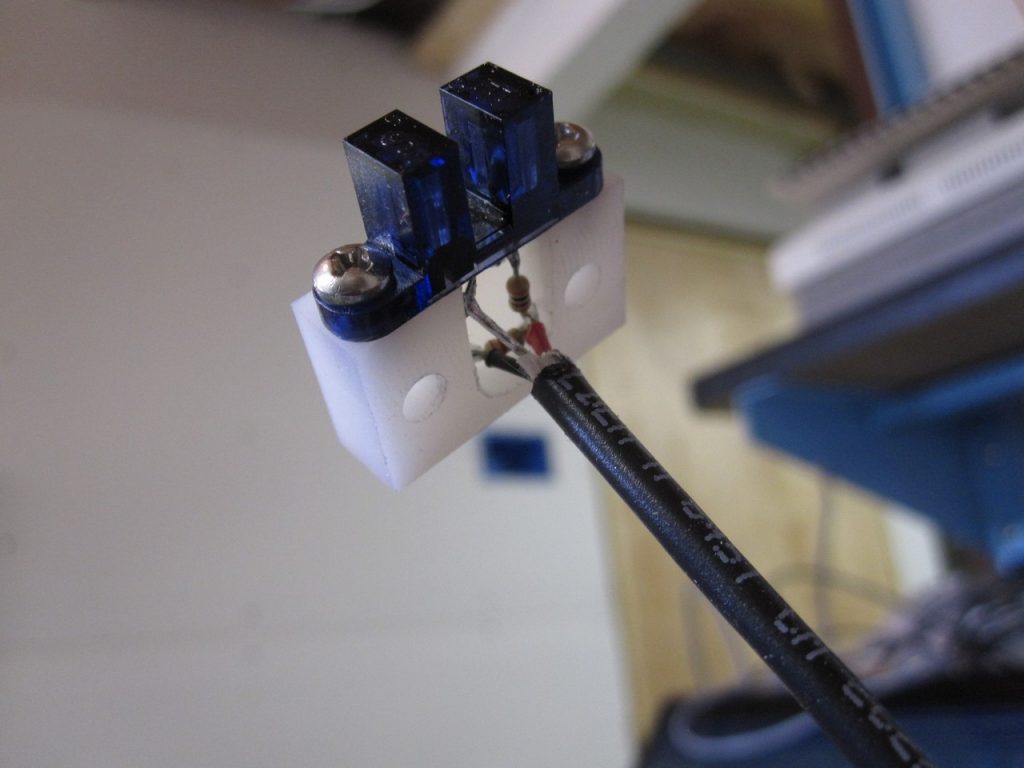
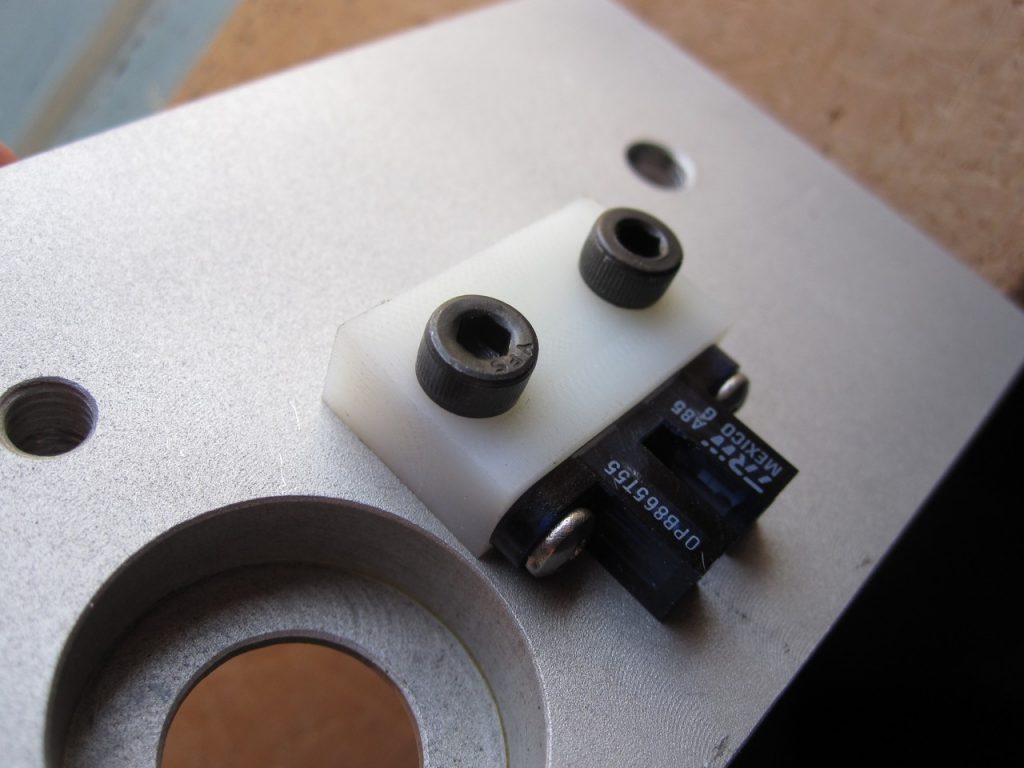
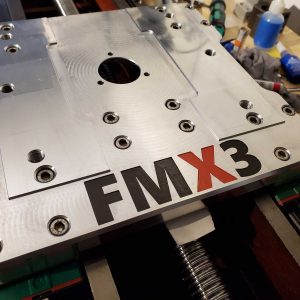
I ended up using the second block I had made when I machined the X block on Friday night. It needed slight modification to work for Y, as the mounting holes were slightly different. I unfortunately crushed one of the sensors discovering this (there’s no visibility to sensor when it’s installed). The Z bracket was fairly straightforward, and I came up with a slightly simpler scheme than the ProMiCA version.
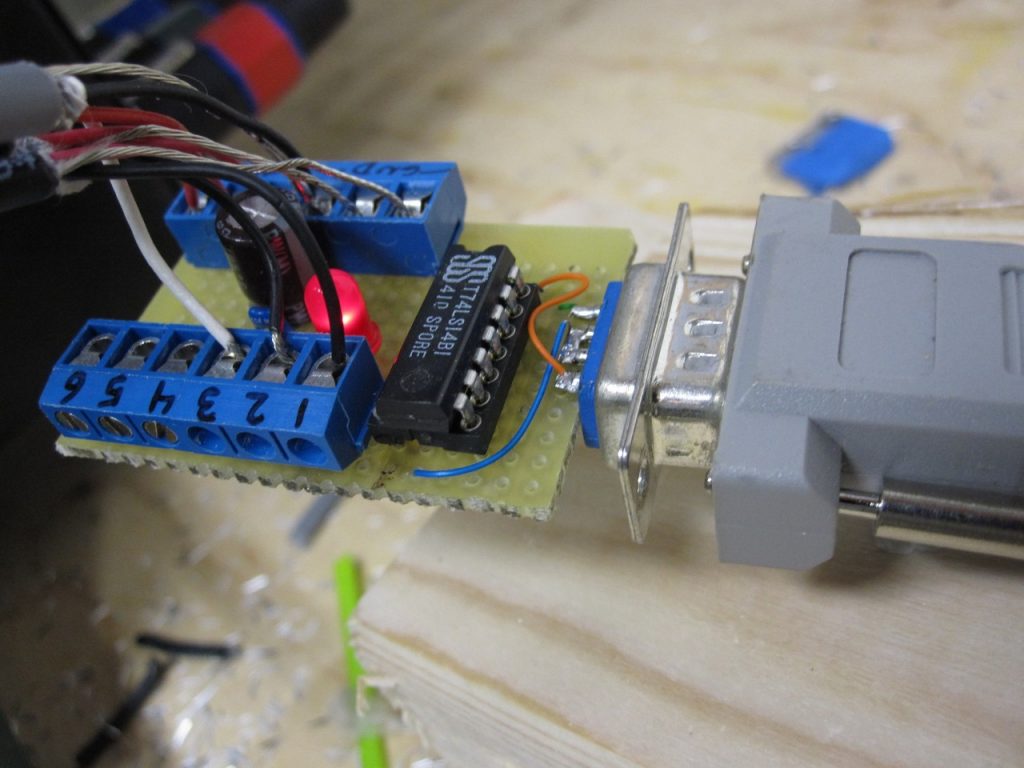
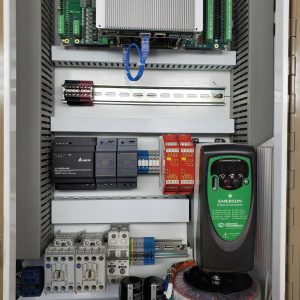
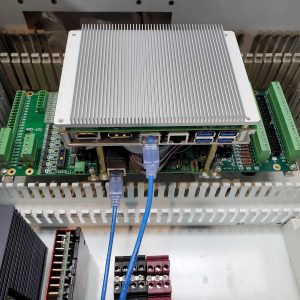
With all three axes installed, it came time to get them wired up to the control PC to test them out. This proved to be a royal pain in the neck, and I had to construct some filtering/cleanup circuitry to eliminate some really bad noise. The issue seemed to be that the ‘on’ level of the sensors I used was giving me around 1.4 volts output, and with the stepper drivers turned on, they were spewing out enough noise to bump the inputs over the TTL threshold. I tried a few combinations of filtering caps and pullups/pulldowns, but nothing helped. I finally had success with a simple RC filter on the input to a Schmitt triggered inverter (74LS14) that I happened to have kicking around from prehistoric times. Seriously, that particular chip probably dates from my high school robotics hacking days, so it’s doing its ilk proud in my CNC.
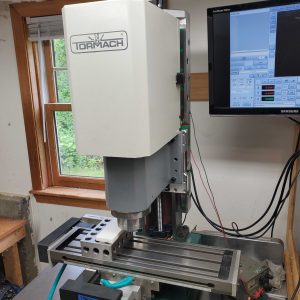
Here is the final result, after EMC2 was configured properly for homing:
And here are some photos of the process:
