[singlepic id=323 w=320 float=left] One of the guys I ride with recently bought a new bike from Solstice, which is a very small one-man operation. One of the unique features of the bike is its inverted 4-bar suspension in the rear of the bike. One downside is that a big piece of the suspension linkage hangs down below the bottom bracket, exposing it to rocks and other obstacles that we regularly encounter here in New England all-mountain riding. Solstice does supply a couple of P-Tex covers for this linkage, but my friend was chewing through them with his aggressive riding, and he wanted something better.
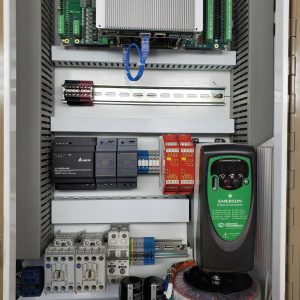
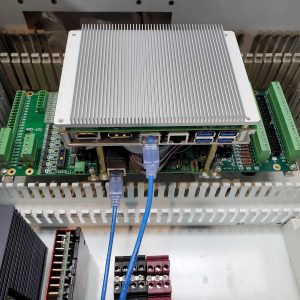
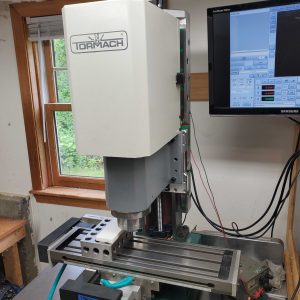
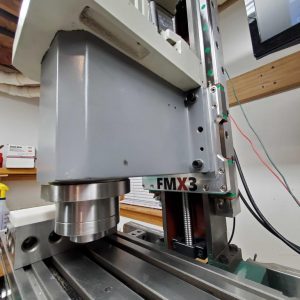
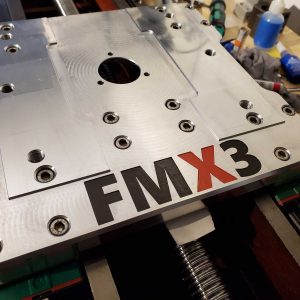
All good ideas start with a quick drawing, and while this one wasn’t on a napkin, it got the point across. I took his hand drawing and made a quick sketch in my CAM software, bypassing the full CAD step since it was a simple part. He brought over a big chunk of 3/4″ thick UHMW polyethylene plastic and we made a couple versions of the part on my CNC milling machine. We had to drill a couple of holes in his suspension linkage too, which was easily done on the mill in semi-manual mode.
All in all I think it came out pretty well. We’ll find out on a ride tomorrow how well it holds up. He’s planning to send pictures off to the Solstice guy, since he expressed interest in what we were doing. Fun stuff!
[nggallery id=38]

Hoping you would make a couple of these for me. If so how much?