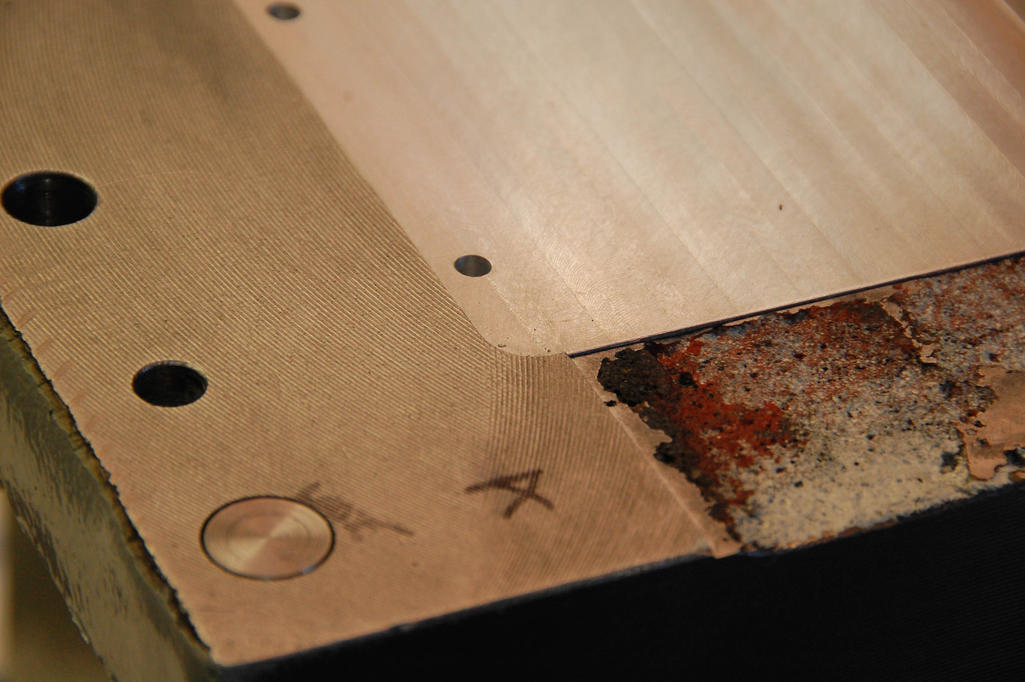
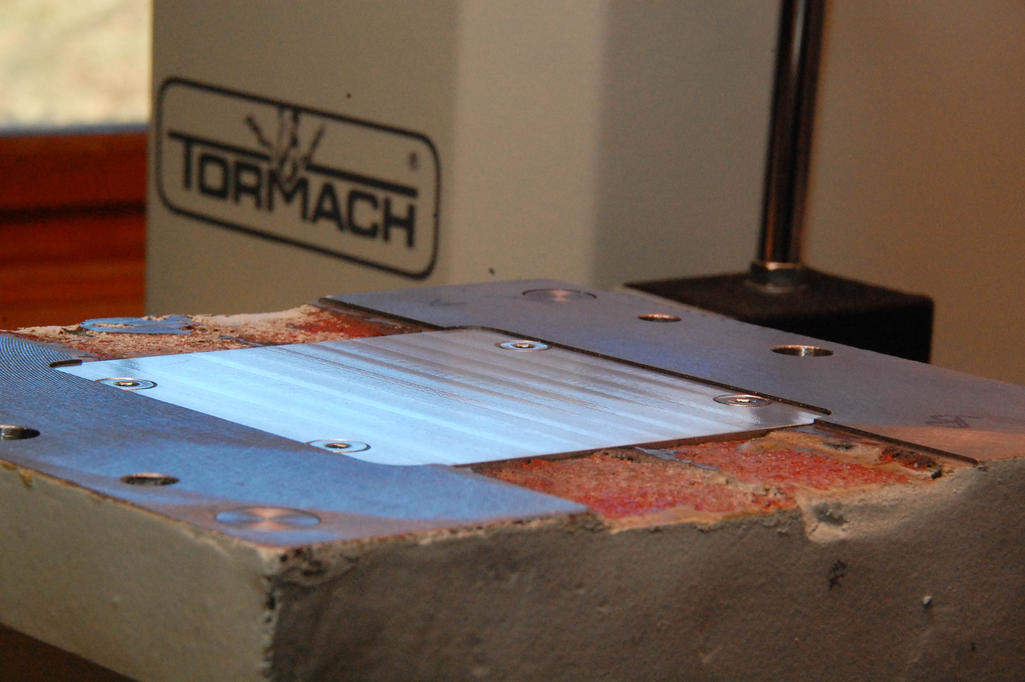
Back at it on Sunday morning. My first order of business was to work out how to capture that 35mm round boss that protrudes out of the Z slide. I decided to machine in a recess to hold a .250″ aluminum plate.
Onto making the plate. Made it out chunk out of a scrap of the world’s gummiest aluminum. But hey, it was free and I’ve done a half dozen different projects with it.
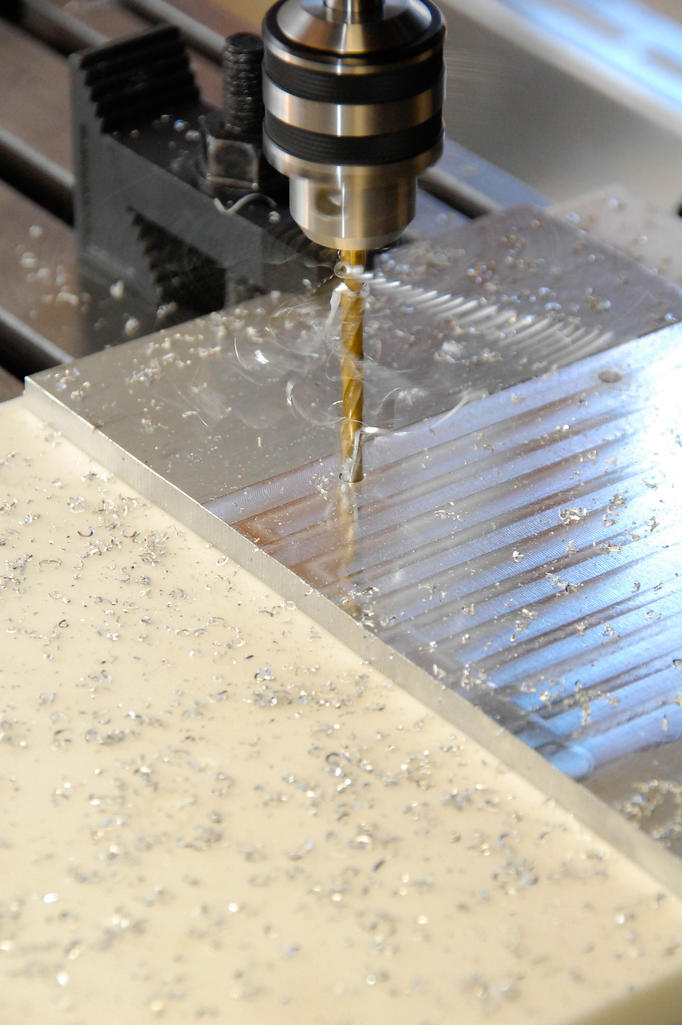
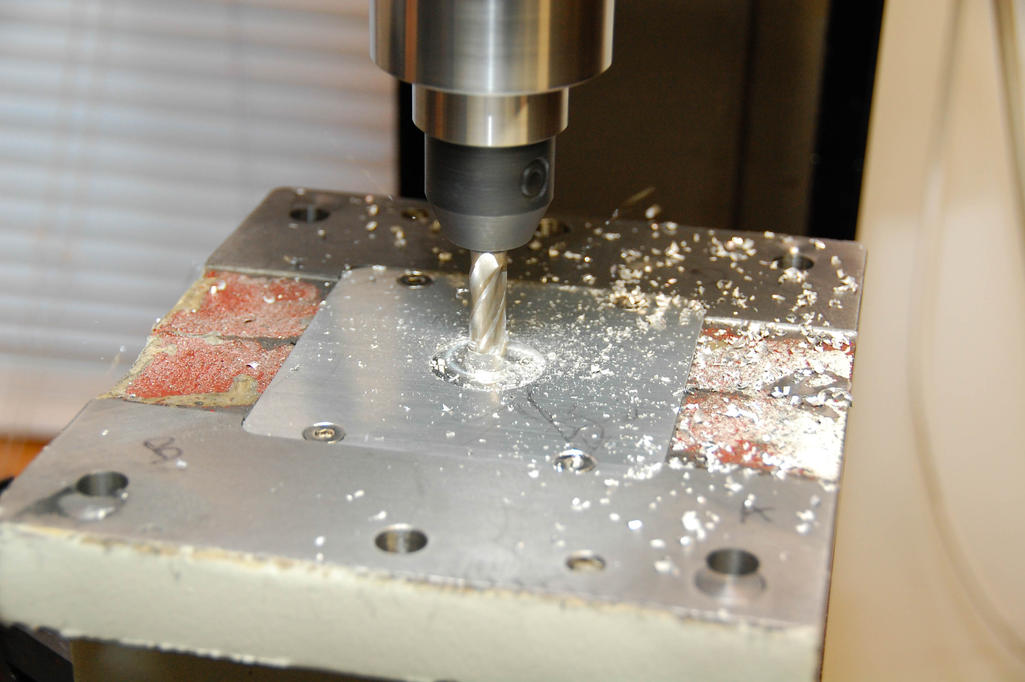
Transfer punched the holes through onto the casting and drilled them out on my drill press. I was out of Z on the X3, so I had to do it offline. I keep finding handy things to do with 123 blocks – here, I propped up the plate using a couple of parallels, then held the transfer punch square to the plate using two 123 blocks in a corner configuration. I’m sure I didn’t invent it, but it was a nice discovery.
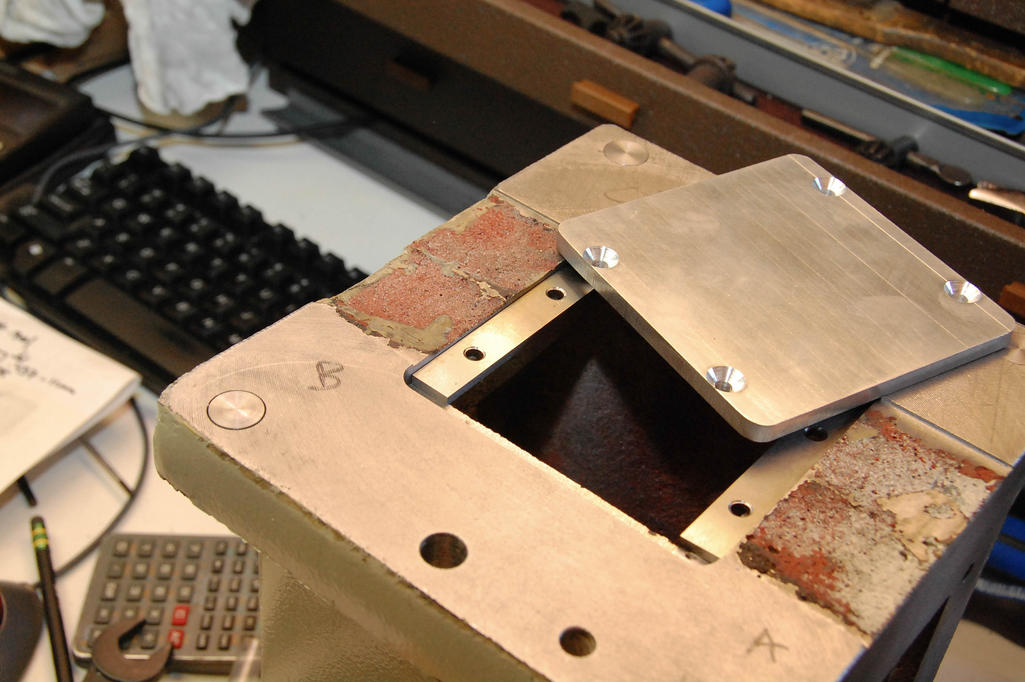

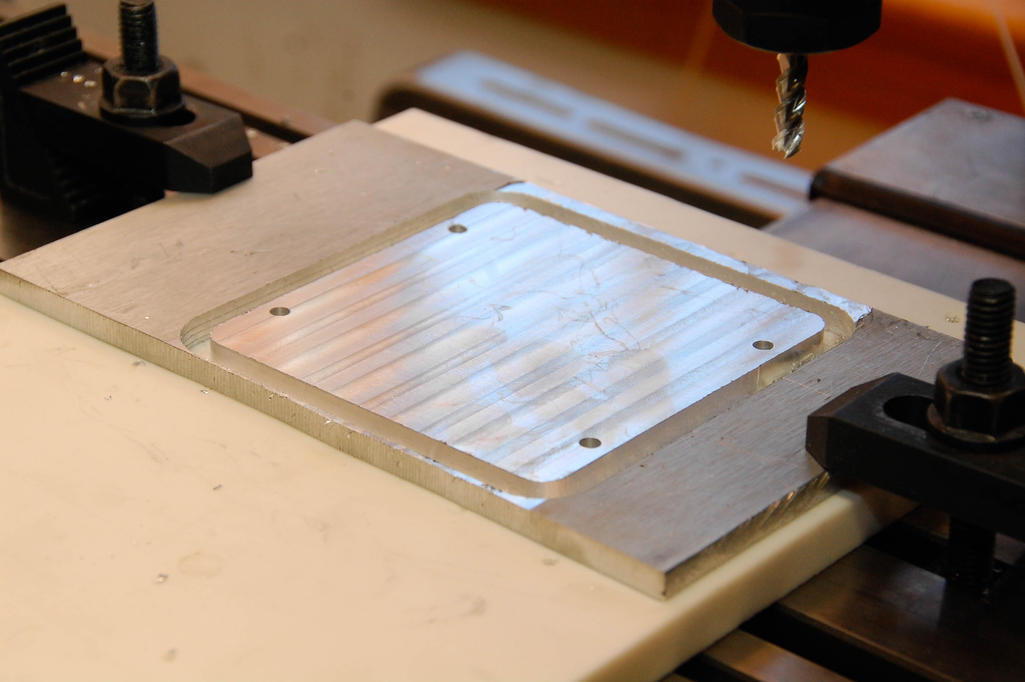
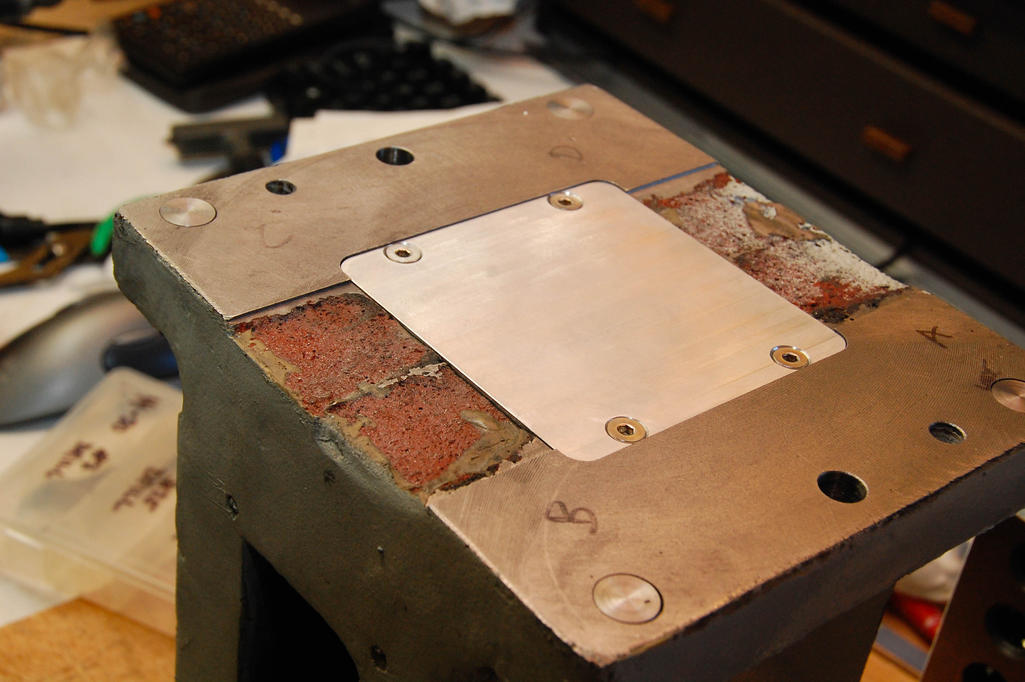
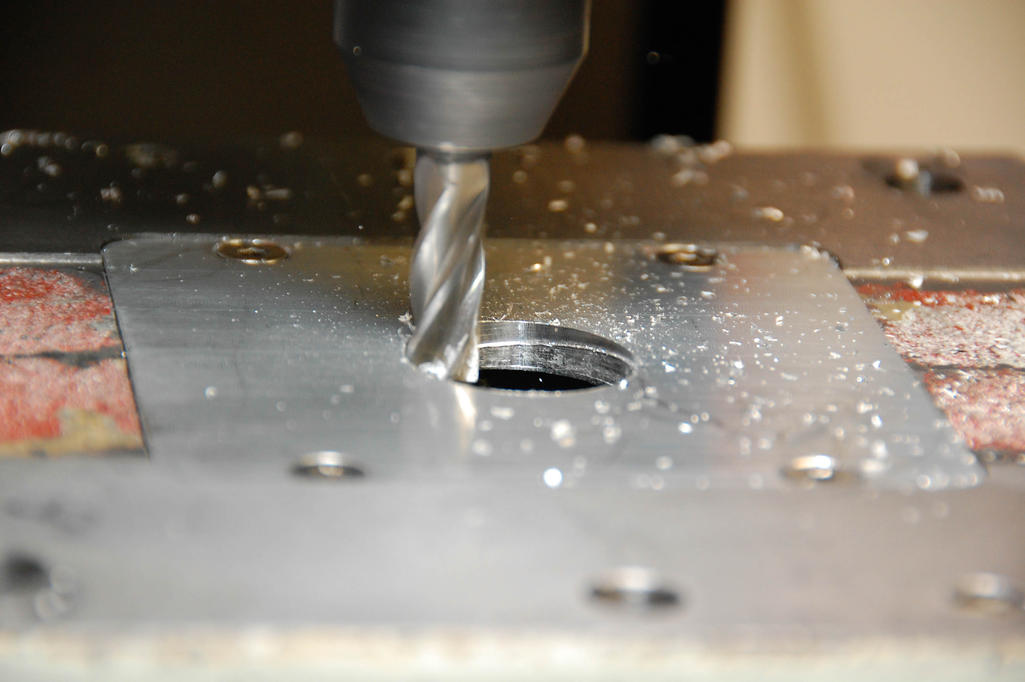
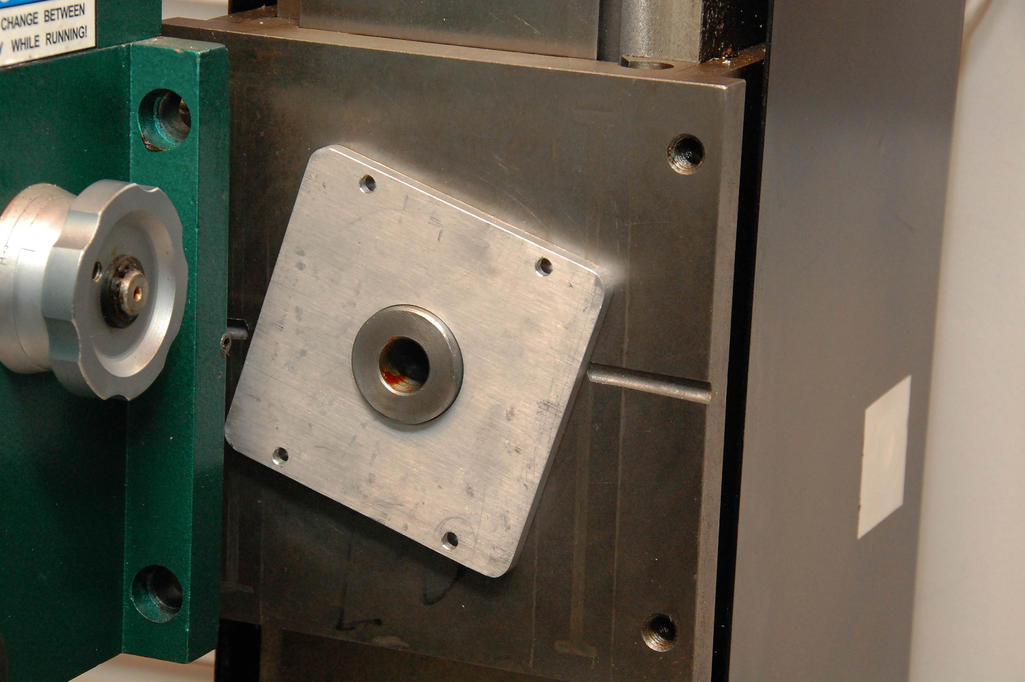
Here is the plate all buttoned up. Four flat head cap screws hold it down. I cursed to myself quietly because I only had imperial (10-24 1/2″) screws in stock, instead of metric. Then I got over it and got’r done. Everything on the plate sub-assembly sits below the plane that mates to the flat surfaces on the Z slide, as you can see in the second photo.
Time to commit and lock in these plugs.
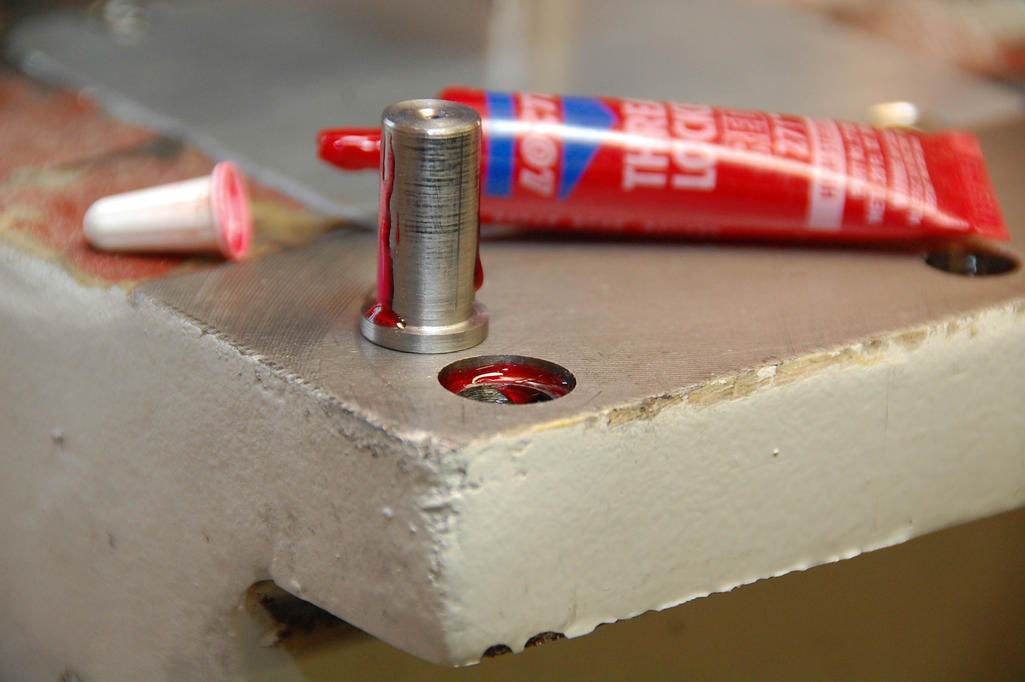
I zeroed on one of the holes using my little center finder gizmo before I bonded the plugs in place. I figured it would be wise while it was zeroed to drill a new center in that same plug so I have the same point of reference if I want to do later work.

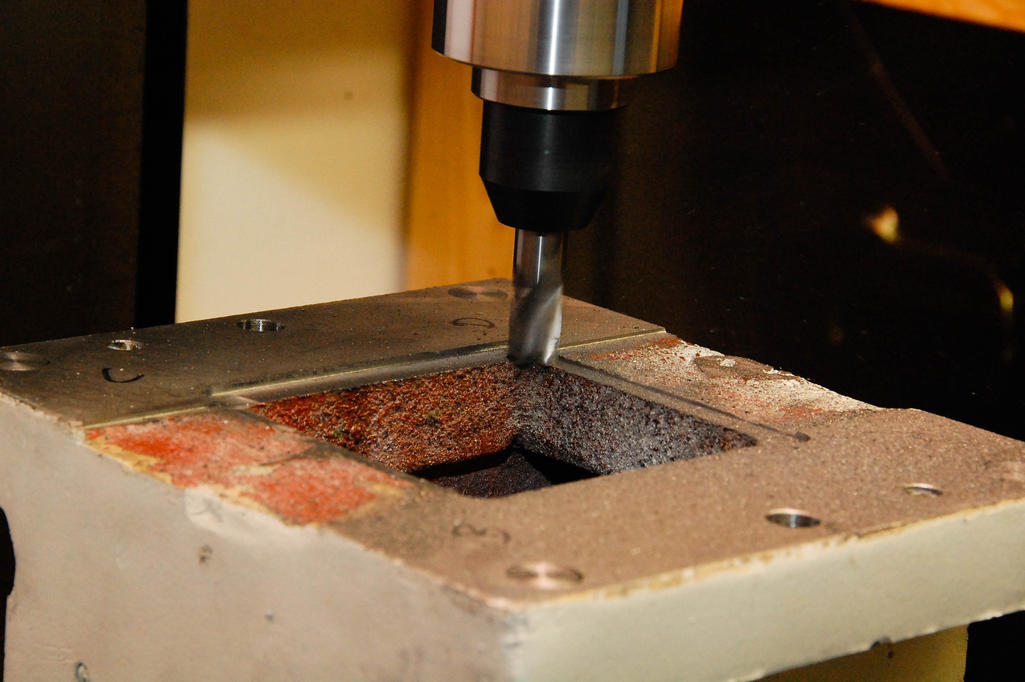
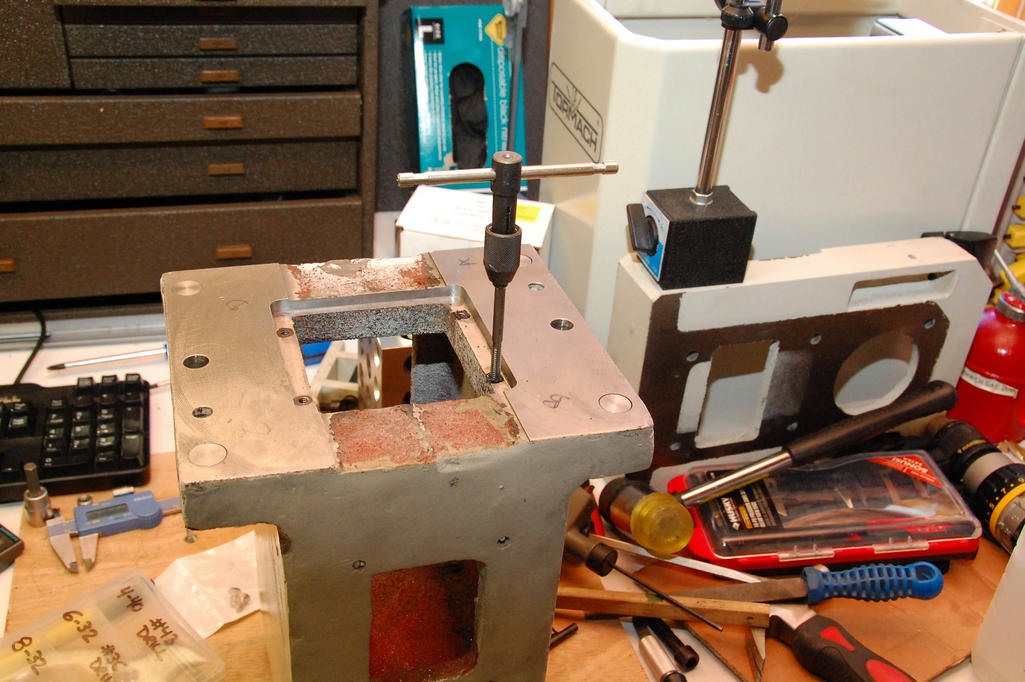
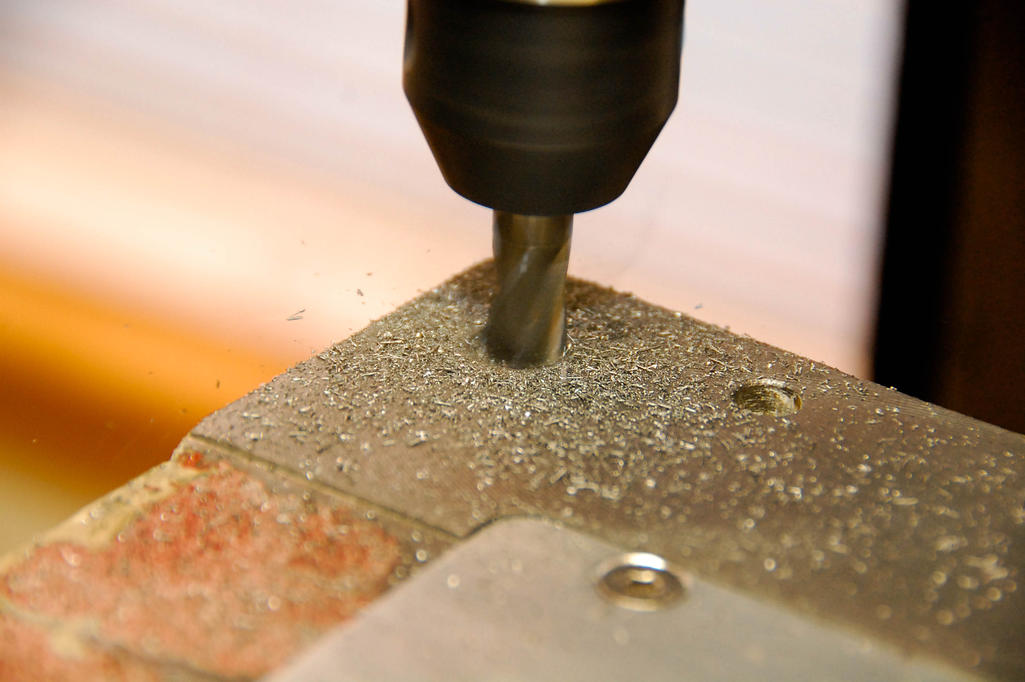
And here we go, really committing now. Helical boring the new X3-spaced mounting holes. 3/8″ four flute carbide endmill, which was alternating taking bites of Chinese cast iron and 1215 steel. I couldn’t really hear or see much difference. And the last CNC operation of the day, profiling an undersized version of the center hole to accept the boss on the Z slide.
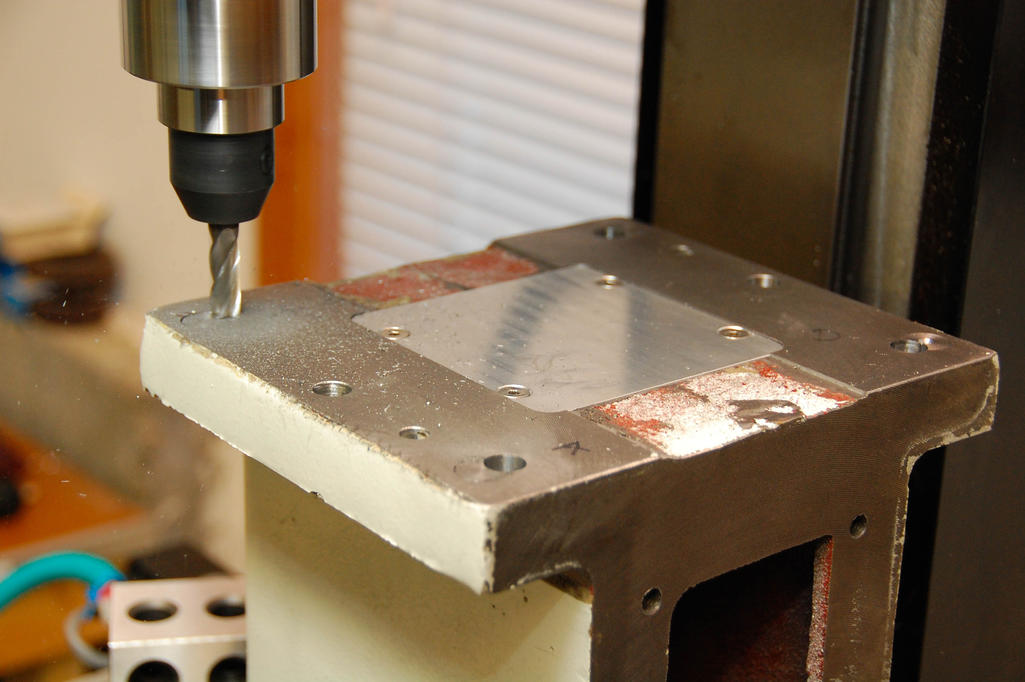
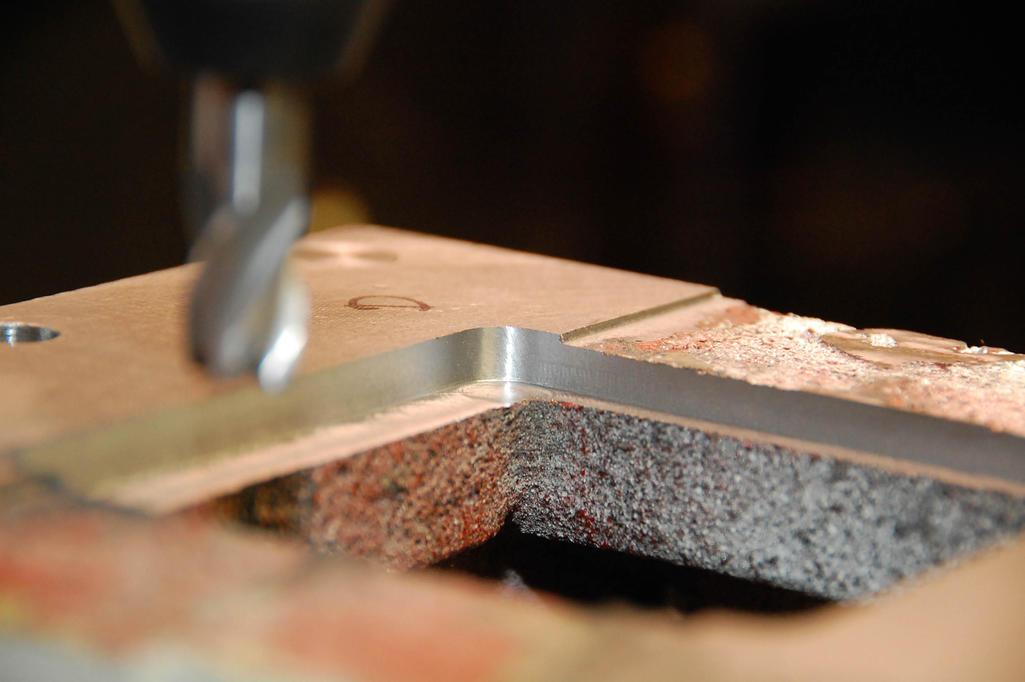
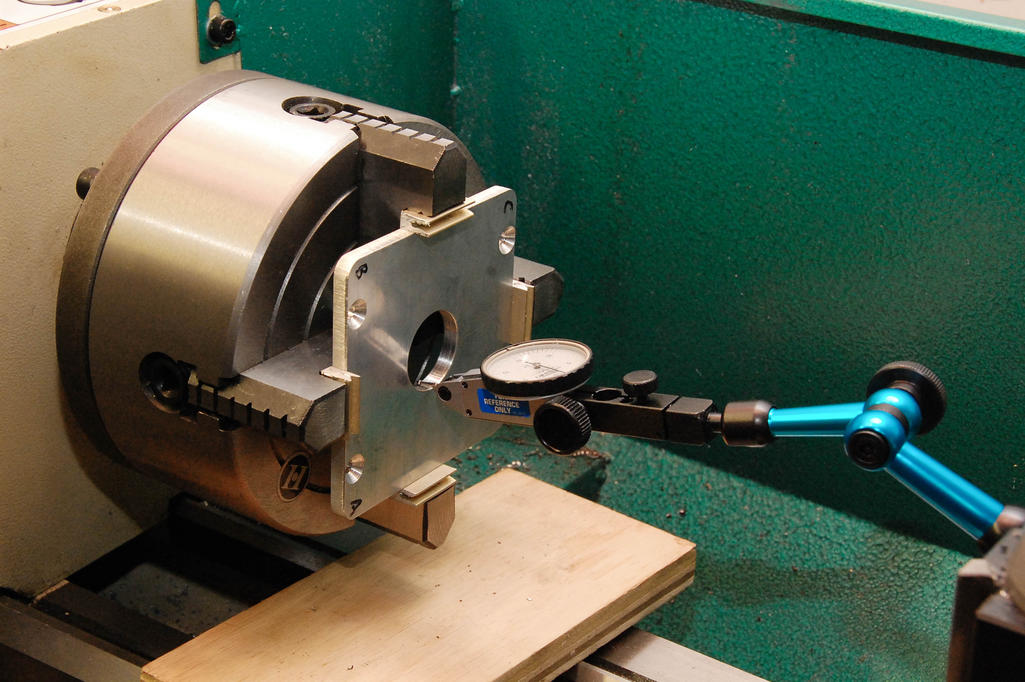
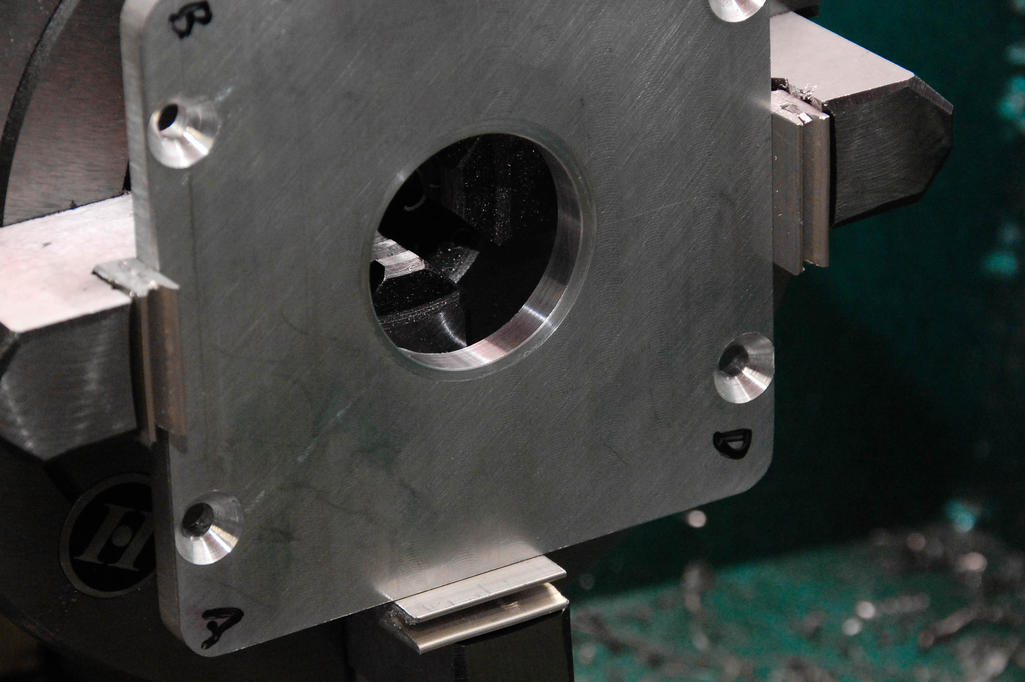
Next up, slung the four jaw onto my lathe for the first time ever, and dialed in the CNC cut bore as closely as I could. Took it out to just under 35mm with a boring bar, and then took it the rest of the way with sandpaper. This was mostly because I don’t yet own a set of telescoping gages and mics, and I knew I couldn’t trust halfass caliper readings, so I played it safe and did several test fits until it just slipped over the boss. Accidentally bumped the non-cutting part of a tool holder into the face when I was trying to turn in a chamfer, that’s what that mess is on the face. Oops. Good thing this part is buried in the machine.
Here are some of the sights and sounds of today…


