And now, the moment probably nobody but me had been waiting for… The test fit!
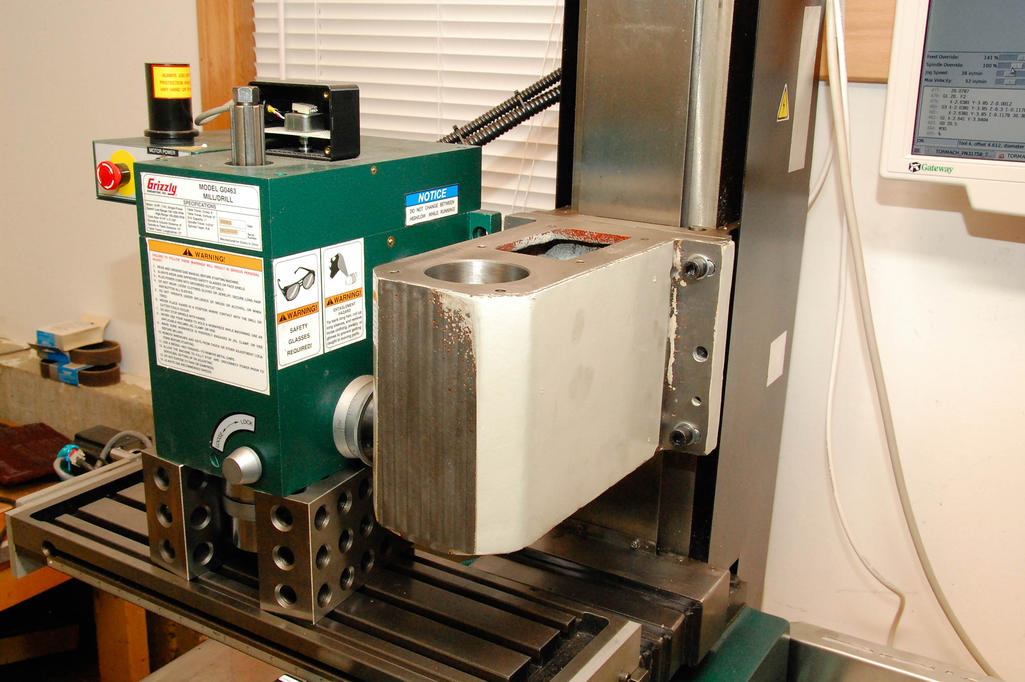
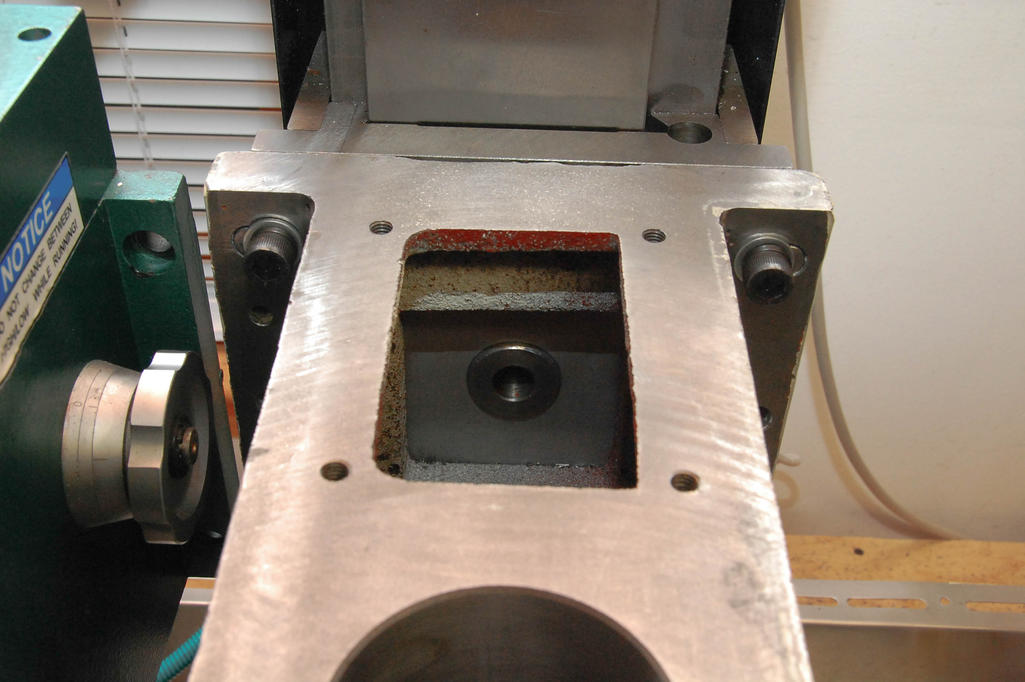
Looking down into the top of the casting, you can see the boss on the X3 Z slide poking through the boss receptor plate. You can also see the overhang of the casting flanges. I will probably make some filler strips to pad out the Z slide so it doesn’t look so goofy. Otherwise, I’m tempted to say the fit is perfect – exactly what I intended! I love it when a plan comes together.
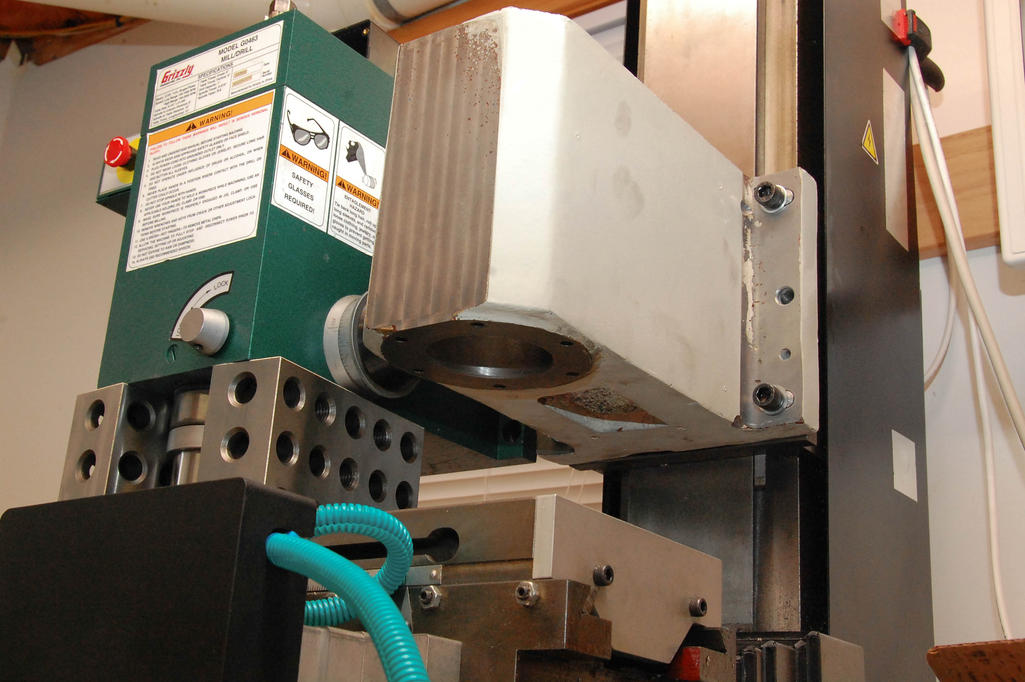
The left-right tramming action seems just about right – I think I should be able to dial it in without a lot of hassle, then pin it in place. I did oversize the bolt holes a little bit to give me more wiggle room in tilting it left-right. I’m really glad I decided to make the plate to accept that boss, I think I would have been in for a world of misery trying to tram it otherwise. As it is, it rotates on a point perfectly centered in the middle of the four bolts, which is exactly what you want.
So that’s where we stand for now. After a long Friday evening and two solid 8+ hour days down in the shop, I needed a break so I called it a day before I made a stupid mistake and regretted it. I removed the Tormach head, and left the X3 head jacked up on 246 blocks, though I centered the table so it wouldn’t be overhanging. If you ever have to remove your X3 head and you’ve got an operational table, this is actually a really nice way to do it – no lifting required, and no drama.


