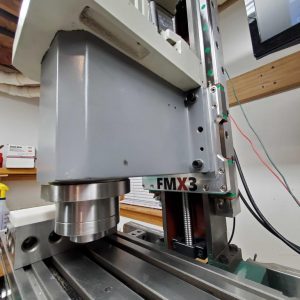
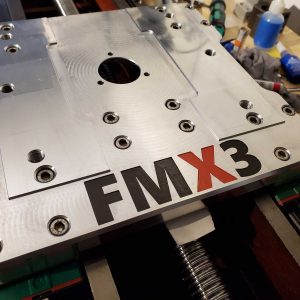
Mating the Head to the Z Slide
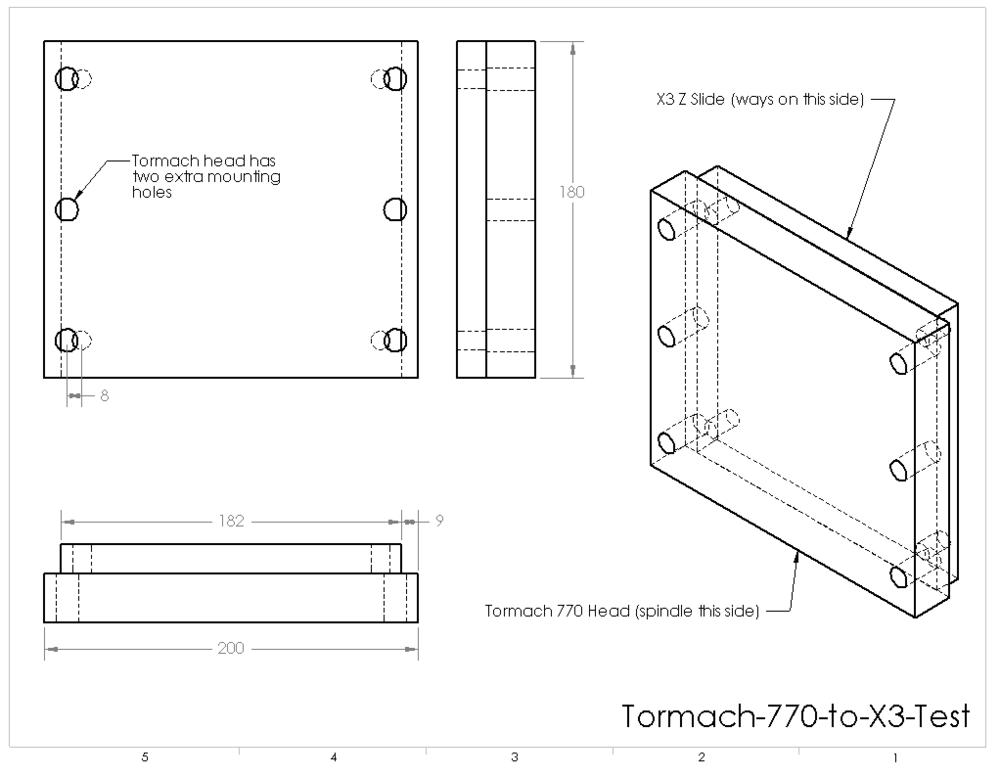
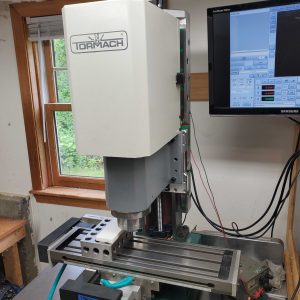
Looking at the mounting of the Tormach head vs the X3 Z slide, it’s a bit eerie how close these are. Machining a new Z slide seems like one possibility, though the dovetails are 55 degrees instead of 60 degrees. This would be a lot of precision work, and I think it is probably a bit out of my reach in terms of my skill and ability. I’d probably have to do it at least twice to get it right, and even then maybe I wouldn’t nail it. I don’t have much experience working cast iron or steel, so it would be a pretty steep learning curve.
Another possibility is to offset the entire Tormach head left or right by 8mm – at that point, two of the holes actually appear to line up. Then I’d make an extension for the opposite side that would bolt to the side of the Z slide, and to which the Tormach head would bolt from the front. It would be “L” shaped and wrap around to the back of the Z slide for additional support. The nice thing is that this doesn’t require any significant modifications to the Z slide that would prevent putting the X3 head back on if I decide this whole project is stupid. The downside is that it doesn’t seem to be anywhere near as rigid as other approaches.
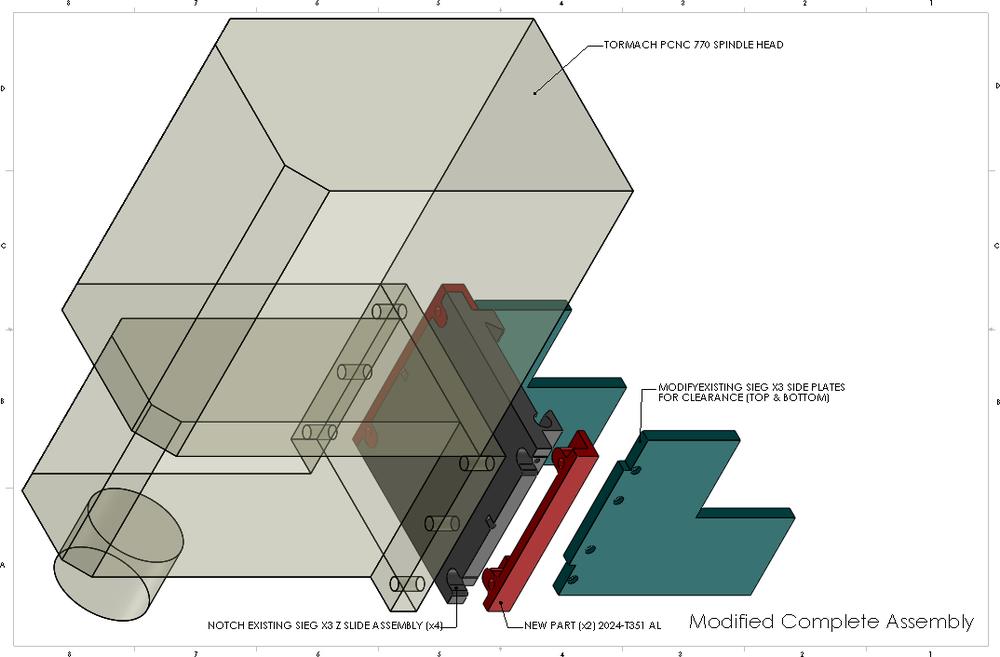
The sketch above represents my current line of thinking. It does require some Z slide modifications, as well as some non-critical modifications to the side plates that attach to the Z slide.
Basically I’d make the two parts shown in red with the X3, before disassembling it. Then I’d tear it down, beg/borrow some manual machine time somewhere, and make the modifications to the Z slide and side plates. Then put it all back together, mount the new Tormach head and get to tramming.
The idea is still a work in progress. I think I should probably account for the middle bolts on the Tormach head, using a similar notch-in scheme. My initial reservation was that if I do that, I lose the two registration dowel pins for the X3 head. Not the end of the world I guess, but it is a commitment of sorts.
I also think it would be nice to include some kind of tramming aid. Maybe just a jackscrew arrangement on one corner to help me tilt the head left-right while I’m setting it up. Head nod would still have to be corrected with shims (either between the head and the Z slide, or under the column depending on the source of the error).
Speaking of dowel pins, the Tormach head has provisions for two pins. They’re arranged differently than the X3’s (which are drilled in from the side, in between the sandwich of the head and Z slide). I am assuming the correct procedure for setting it up will be to put one of those in in one corner initially. That will give the head a pivot point. Then I’d get the head in tram left-right, and while the mounting bolts are snugged down, transfer punch and drill the other one in to lock it in place. Does this seem reasonable?
Spindle Nose to Column Distance
The stock X3 measures approximately 215mm from spindle nose to the mounting surface of the head. The Tormach 770 is 232mm according to the Tormach drawing.
The Tormach spindle would be 17mm (0.669″) further from the column assuming a direct mate of the new head to the existing slide. This is probably close enough to work, though it does mean the center of the table would no longer be directly under the spindle when the Y axis is 100% supported by their ways. My ProMiCA CNC conversion added some Y travel over the stock X3, so it does help this situation.
