
New part for the build arrived today. 70 ohm, 300W braking resistor, for the VFD. Cheap from ebay. So cheap that one of the end caps was dislodged during shipping, and the shipping bag was filled with fine sand from inside the resistor. I contained the mess and put it back together, but I’ll probably need to RTV the ends shut. Thankfully it did still measure out to 70 ohms, so I don’t think there’s any real damage.

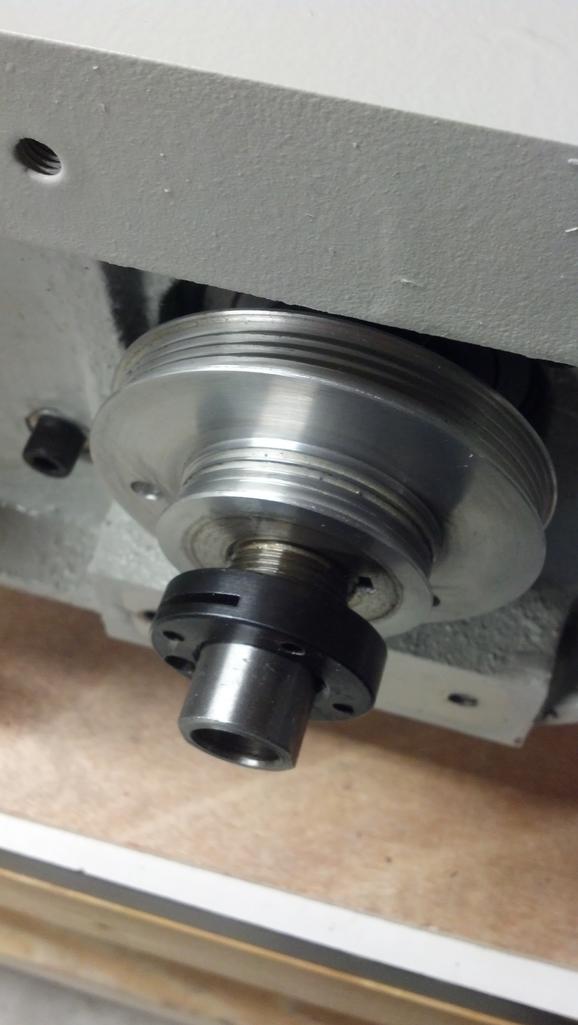
I also continued the head teardown process. I was finally able to get the lock ring off of the pulley with a little more effort, using a pin spanner from my bicycle toolbox and an adjustable wrench to brake the spindle using the flats that are milled into the shaft. But, I couldn’t budge the balanced pulley that was next to come off.
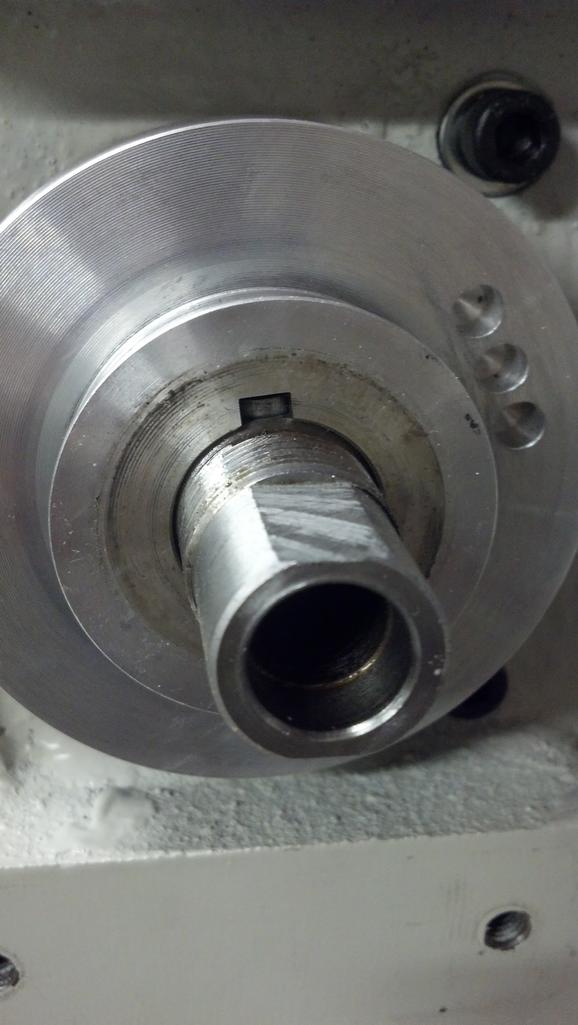
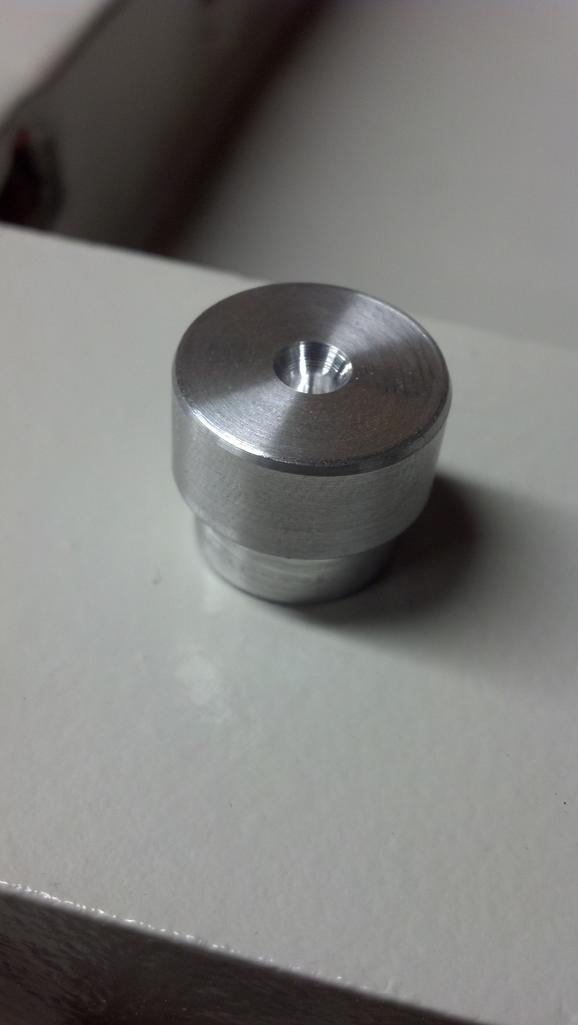
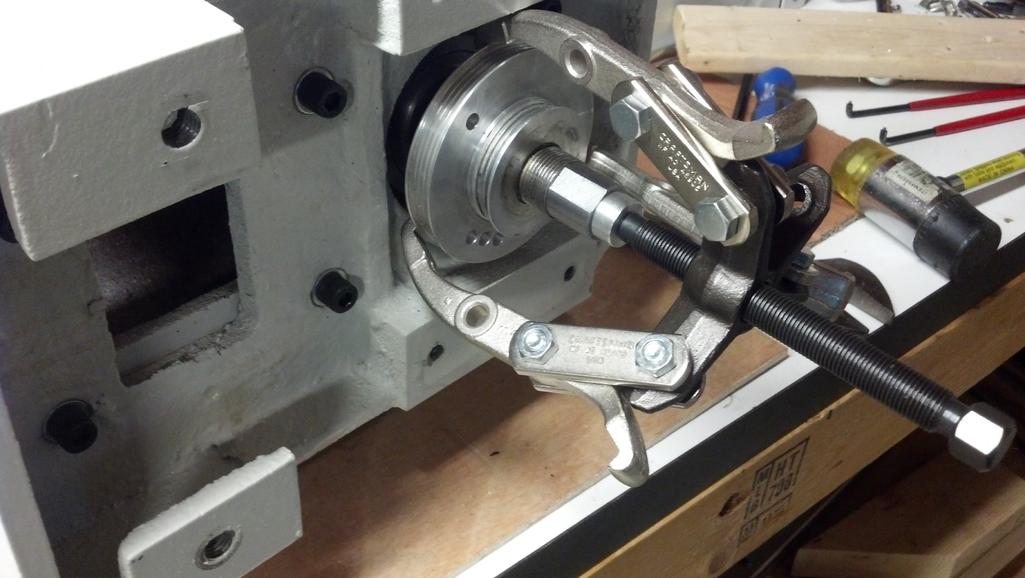
So, I turned down a little shaft plug with a center hole, and used a gear puller and it came right off. That left the shaft key and a backing spacer behind.
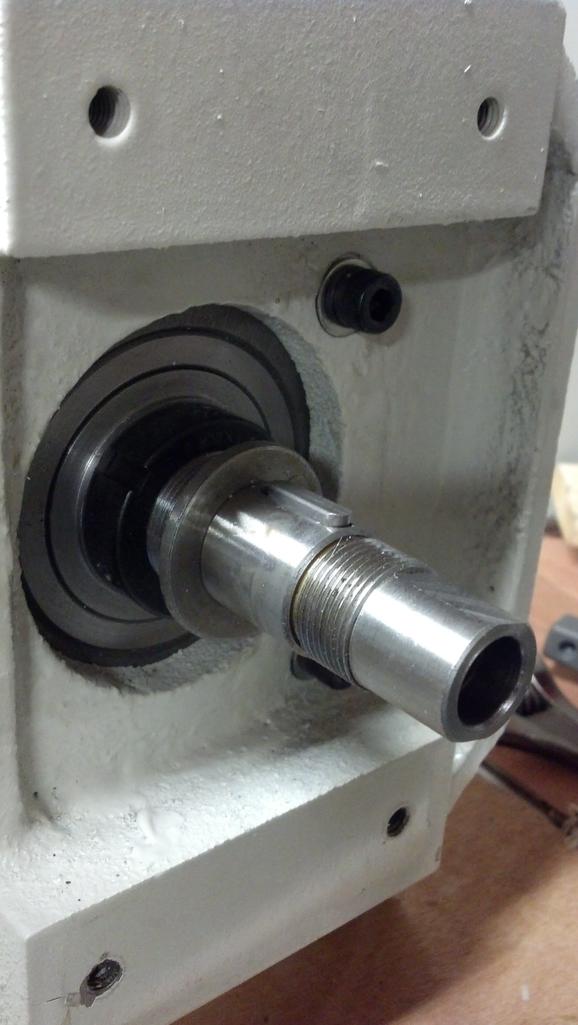
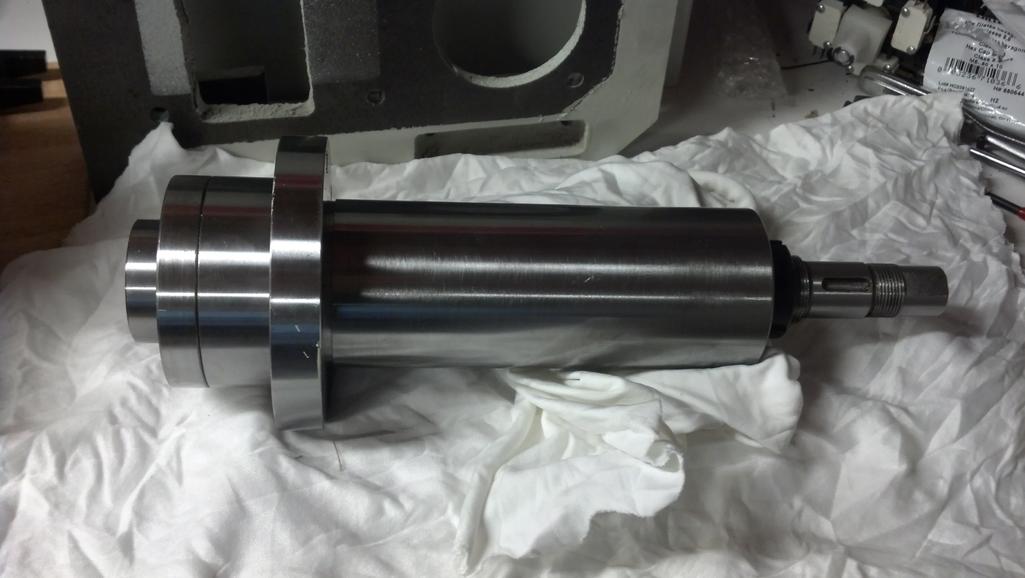
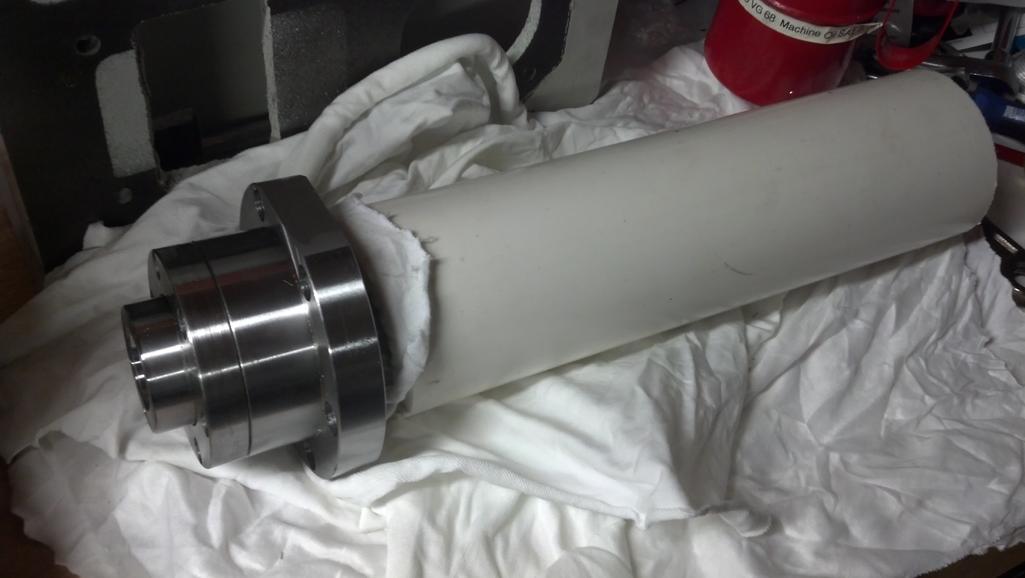
Once that pulley was off, I was able to remove the motor sub-casting from the main spindle casting. The spindle was free to come out at that point, just by undoing the bolts around the diameter of the spindle nose. Given the value of the spindle alone, I decided it would be wise to protect it. I wrapped it in some oil soaked rags which made it a nice slip fit inside of a piece of PVC pipe. That should protect the exposed drawbar end nicely.
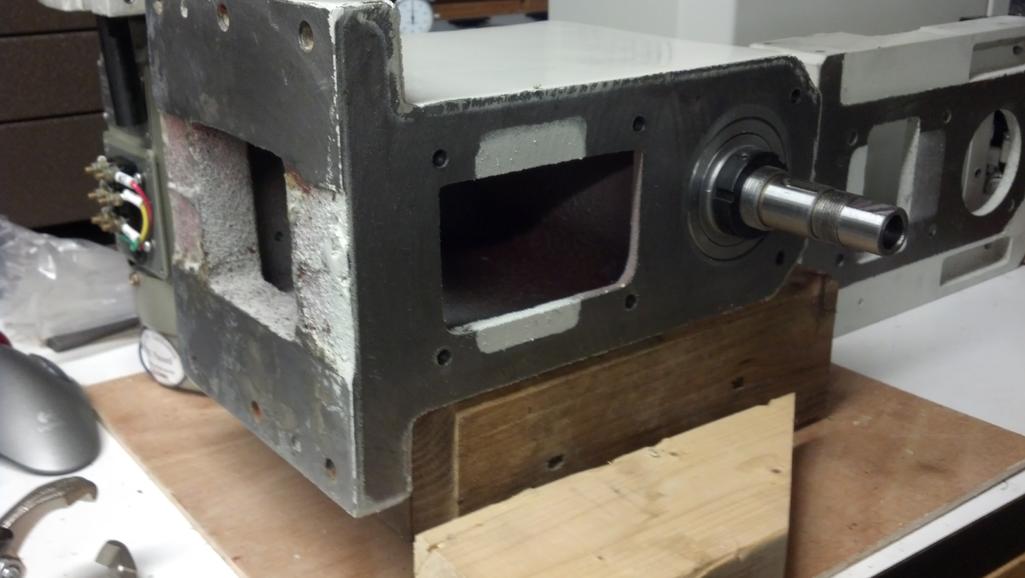
With everything stripped down, it was refreshing to finally see some machined surfaces. In the second picture below, I’m starting to puzzle out how I’m going to support the casting on the table of the mill to do some machining of the bolting flange. Unfortunately I don’t have any machinists jacks, which would be a big help. Fitting it on my table is also a challenge – I’d rather have the bolting flange in parallel with my X axis, which means that heavy end with the bore will be overhanging the table. This operation may be better left to when I have access to a larger manual machine to do the Z slide mods.

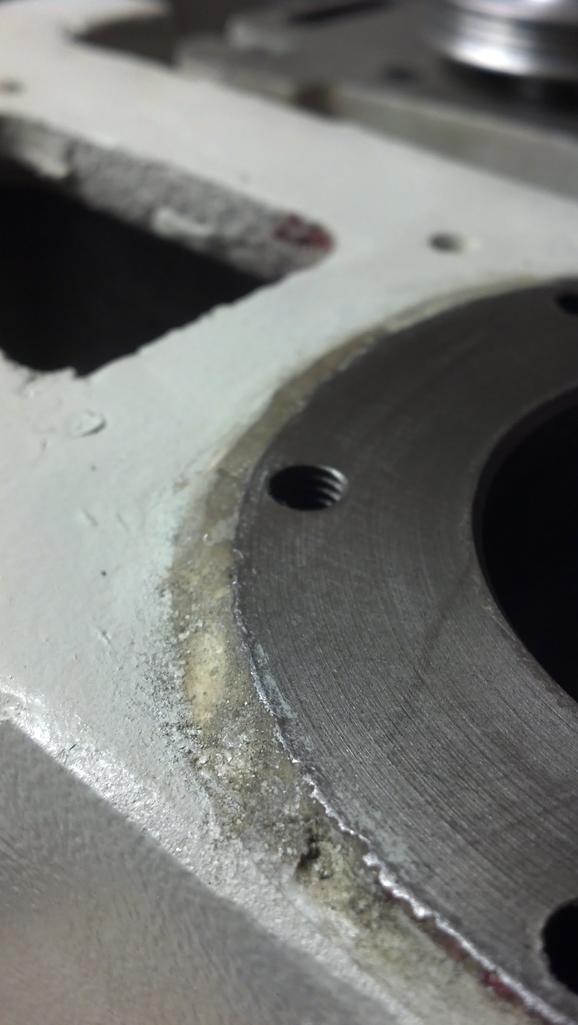
As to why I want to machine that bolt bearing surface, take a look at this mess. I scraped at one of the holes a bit with an X-acto blade. Somebody loves bondo, but it’s not me.

Well, enough for tonight. Here’s a parting shot with lots of little parts collecting from the teardown.


