I caught the nasty cold going around the office, but I’m trying not to let it totally kill my productivity. So, I forced myself to get a little bit done down in the shop tonight.
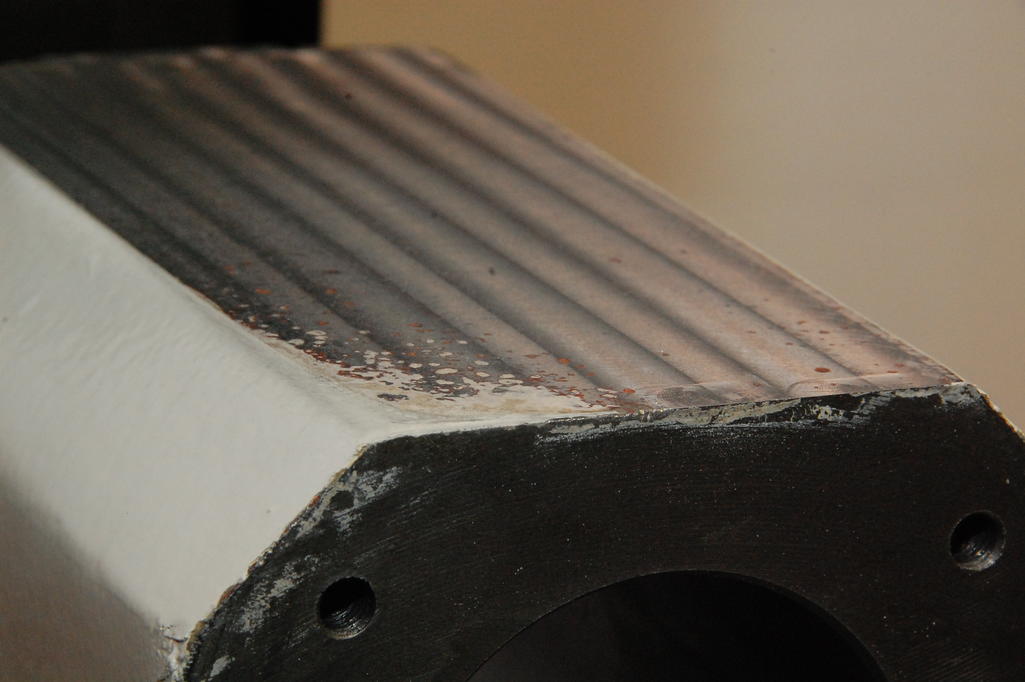
Started with some cleanup of the mating surface. It was smeared with body filler, paint, and who knows what else. Left is before, the right two are after ten minutes with a wire brush and some lacquer thinner. Nothing like some lacquer thinner to clear the sinuses and destroy some brain cells.
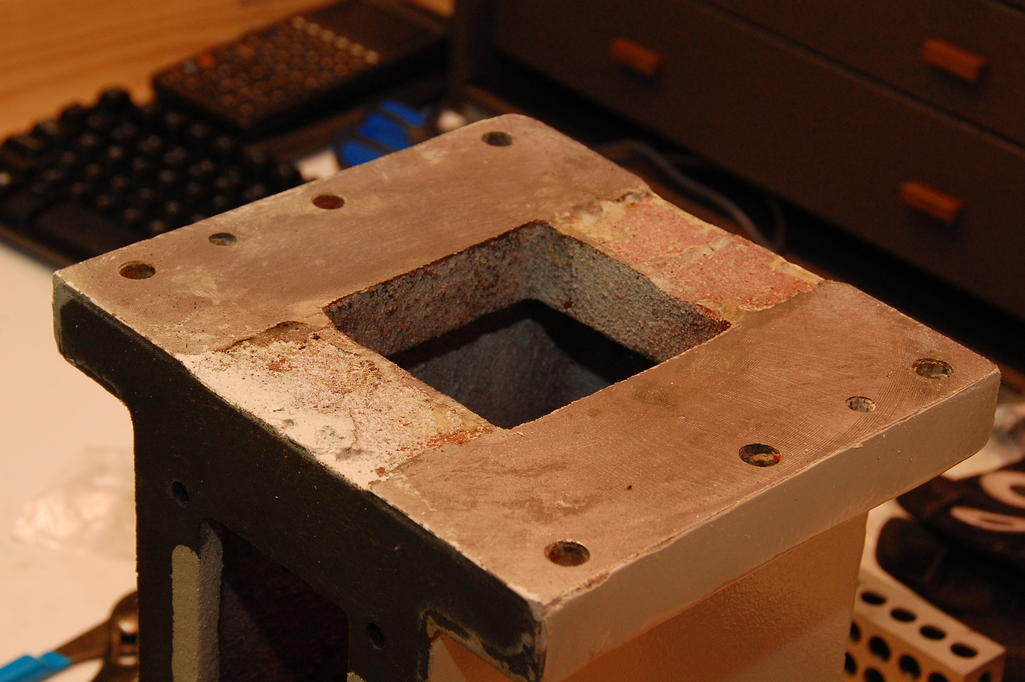
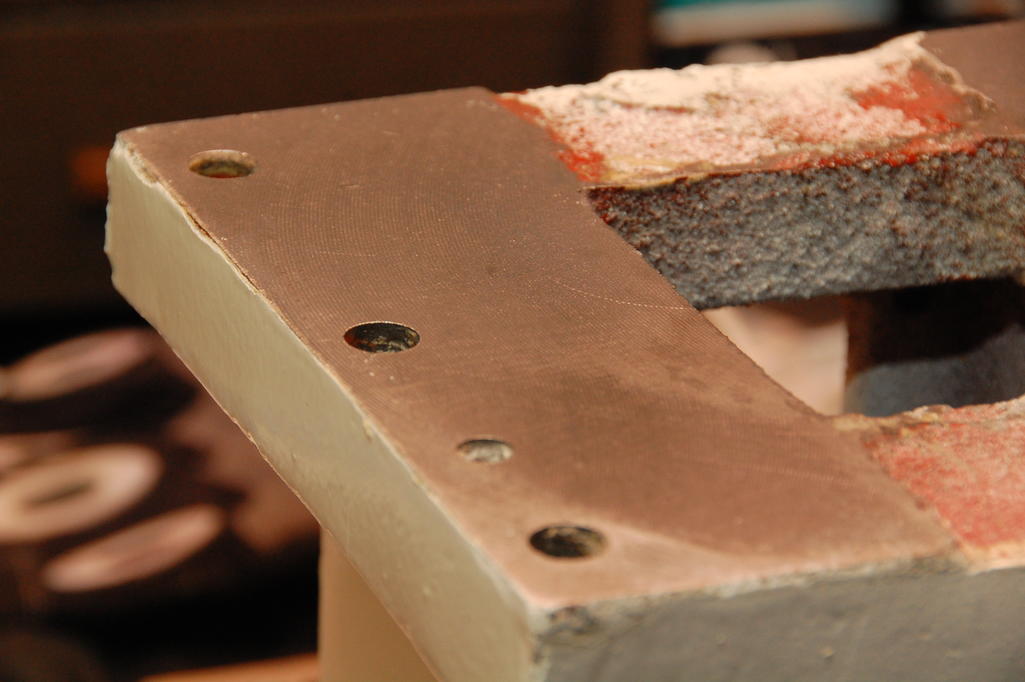

With the back mating surface cleaned up, I got it up on the table, squared it up, and faced it. This was like machining Easter candy. Machine off the crunchy outer candy layer to get into the nougat cast iron center. The surface was an uneven mess under all that paint, and even after facing off quite a bit (over 0.100″), I still wasn’t down to metal in that front corner. I didn’t want to take off any more material, though.
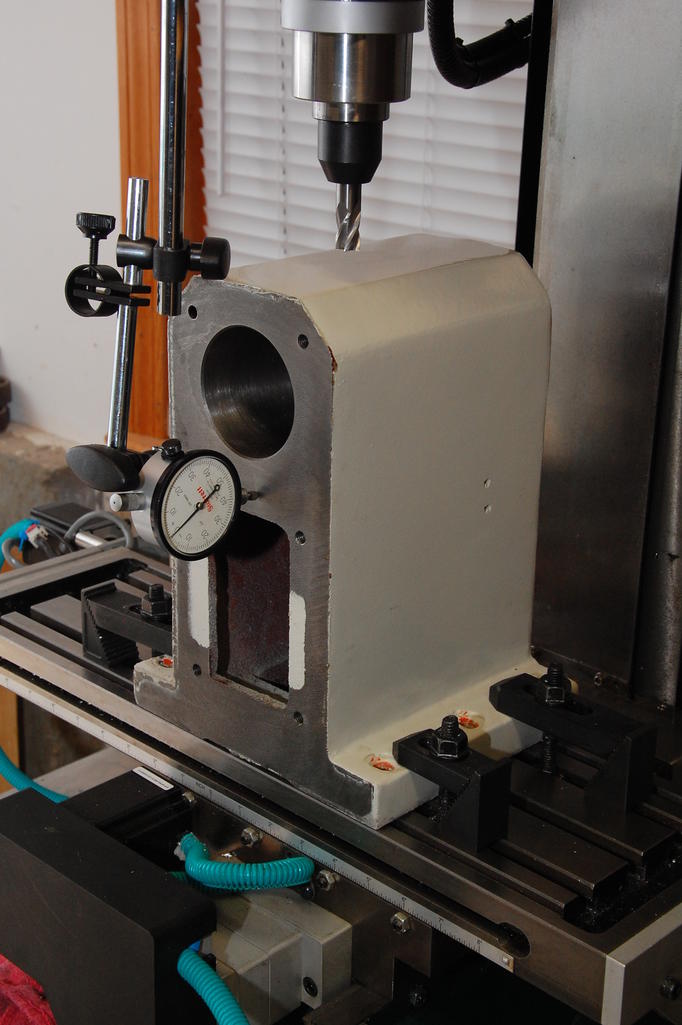
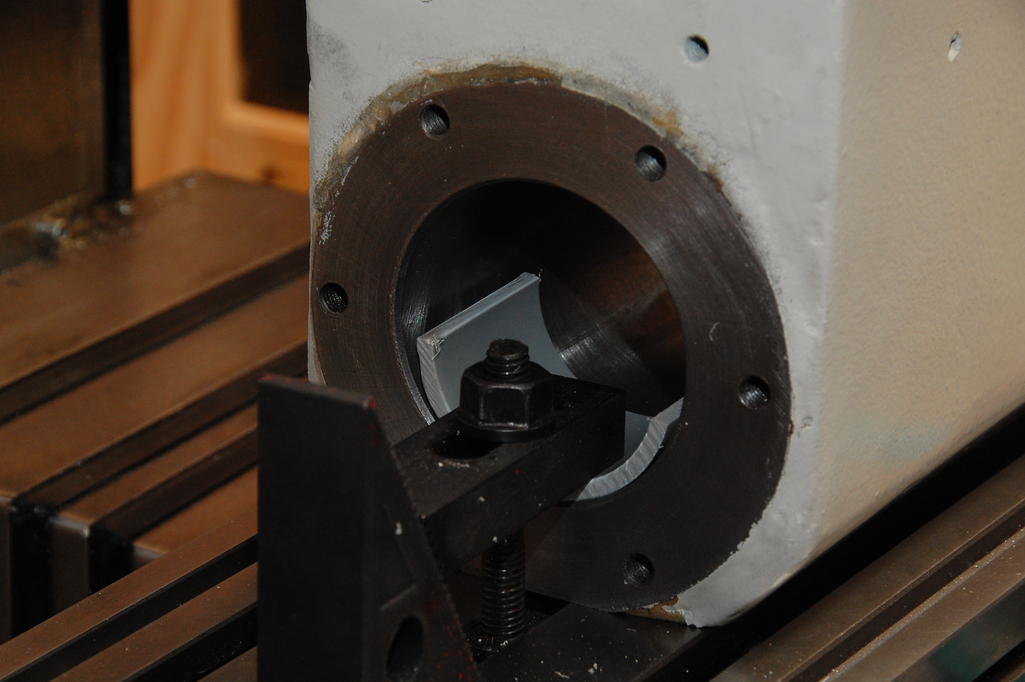
Once that side was faced off, I was able to flip the casting over. This is the position that will allow me to mill the new slots that match the X3 hole pattern. There’s not a lot to clamp on except the spindle bore, so I sliced up some PVC conduit to make some soft “jaws” for the step clamps. Not sure if this will be rigid enough for the machining, but I plan to take pretty light cuts with a small end mill to do the slotting.
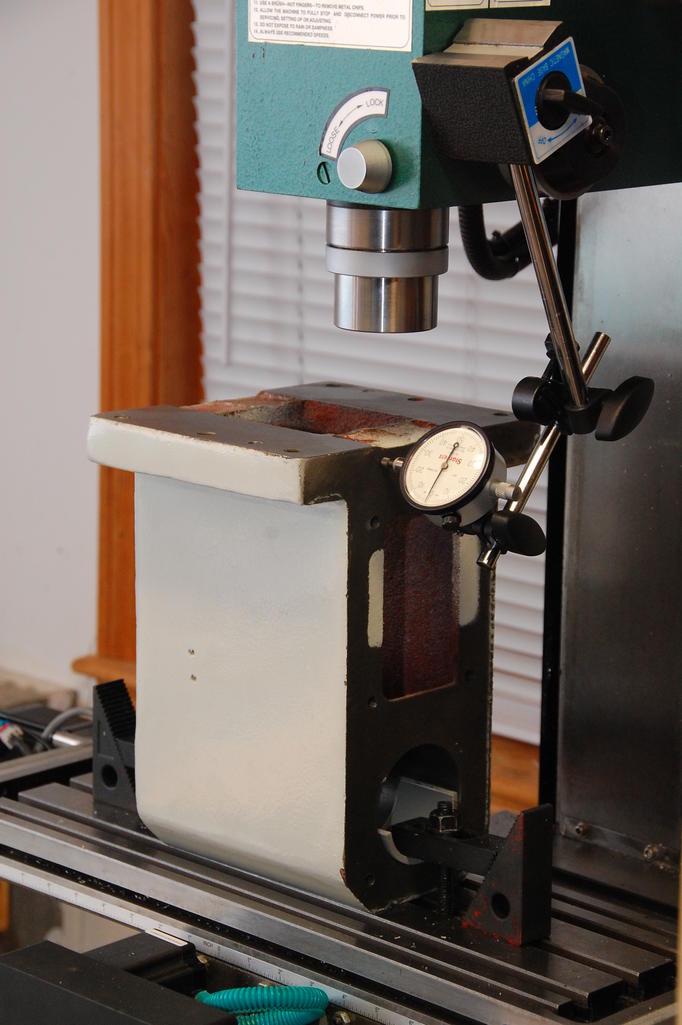
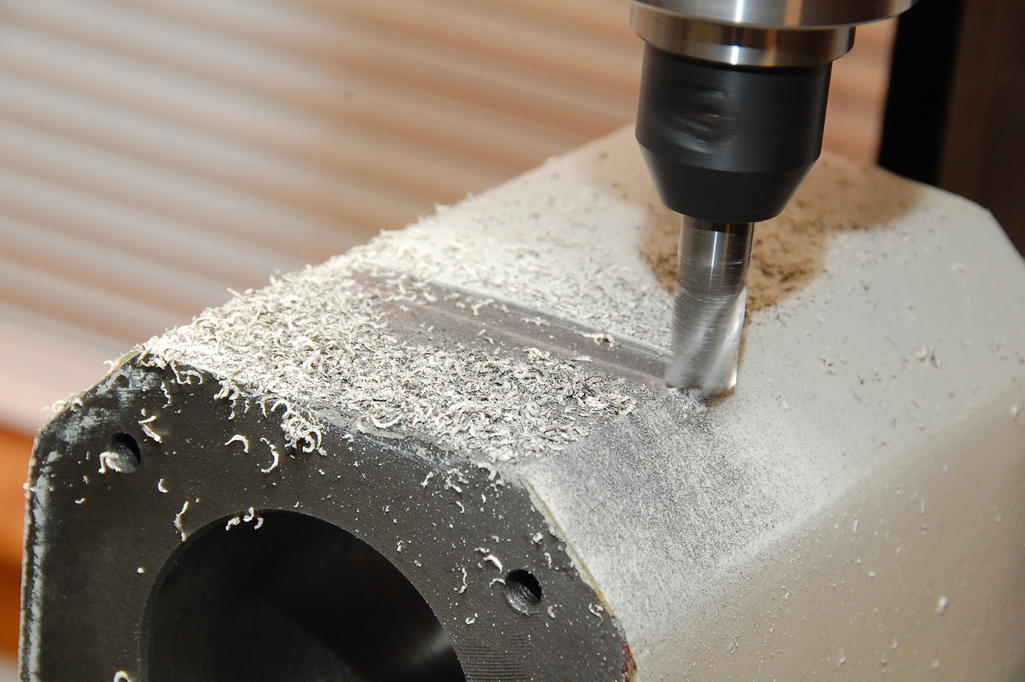
The fly cut surface isn’t exactly smooth, there are 1-2 thou ridges from the cutter all over the surface. It’s not as flat as I hoped, but for the most part it’s within a few thou across much of the surface. I might spend a little time trying to shim it up and get it more level for the final setup before I do the slotting and other operations on this side.

Got a few other items ordered today too… Ordered the drawbar from Tormach (the shorter one for manual use, though eventually I will probably get the power drawbar one). Also some random stuff from McMaster: a chunk of 1215 steel rod for plug material, a brass shim stock assortment (for shimming up workpieces for machining and for tramming), and some shorter Class 12.9 M10 cap screws for mounting the head.


