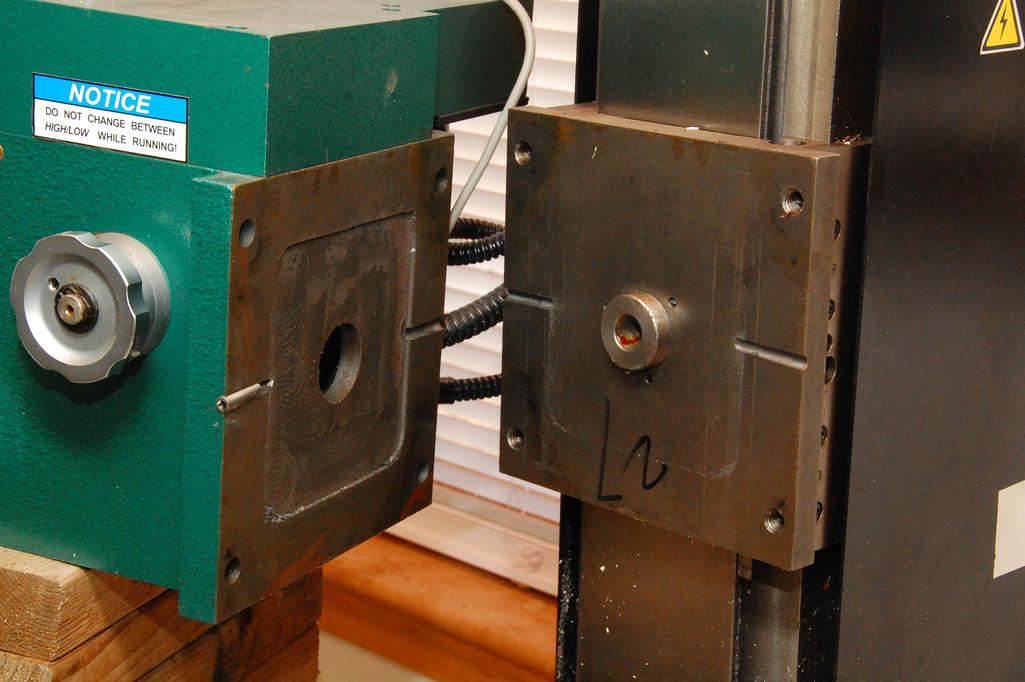
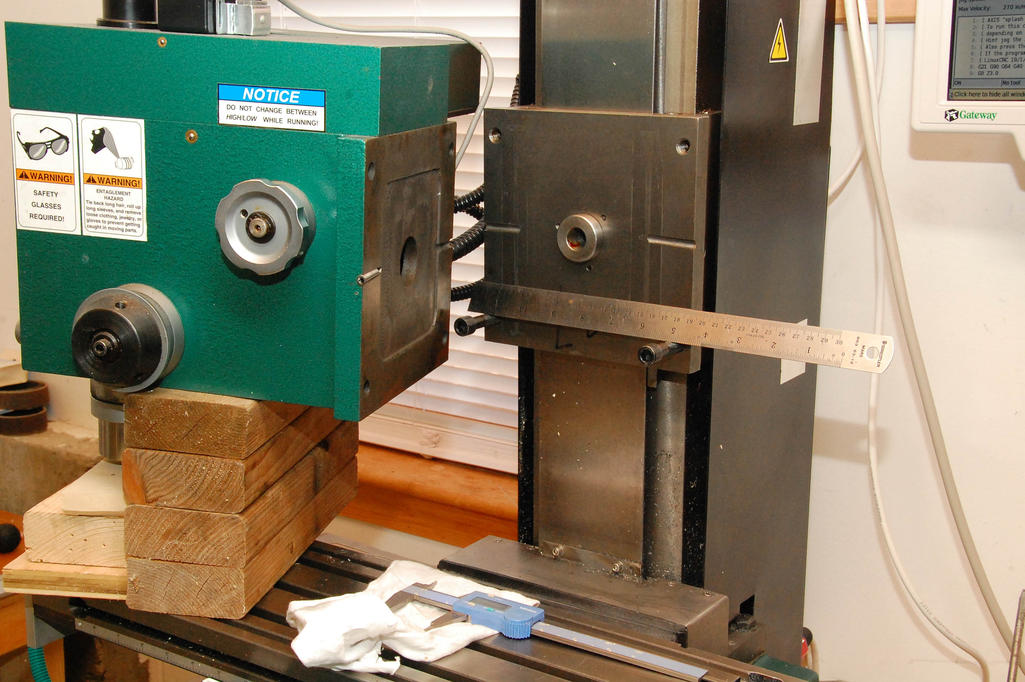
Started out Saturday morning taking the X3 head off to take a look. Comparatively impressed at the quality of the machining here, makes the Tormach head look pretty rough and tumble by comparison. The main thing of note is the 35mm round boss that comes out of the Z slide. I had seen this in the Grizzly exploded diagram, but this was the first I’ve seen of it in person. It seemed like a good design feature, allowing the head to rotate about that point to tram the head left-right. This seemed like a good idea, so I decided to incorporate it into the transplant.
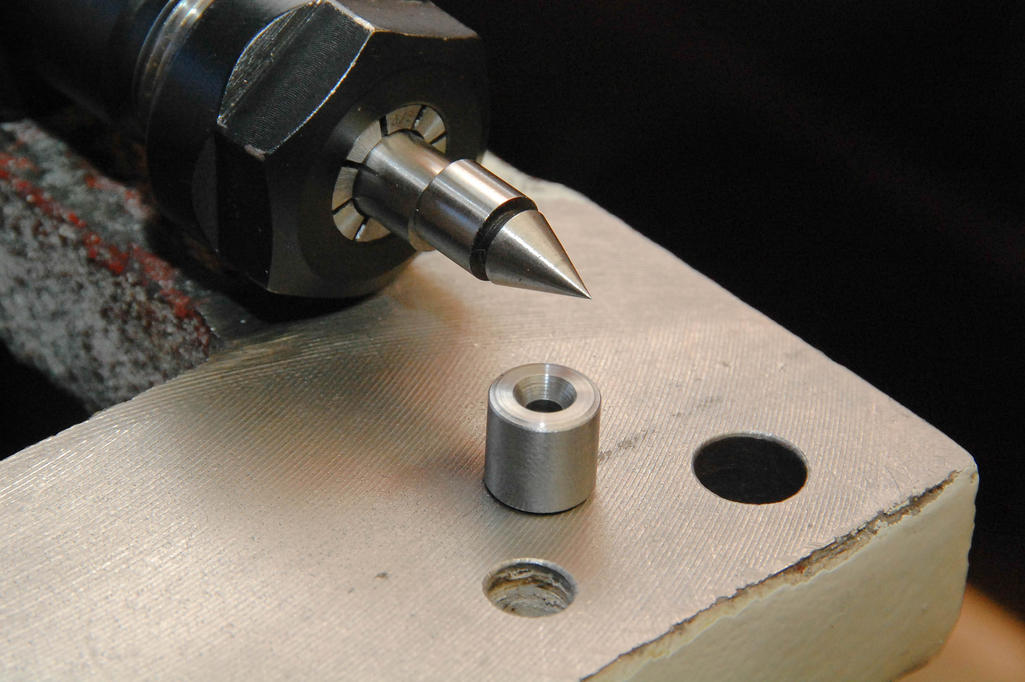
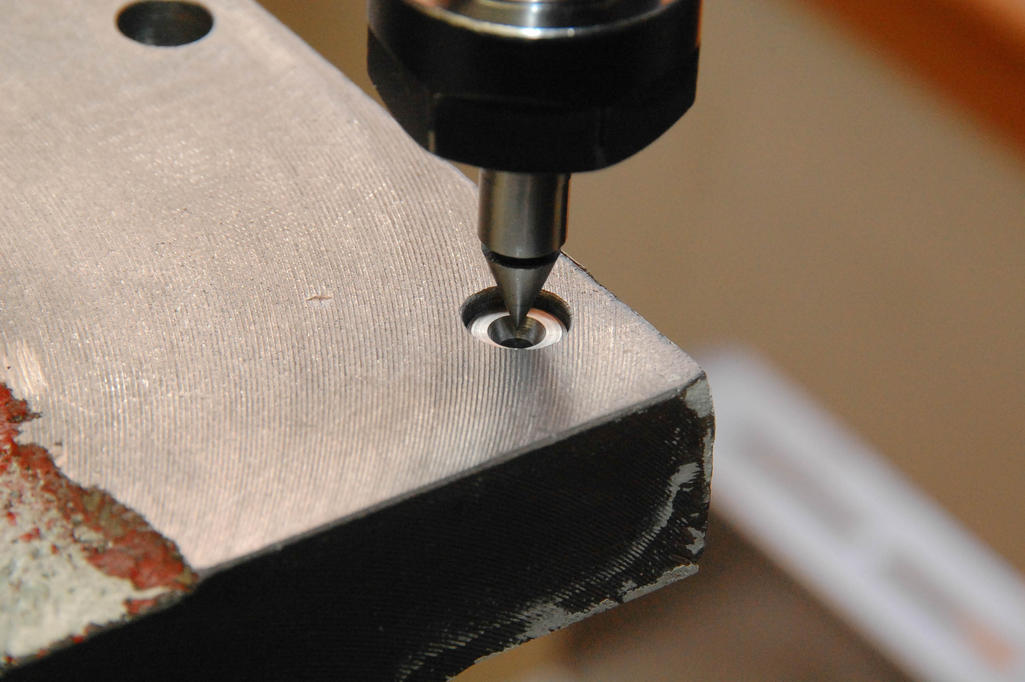
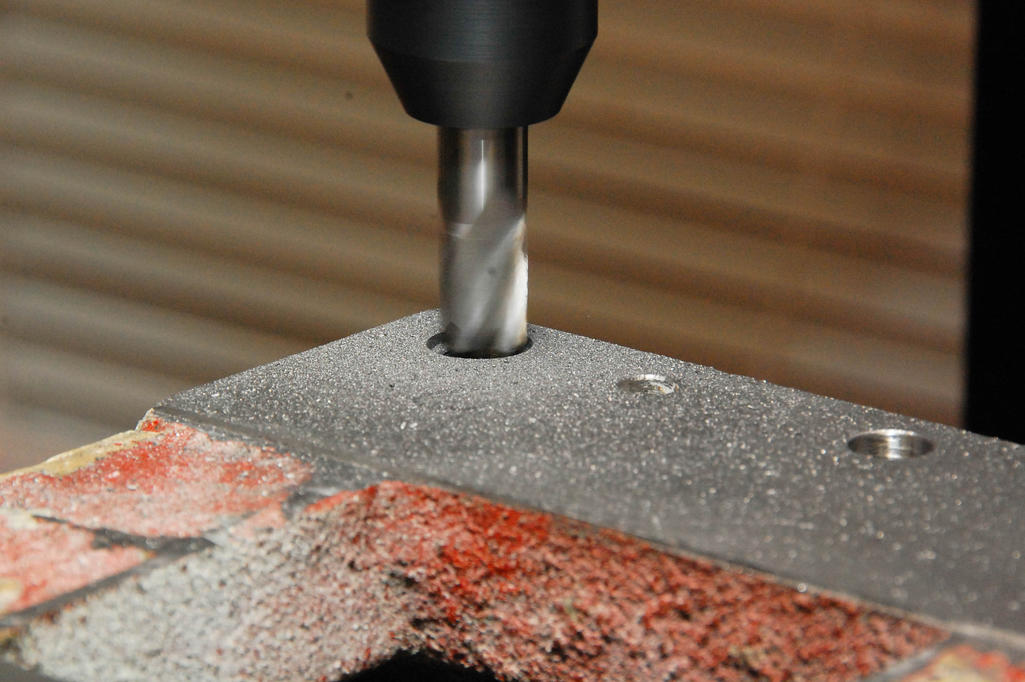
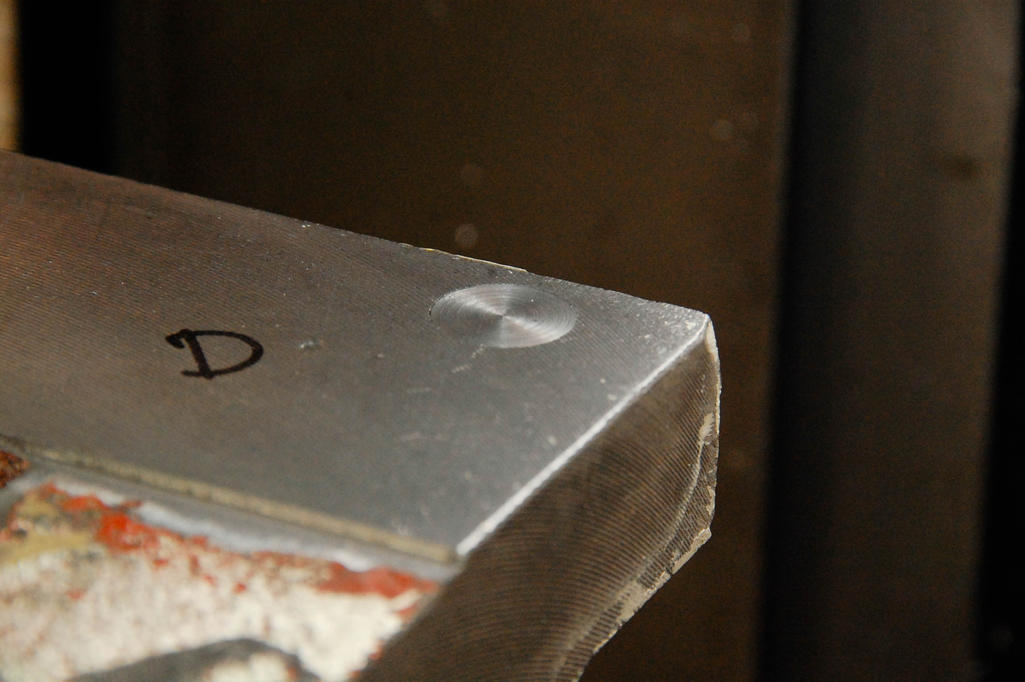
Lots of little things to take care of… Next up was making another attempt at the center finder helper. This time with the hole drilled deeper, so the cone of the center point finder engaged with the cone of the center drill.
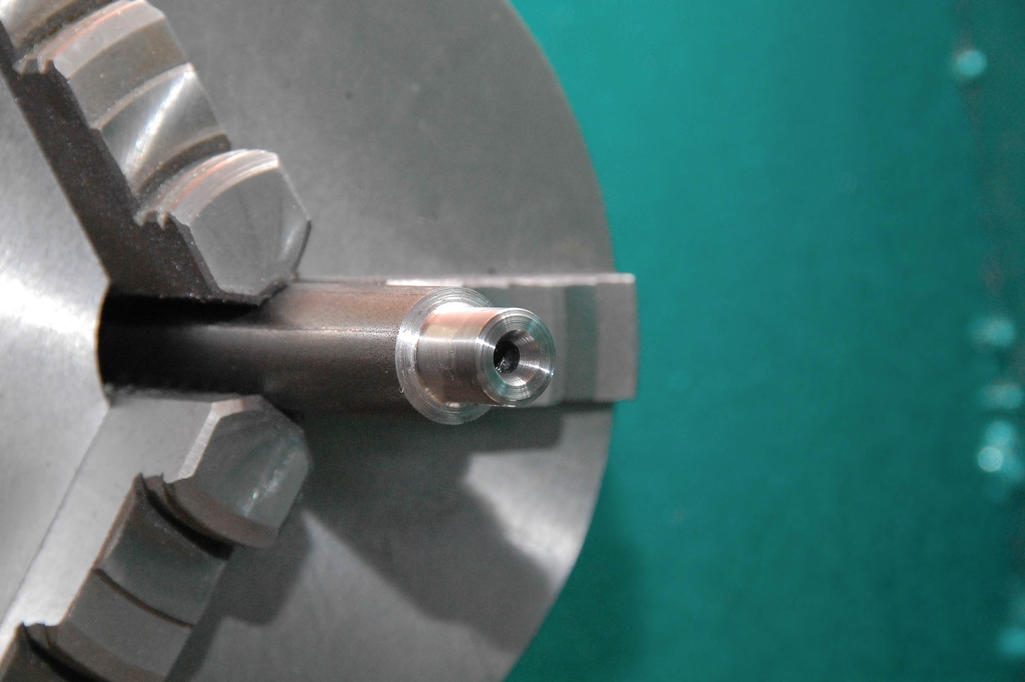
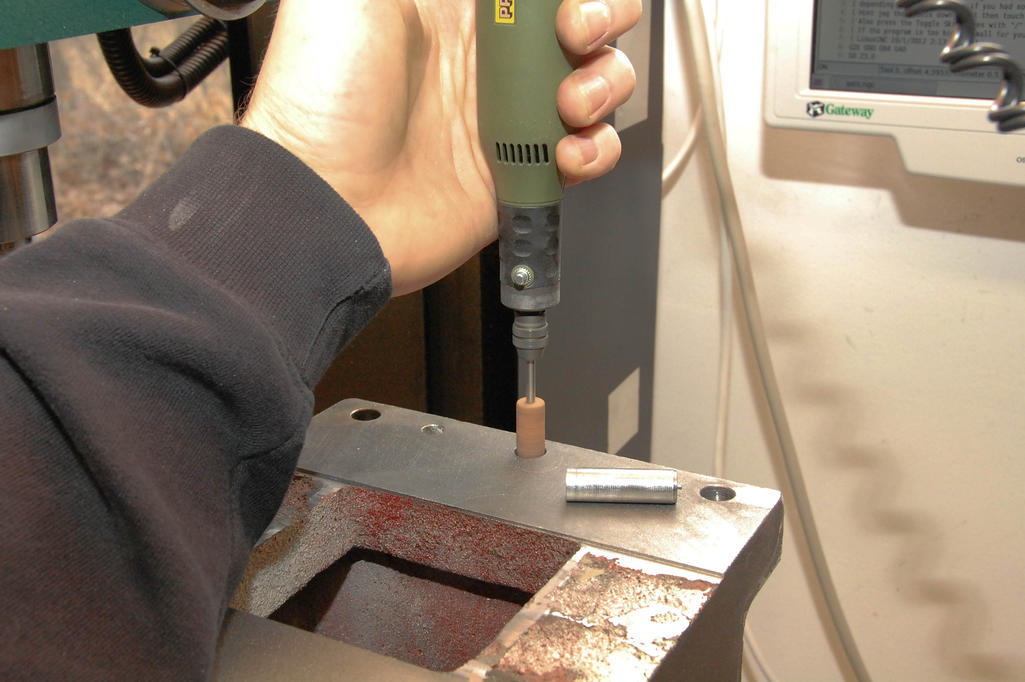
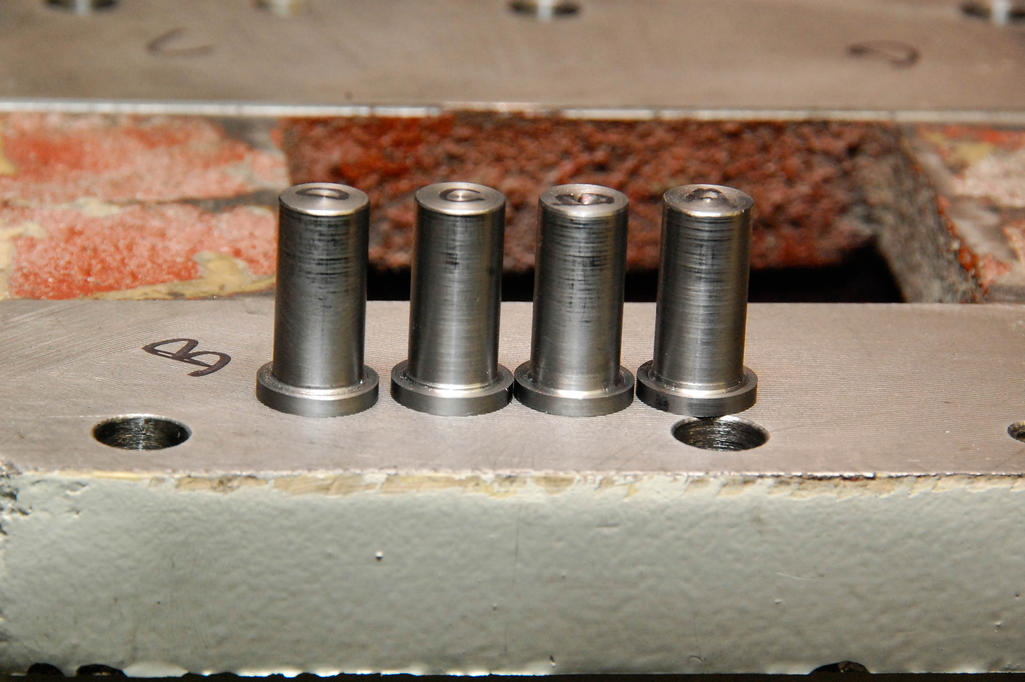
Then, turn four plugs out of 1215 steel, which will fill the old bolt holes. Had to do some cleanup on the holes with a rotary tool spinning one of the nice old die grinding wheels that I inherited from my late grandfather. He was a machinist and did tool and die work, but he passed away back in the late 1980s when I was too young to learn any of the trade from him. Still feels good to put gramp’s tools to work, though.
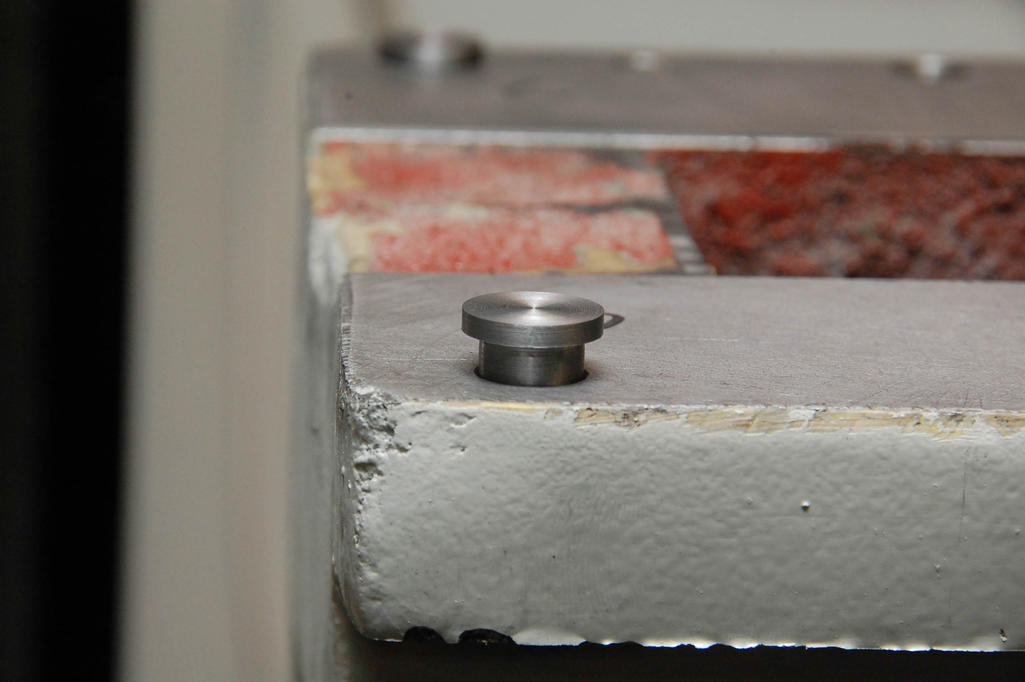
Wrote a little bit of G code to mill in some counterbores for the heads of the plugs. Always a nice feeling when parts mate like they should. Can’t say they were all so clean, but it didn’t take much wrangling to get them to fit.
So that pretty much wrapped up Saturday. Slow and steady, but it’s progress.


