Tonight I did some very preliminary measuring for tramming the head and column. Mostly just practice to start wrapping my head around it.
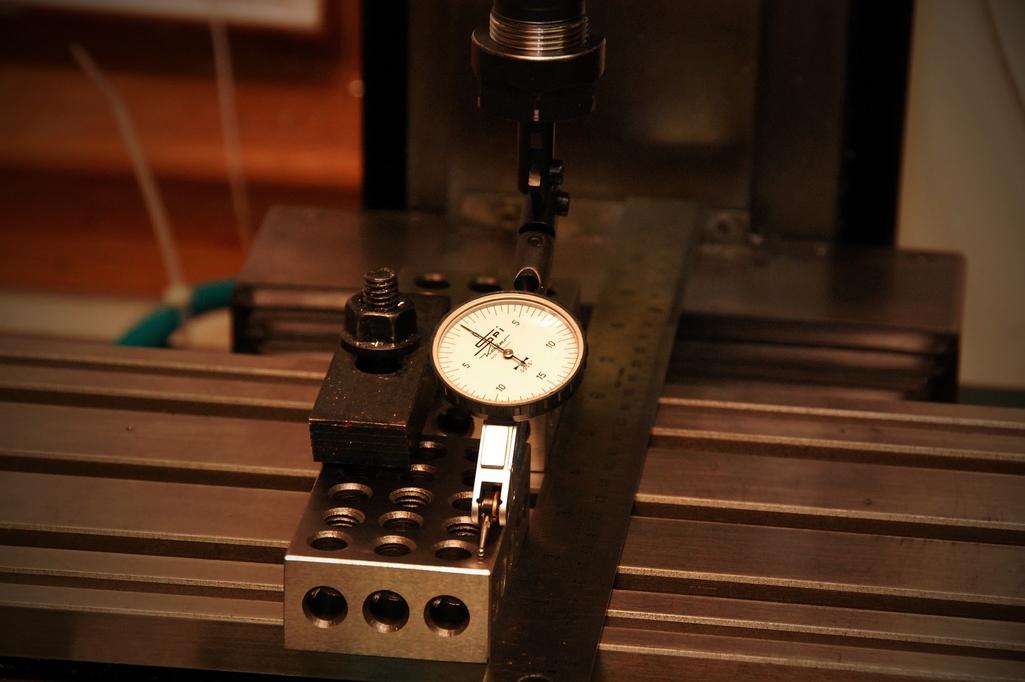
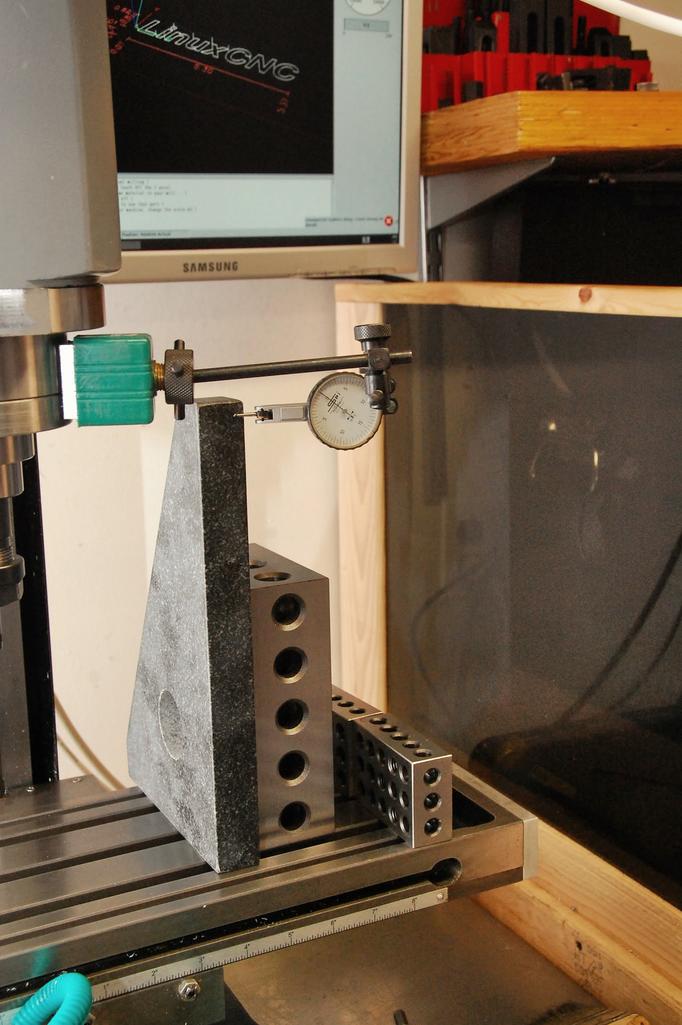
I started with the DTI in an ER20 collet holder in the spindle. First up is checking the Y axis, fore and aft. The back measurement is down .005″ over ~7.25″, which I think means the head is tilted back.
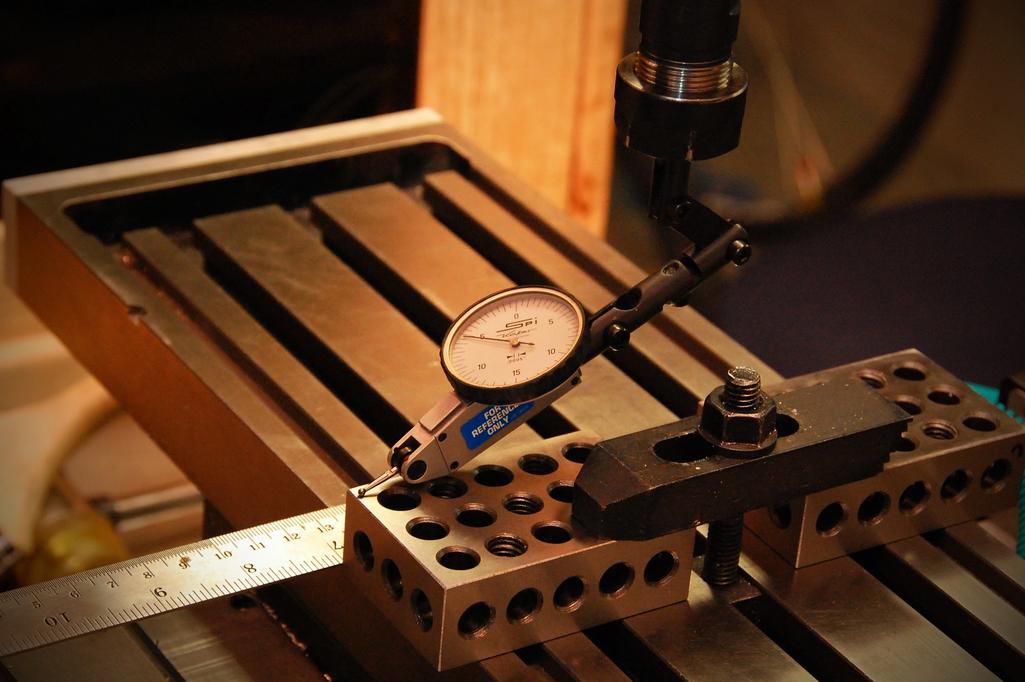
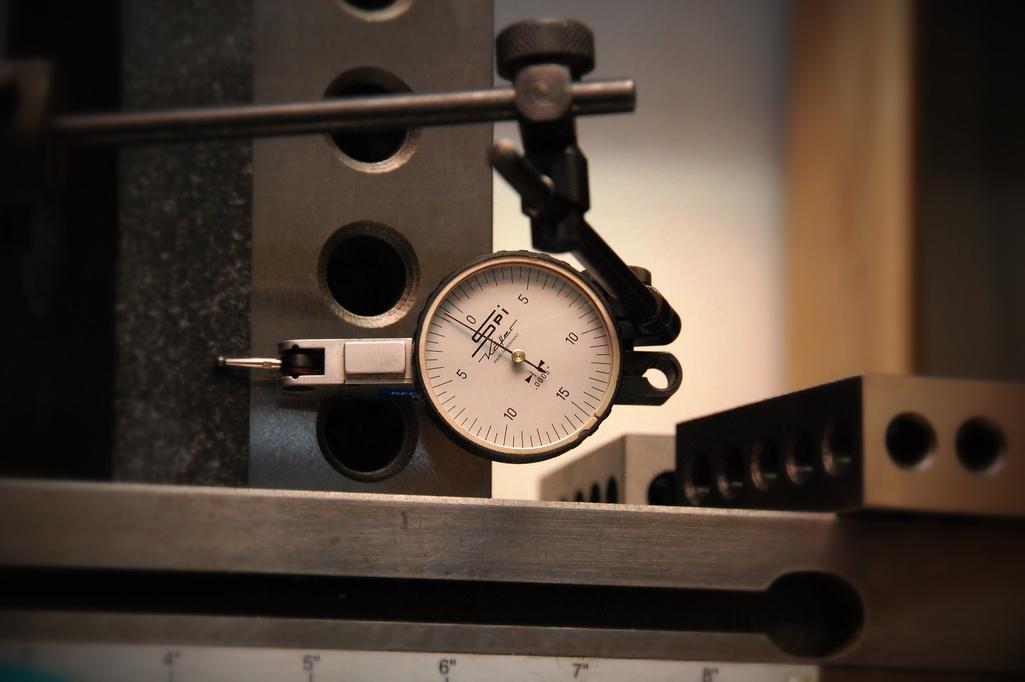
Next, the X axis. I actually trammed this in by loosening the head mount bolts and tapping the head with a soft hammer, so it rotated around the boss on the Z slide. Things moved a bit as I tightened the bolts, but by doing a cross-torquing pattern and going a little at a time, I got it to be within 0.0005″ over ~7.25″. Could do better, but it was just a quick 2 minute job. No sense in going nuts since I’ll have to take it apart to shim the fore and aft to fix the error above.
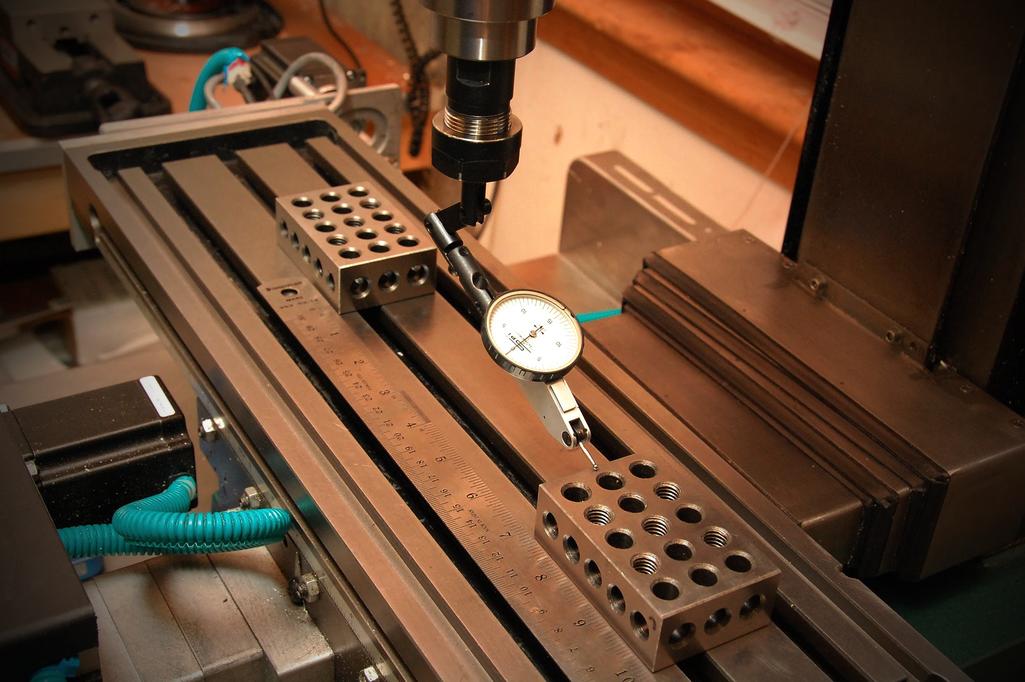
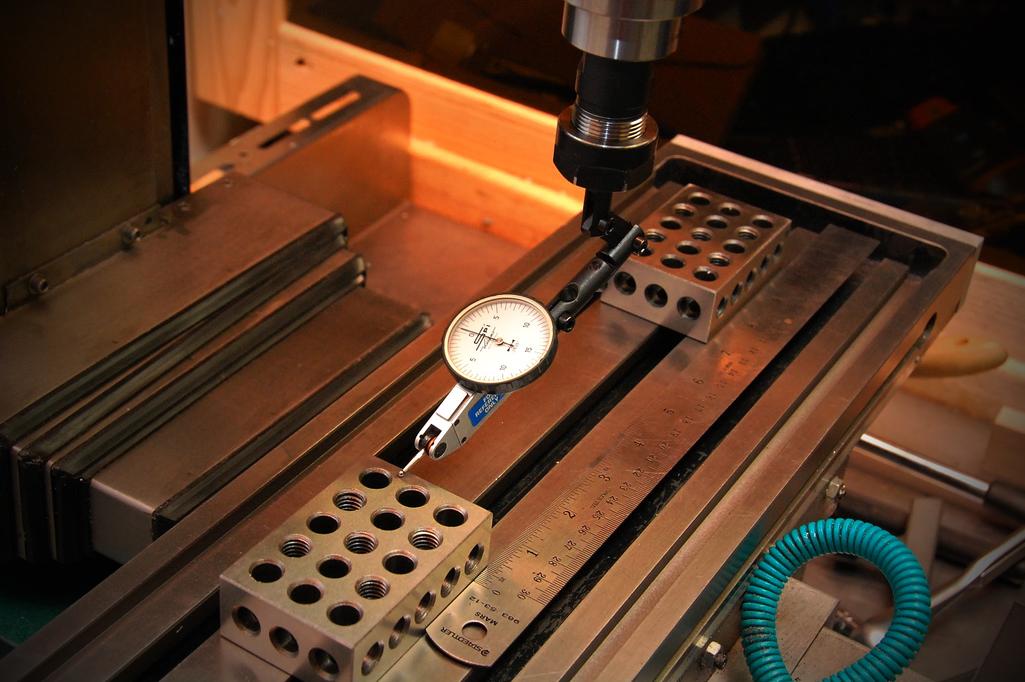
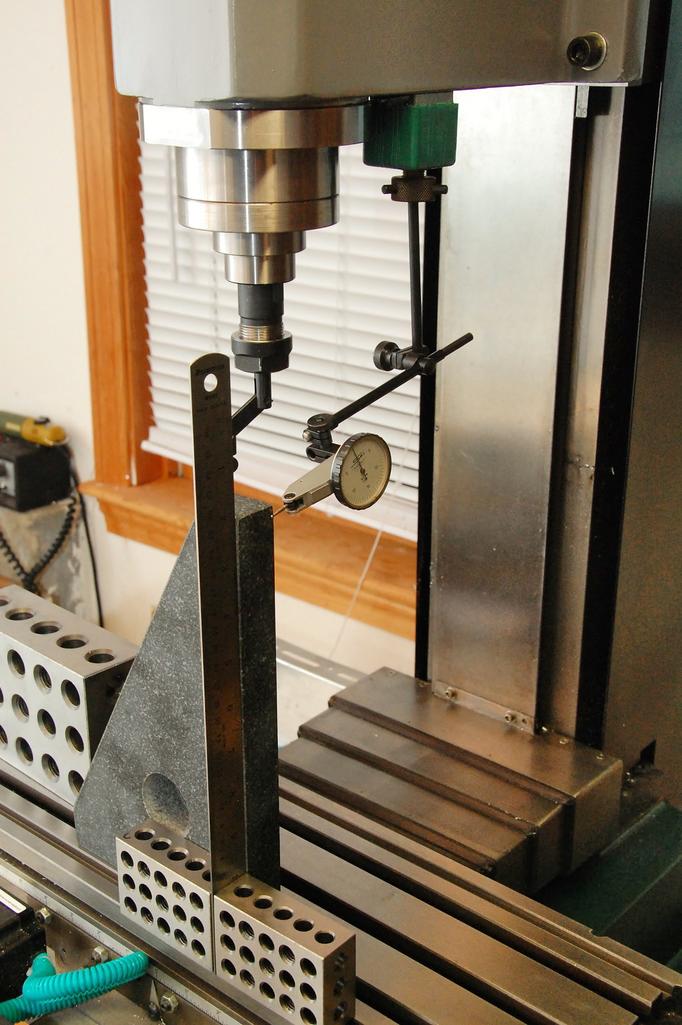
Next up, an attempt to see how the column tilt is looking. I used my granite square, mounted the indicator on a mag base on the head, and ran the head up and down with the Z stepper. The Y direction is actually pretty good as-is, it’s not even out 0.001″ over ~9″

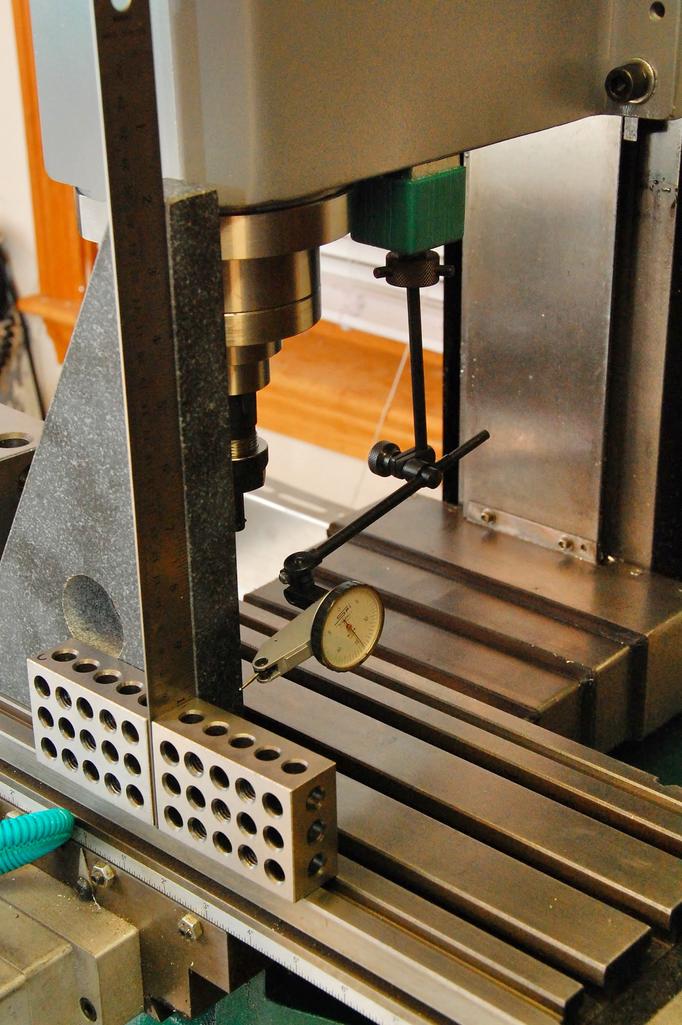
X axis isn’t so good though. Seems like the whole column is tilted to the left, I’m measuring 0.015″ over about 8″. Guess I’ll need to shim up the left side.
I plan to do the measurements again, then take some other measurements so I can do some trig to get some approximate values for shimming. I picked up a shim assortment from McMaster a few weeks ago, so I should be good to try once I come up with some numbers.
Perhaps that 0.015″ I’m seeing in the left-right direction is not column tilt, but some combination of gib fit and wear in the ways. Maybe I should also expect to also see fore-aft movement if this is the case?
I’ll have to think a bit more to see if there’s a way I can determine the source of it, though there’s really little harm in shimming up the column anyway. Easy to undo if I determine it’s something else.
I do have that new, unfinished gib sitting on the shelf. I should really get that thing fitted before I go crazy with tramming anyway.


