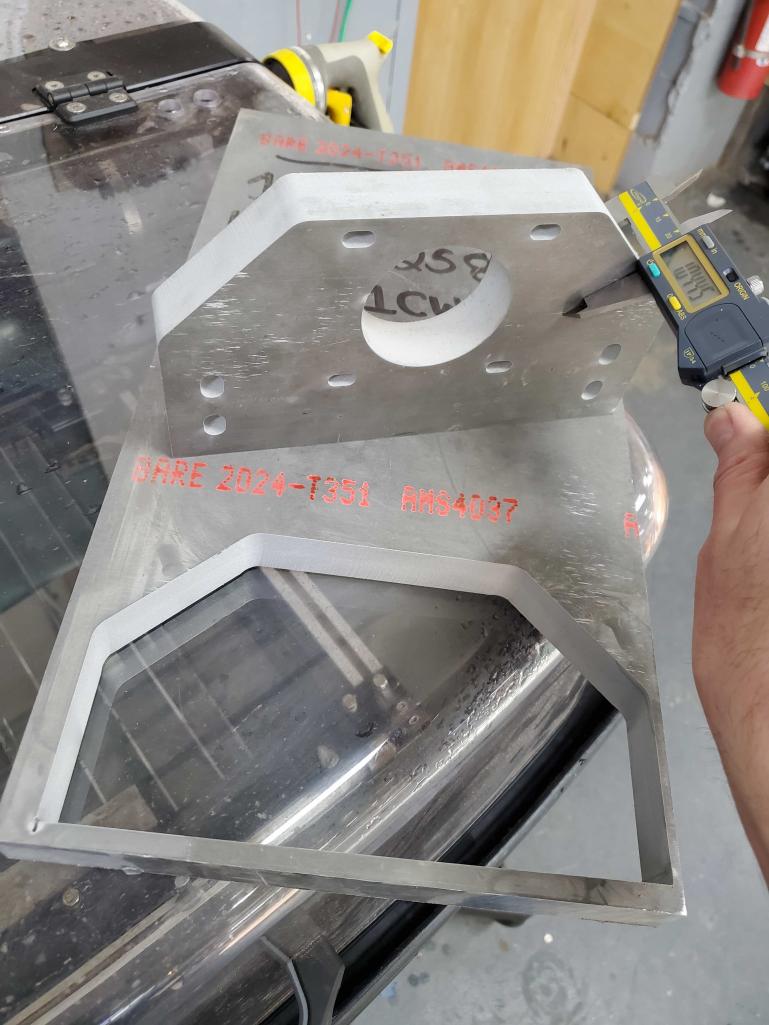
Now onto making the stepper mounting plate for the new Z axis stepper motor.
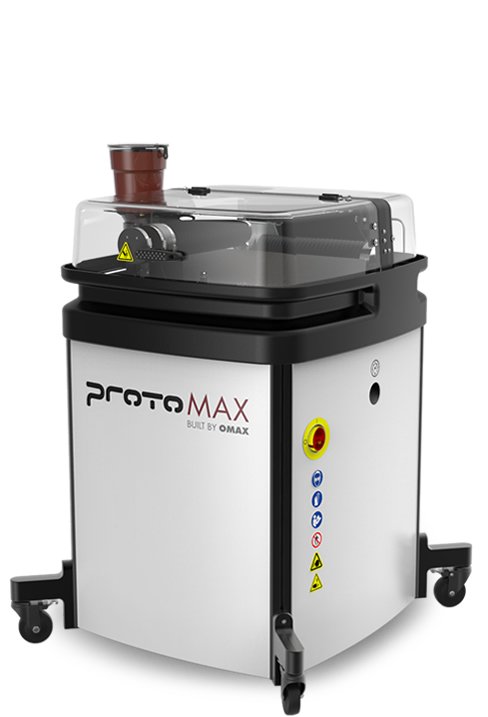
We recently got a fun new toy at our makerspace, a ProtoMax waterjet. Limited to cutting in a 12″ x 12″ area, up to 1″ thick. It’s a wee baby waterjet to be sure, but perfect for a project like this.
I was lucky to be able to do an early test of the new machine to rough cut the blank for the stepper mount. I planned to do finish machining on our Tormach 1100 afterwards.
Near the beginning of this quest, I bought a piece of 1″ thick 2024 plate to make the part that mounts the head to the linear rail blocks. The piece was large enough that I could also make this stepper mount from it. I probably should have found some thinner stock – 0.500″ would have been fine, but I didn’t have anything convenient on hand. Besides, this would be a good test cut, since I intend to use the waterjet to rough the head mount plate as well. It also allowed us to do some stress testing of the new machine in the process.
This took 81 minutes to cut, but that’s mostly just babysitting the machine to make sure it doesn’t run out of garnet, and to check that there are no other problems. We did find a few along the way, such as our water pressure cutting out when someone turned on a garden hose. This flagged an alarm, but the piece was able to be completed anyway.
Cut quality was excellent, far better than I expected. The taper was also quite good for such a thick part, and a simple 2 axis waterjet.
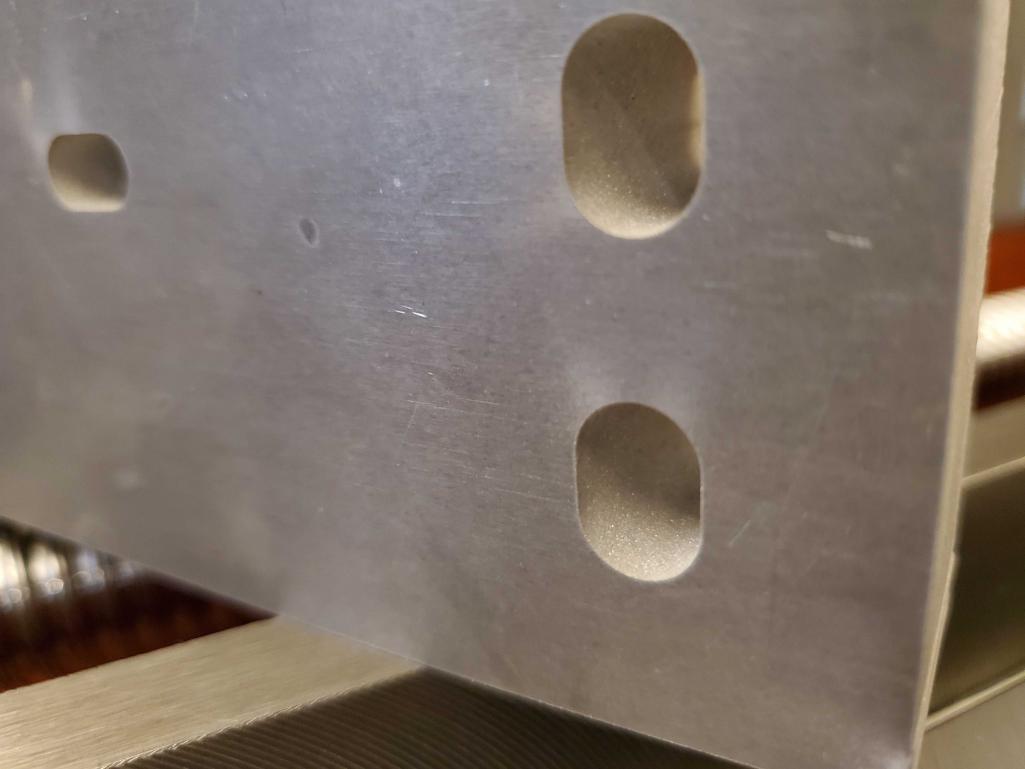
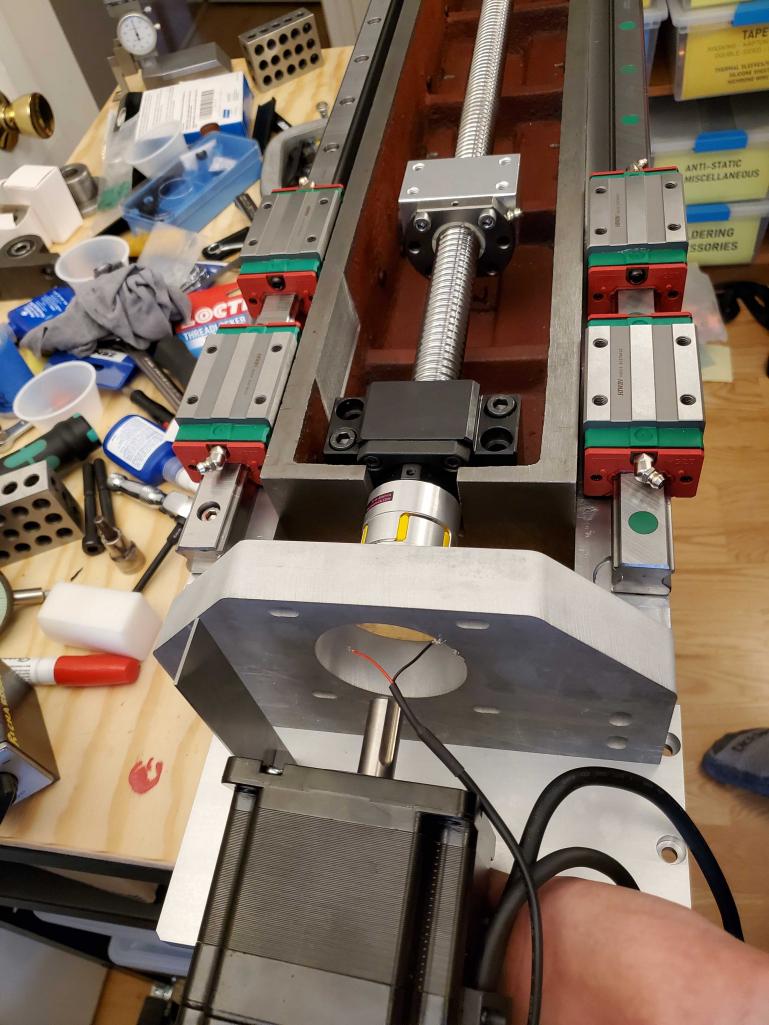
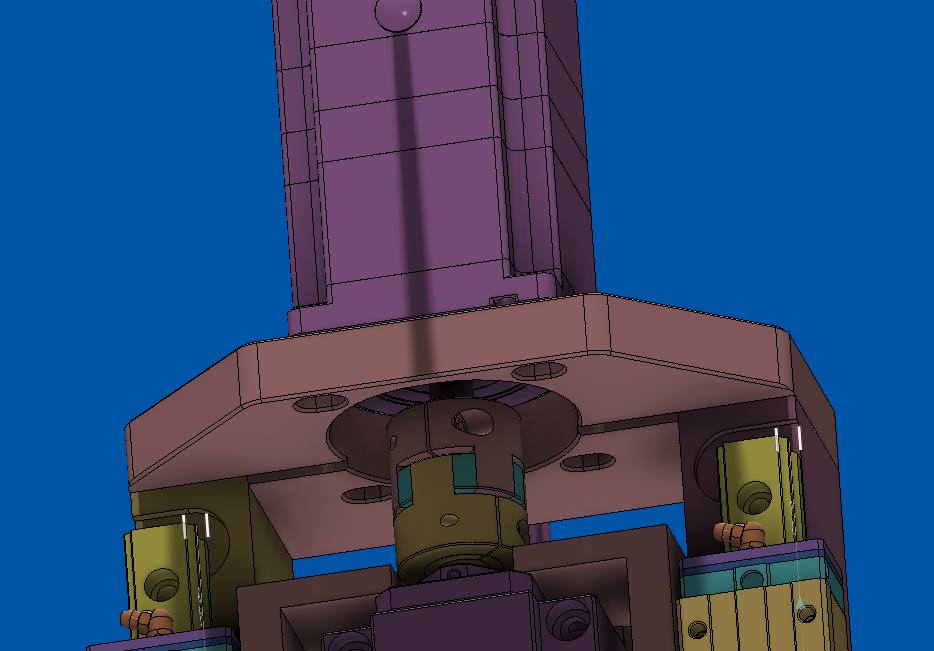
This plate is designed to allow two-axis adjustment via slots, to make the stepper and ball screw shafts concentric. Coaxial error can be corrected by shimming if necessary, if it’s outside of what the coupler can handle.