Project Frankenmill – Part 27, So Shiny

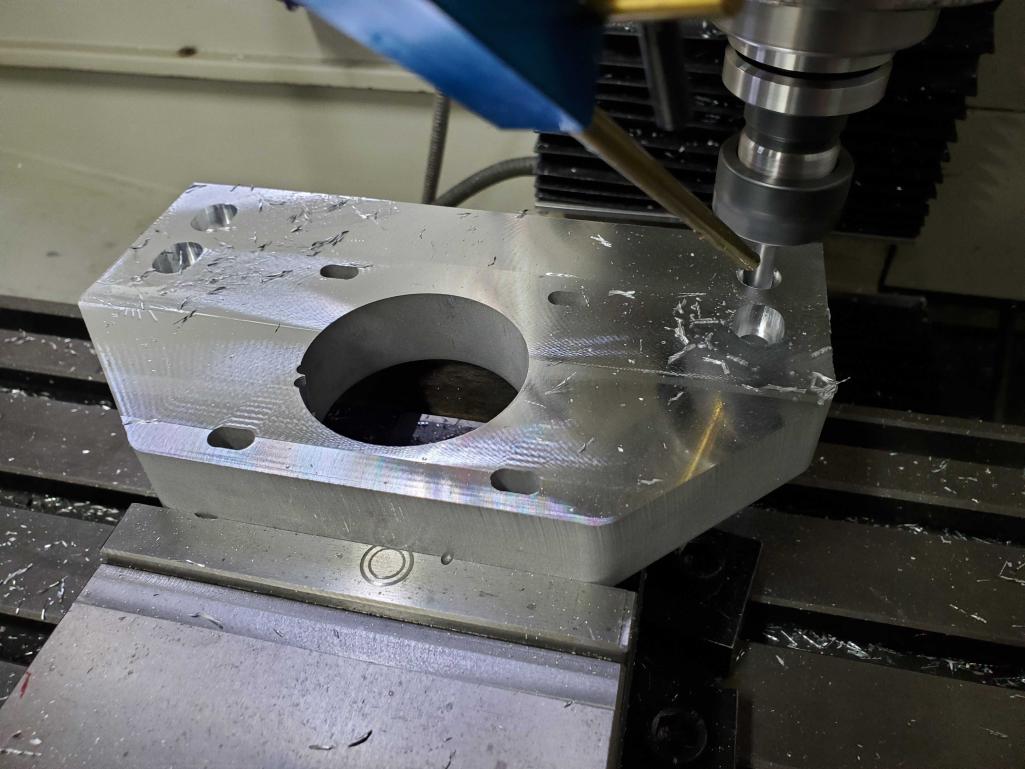
Had some time the other evening to do the final machining on the new stepper mount, on the Tormach 1100. Being able to rough cut it on the waterjet made fixturing so much easier. Two setups, both held in the vise with the back jaw moved to the outside for extra capacity. Used our new Hallmark probe to probe the hole center for origin. Quick and easy!

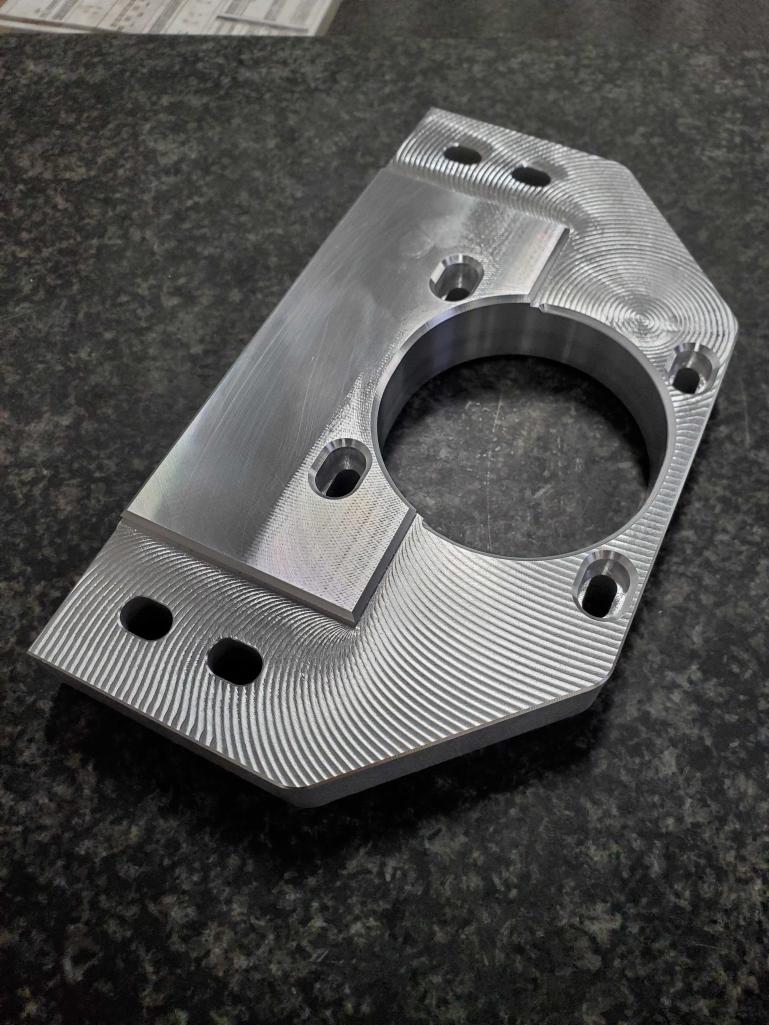
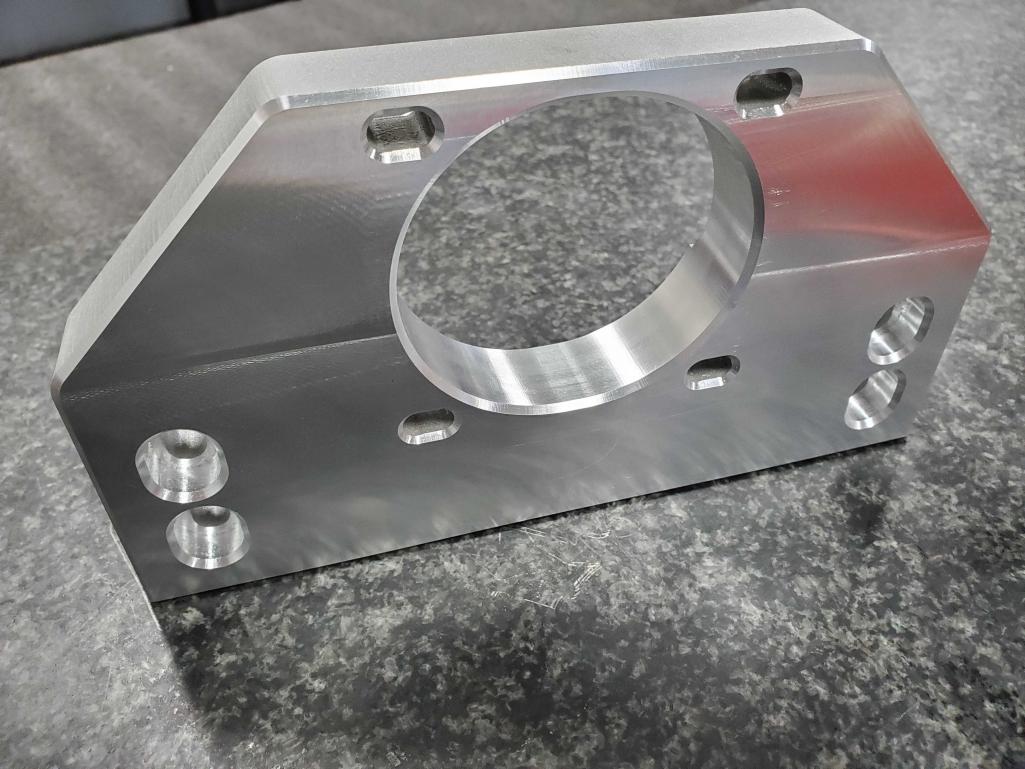
The resulting part came out pretty nice! It’s certainly shiny.

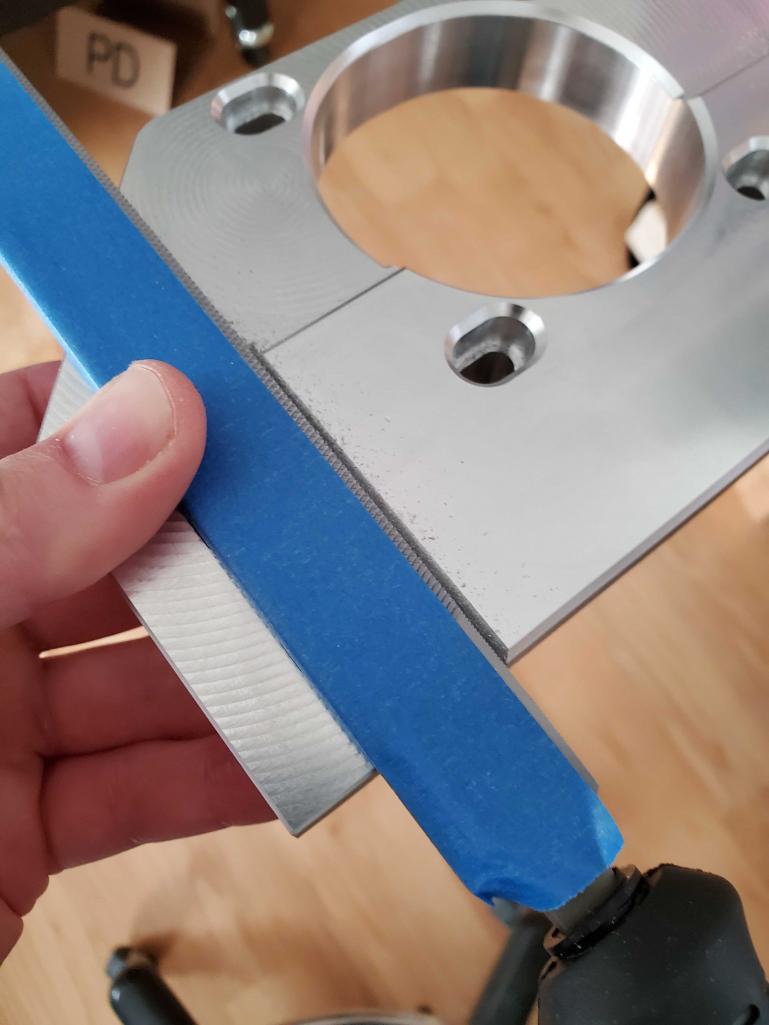
After machining, I needed to do a little bit of fitment work. Had to remove about 0.004″ (~0.1mm) on each side. Wrapped the broad side of the file in masking tape, exposing only the skinny edge – worked great!

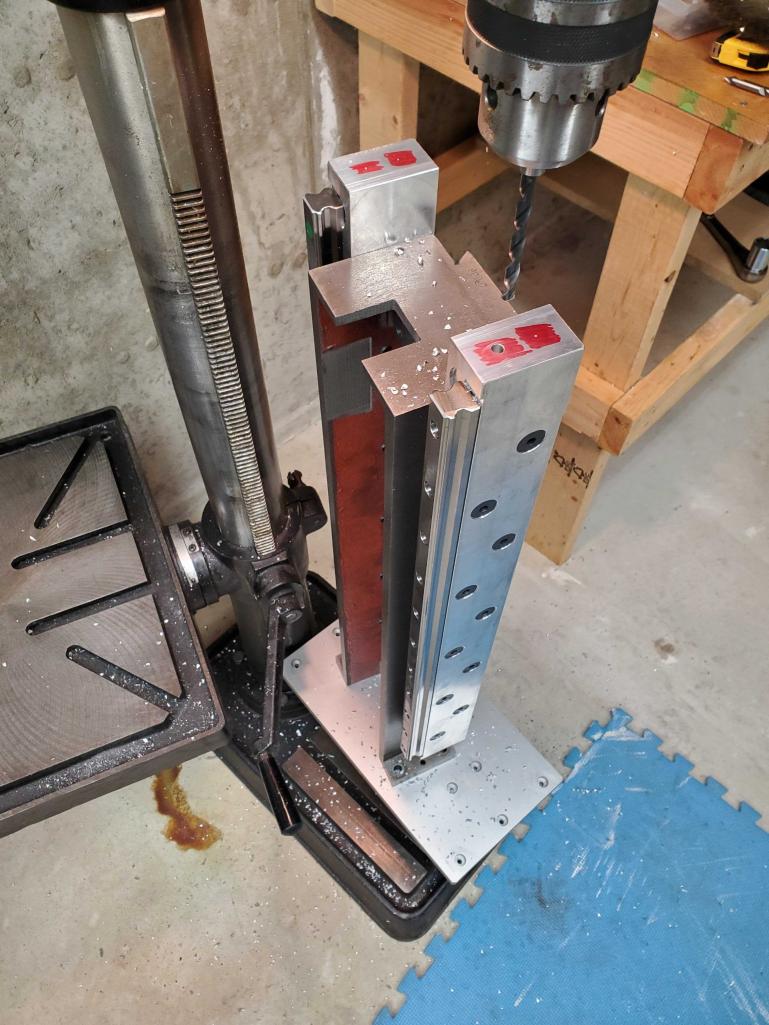
And in order to mount the new plate to the column, I had to get creative with a drill press setup. I needed to drill four holes in the tops of the new aluminum side bars. A bit wonky, but it worked, more or less.

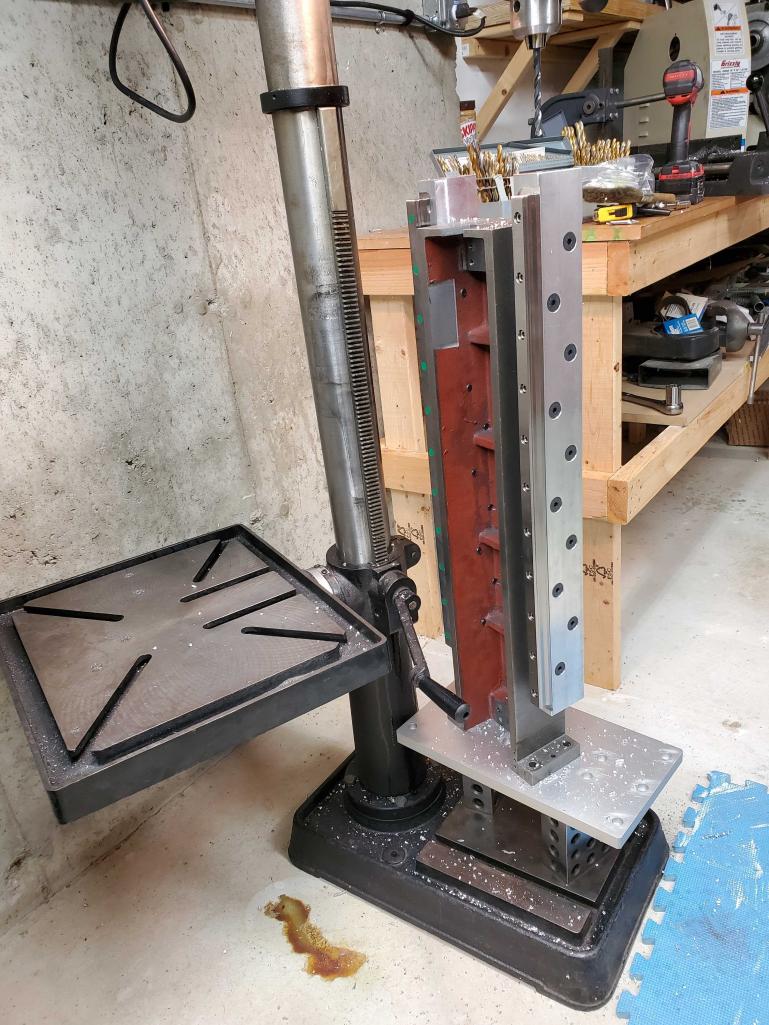
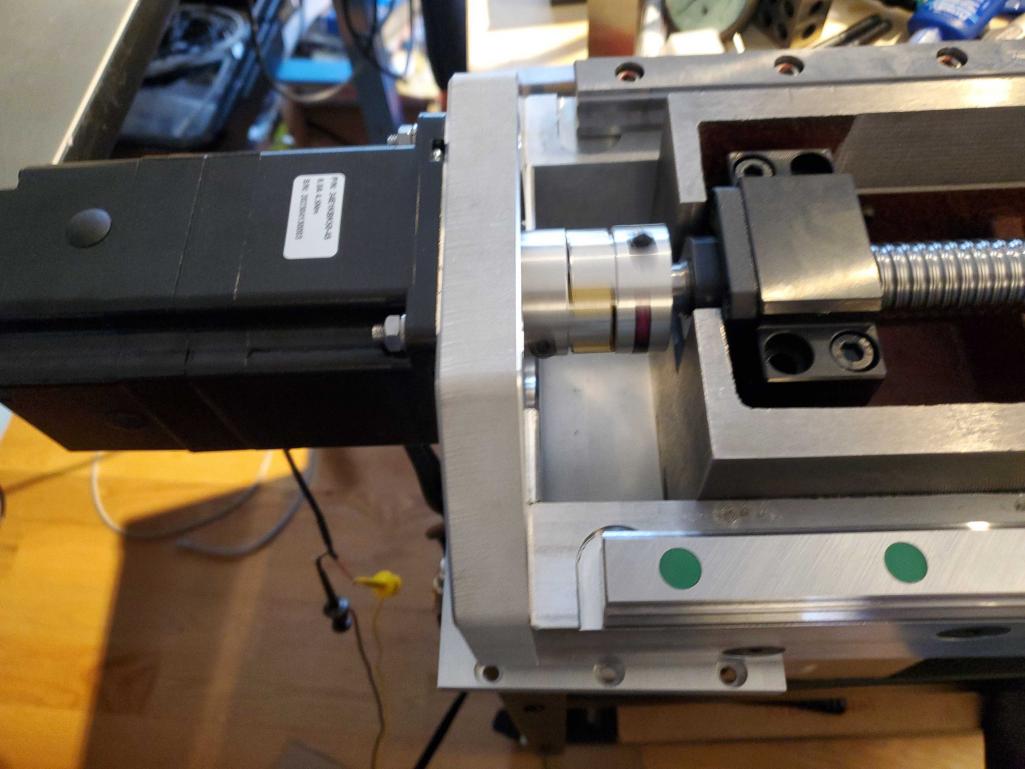
And here is the new Z stepper plate roughly bolted up and spinning the ball screw!

Related Posts

Project Frankenmill – Part 33, Claustrophobia

Final positions for the DIN rails and wire management have been nailed down. It’s much more tight than one should really wire a panel like this, but…

Project Frankenmill – Part 32, You’re Gonna Need a Bigger Boat

It seems to be a rule that no matter what size electronics enclosure you have, you will always have at least 10% more stuff that you need…

Project Frankenmill – Part 31, Full Pull

While I still haven’t gotten into the detail of squaring and tramming, I’ve been intensely curious to see if the new Z axis would be happier with…

Project Frankenmill – Alpha and Omega

Since 2009, I’ve been messing around with CNC machines. I started out with a small manual milling machine from Grizzly, and converted it to CNC using a…

Project Frankenmill – Part 30, Do You Even Lift Bro?

Hauled the column back down to the shop and mounted it back on the machine. Sure is a lot heavier than it used to be! Muscling things…

Project Frankenmill – Part 29, More Machining and Motion

Had some productive time in the shop during the holiday. First step was to make the counterbores for the M6 cap screws a bit deeper. Easy to…

Leave a Reply

Your email address will not be published. Required fields are marked *