It’s been a long, long time since I’ve done a PC board layout. Like, probably on the order of ten years. I think I may have done one design for work somewhere in the last ten years, but as far as I remember, the last thing I did for my own edification was the 6-layer CAVE MP3 player main control board.
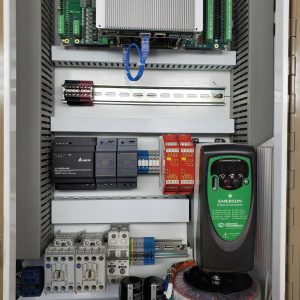
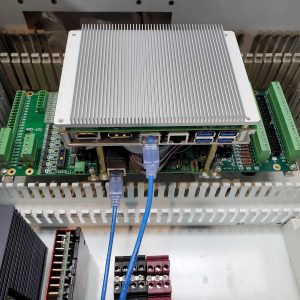
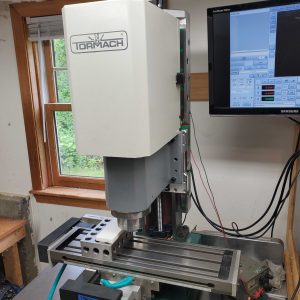
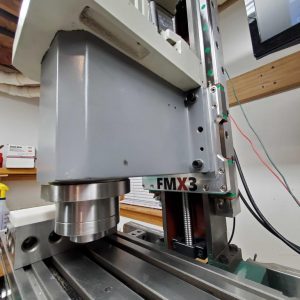
It’s winter time now, and my attentions have turned from being outside on the bike to tinkering in the shop again. The CNC milling machine conversion has long since had a very temporary and ratty wiring situation. It was good enough to get it up and running, but it’s kind of an embarassment. It’s time to clean it up and do it properly, and also implement some new stuff along the way.
One cool thing that has changed in recent years is the availability of so-called “batch PCB” outfits, which are aimed at hobbyists. They take a bunch of hobbyist PCB designs, stick them all together on one pallet and send them out to be made. Generally for smaller boards, this ends up being very inexpensive, even compared to the formerly affordable prices that companies like Advanced Circuits pioneered a decade ago.
These batch PCB places tend not to have setup fees, and are optimized for simple, low-tech 2 layer boards. Many of them send out the boards to China to be made, and it ends up taking several weeks to get them back. Ladyada has a nice list of different places that are available, with a review of each. I decided to give the Dorkbot batch PCB service a try, since the boards are domestically made and look to be of high quality.
 Since it’s been ages since I’ve done a layout, I figured I should start with something dirt simple and small to make sure I remember the workflow and can still produce valid Gerber output. So, here I present the first small utility board in getting the CNC wiring under control: a small breakout that connects to the low voltage control terminals on the GeckoDrive stepper drivers that I use, and converts to a 10 pin dual header with lots of interspersed grounds. When I design the breakout board which will contain the bulk of the electronics, it will have several of these 10 pin headers on it, for connecting to up to 6 (probably) stepper drivers. My hope is to be able to run the mill with accessories like a rotary table or a tool changer, or possibly also run the lathe from the same control.
So this board is tiny. It’s just a hair over 1 square inch, which means it’ll cost me a whopping $5.25 to have 3 of these boards made. It’ll take a couple weeks, but what the heck?
Note: trying out an embedded Gerber viewer from Circuit People below!

The quality from Dorkbot is great. Immersion gold finish is hard to beat at that price. I think the guy is on vacation until mid January, though.
I have a bunch of boards from that particular service if you want to see once close up. I’ve had no issue getting my VLSOP (.5mm pad spacing) on them.
Hm, I hope he’s not on vacation… The web site claims there’s an order going out on January 2nd.
This is a super low tech board (it’s just a couple of connectors and a couple of resistors), so I expect no trouble.
Wow, it’s awesome living in the future.