[singlepic id=281 w=320 h=240 float=left]
With the new riding season upon us, I decided it was time to try to finish up my Pelican case motorcycle luggage project that I started last summer. When I left off, the cases could be easily mounted and removed from the Givi racks on the bike, but there was no locking at all, leaving the cases vulnerable to theft. I designed a locking cover for the assembly that would prevent the release latch from being pressed, keeping the cases secure on the bike.
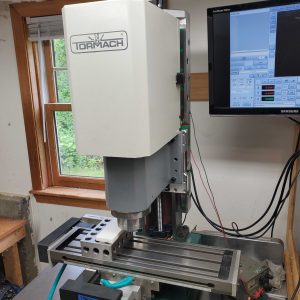
In a rush attempt to make the part last summer, I had created some pretty inefficient G-Code to run the part, and it was taking an extremely long time to complete. I wandered away from the machine for a minute to fetch a beverage, and unfortunately a piece of lexan I had been using as a chip guard fell over and bumped the emergency stop switch on the machine, so the part was lost. Fast forward many months to now; I tuned up the G-Code, and ran the first version of the part last night with much more success.
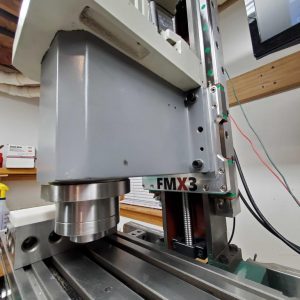
The part seems to work great, though I’m not thrilled with the finish I got. I’m still investigating the causes, but I think it was partly due to using a cheap 3/8″ endmill, and partly because I wasn’t doing any cooling so I was getting chip re-melt on the part. I think also possibly my mill being somewhat out of tram is causing more rubbing, which in turn causes more heat buildup and a worse finish.
[nggallery id=32]

Are you selling these? I would like to connect a pair of Pelican 1510’s to a 2011 FZ8.