Wow. It’s been almost a decade since my last update on this project.
Not long after I grafted the Tormach 770 head onto my X3, I ended up getting seriously involved in my local maker space. I helped us purchase a Tormach 1100 in 2016, and I taught CAM and CNC machining to members for a few years. Having access to the 1100 meant I had less need for my own machine at home, but I still used it occasionally, mostly when I didn’t feel like making the drive to use the 1100. But the flaws, particularly in the Z axis dovetail ways and poor gib fit, continued to plague the machine. I even posted about the poor Z situation in the earliest days of my CNC conversion. It’s been a problem for a long time.
I’ve been dusting off old projects lately, and I got the urge to continue where I left off all those years ago and see if I could pull off a linear rail conversion on the column to help this issue. On the plus side, I’ve improved my machining and design skills over the last decade. On the minus side – is an old converted X3 even worth the time or money anymore in 2023? Probably not.
This milling machine has been a great platform for learning, and I already have it in my shop. Why not try to improve it and build more skills along the way? The alternative path I was considering was a new conversion of a different machine, or even scratch-building a machine. Both more ambitious projects for sure.
Another plus is that I now have access to a lot of machines that I did not back in 2013 – the aforementioned Tormach 1100, a ProtoTrak BridgePort mill, and an ProtoMax waterjet… This would be a good project to put those all to use.
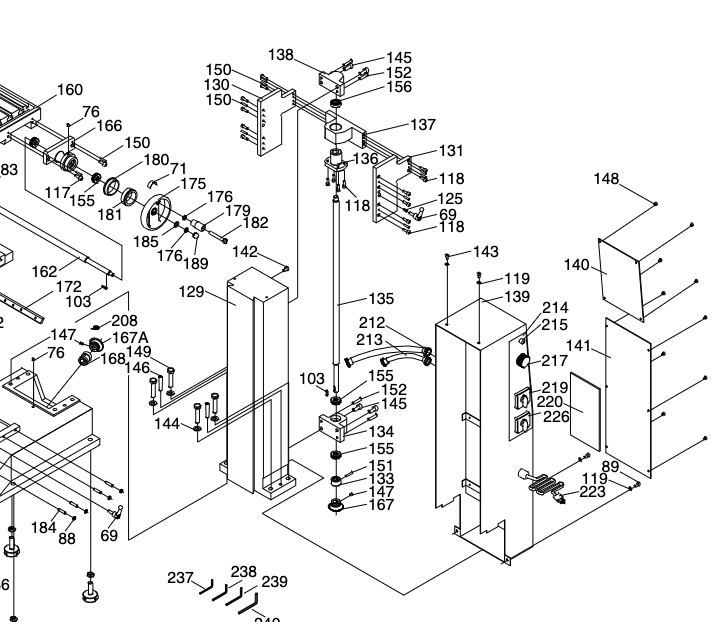
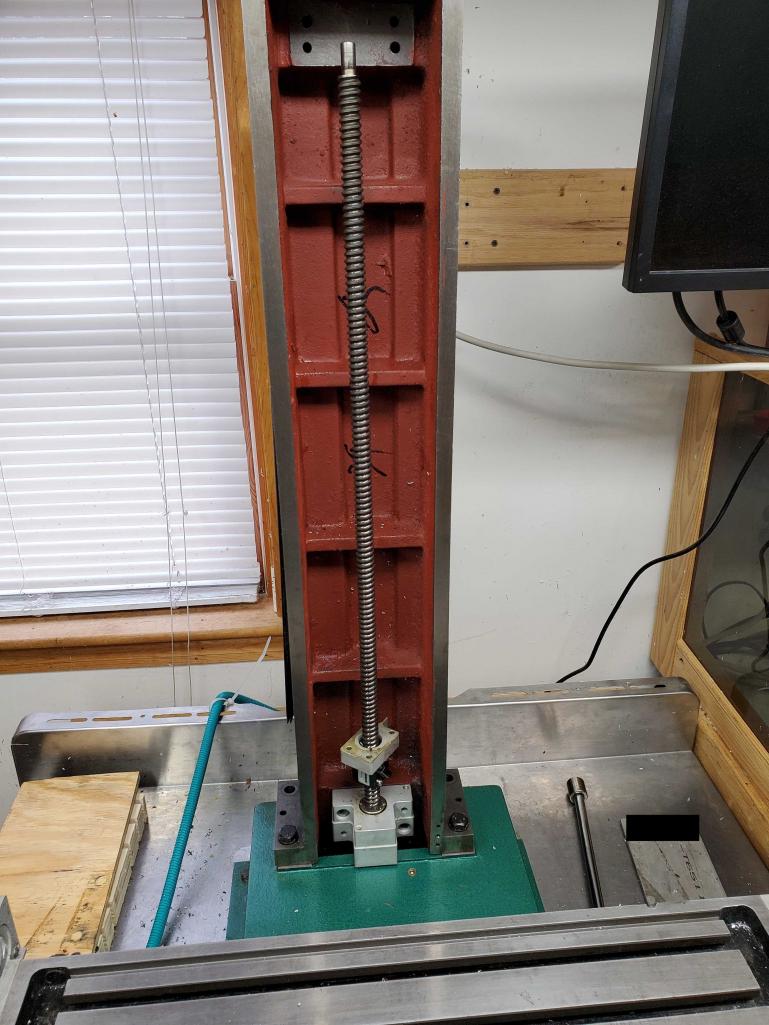
A widely known flaw of the X3 is the poorly designed Z axis drive setup, with the leadscrew/ballscrew located in the back of the column and plates that wrap around the column to drive the slide in the ways on the front of the column. This, combined with the generally poor fit of the dovetails and gib, create a situation where the Z gib adjusters must be left fairly loose to avoid binding. The ball screw tends to lead the head due to the cantilevered nature of the design, and with the loose gib, it tends to make the head “nod,” or rock in the slideways when Z moves. It’s a major contributor to poor surface finish.
Here are a few photos from my initial conversion in 2009.
I briefly considered making a whole new column from scratch, but abandoned that idea in favor of modifying the existing one. And instead of milling off the existing dovetails, as is sometimes done, I got to thinking about spinning the column around 180 degrees and mounting rails to the column sides somehow.
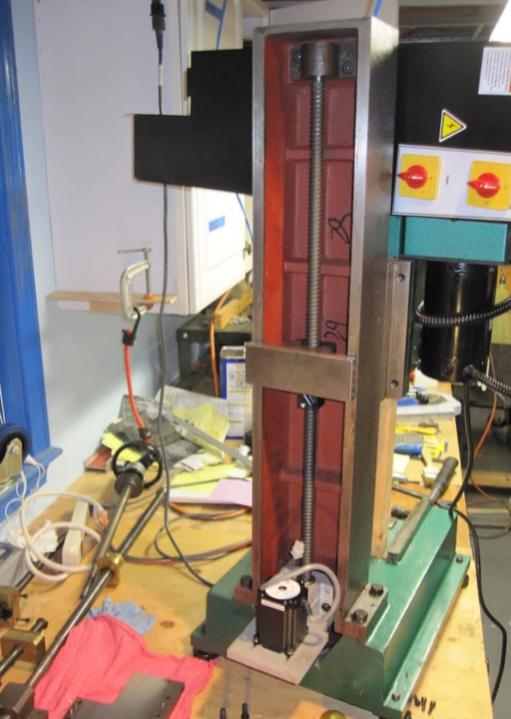
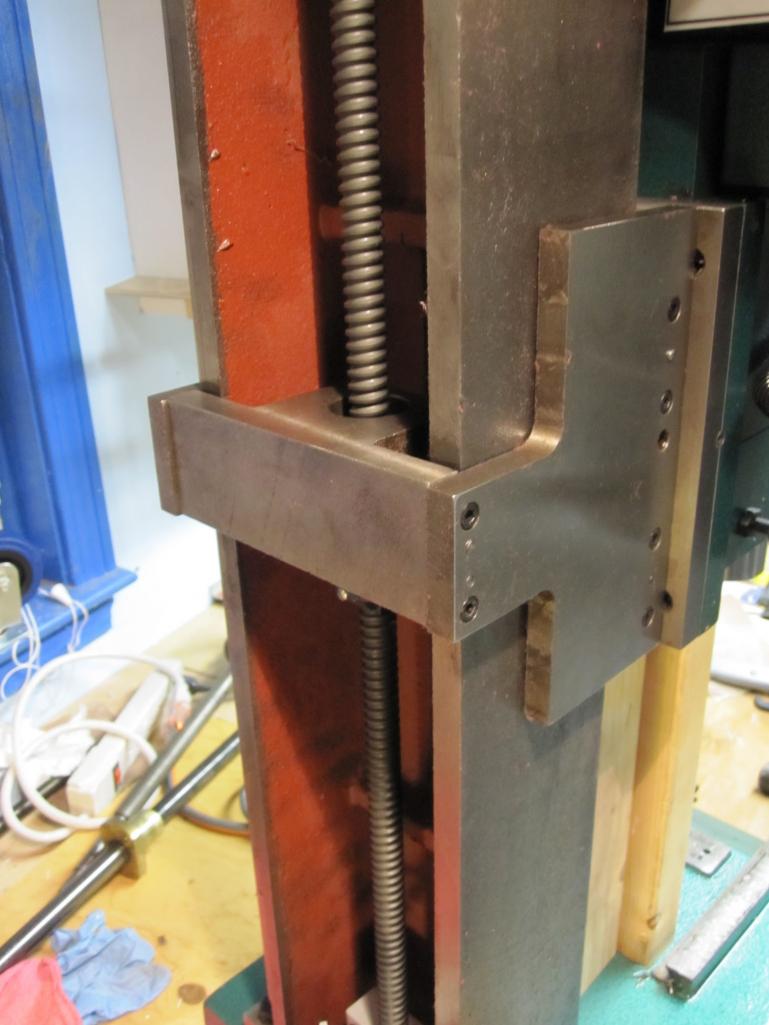
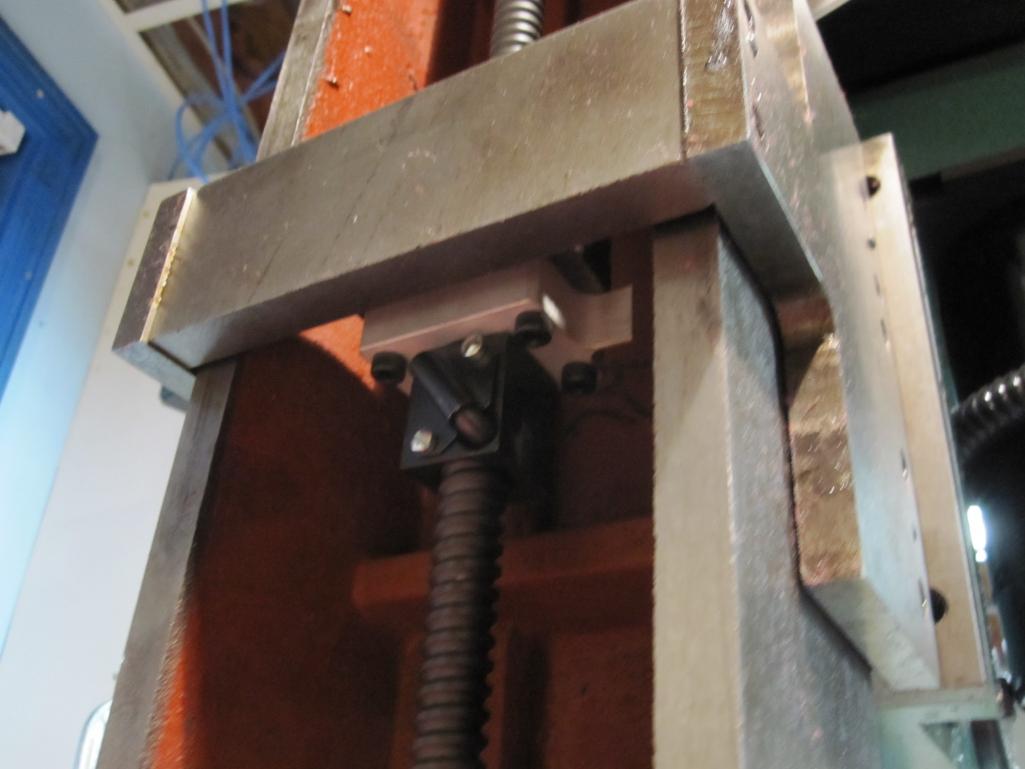
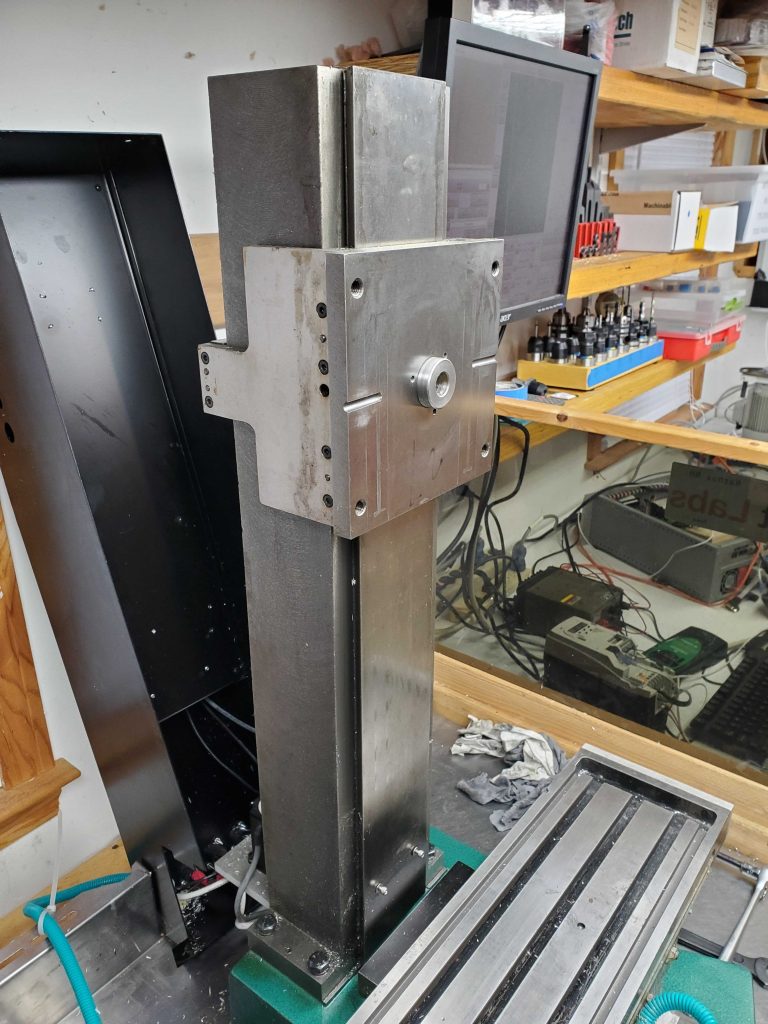
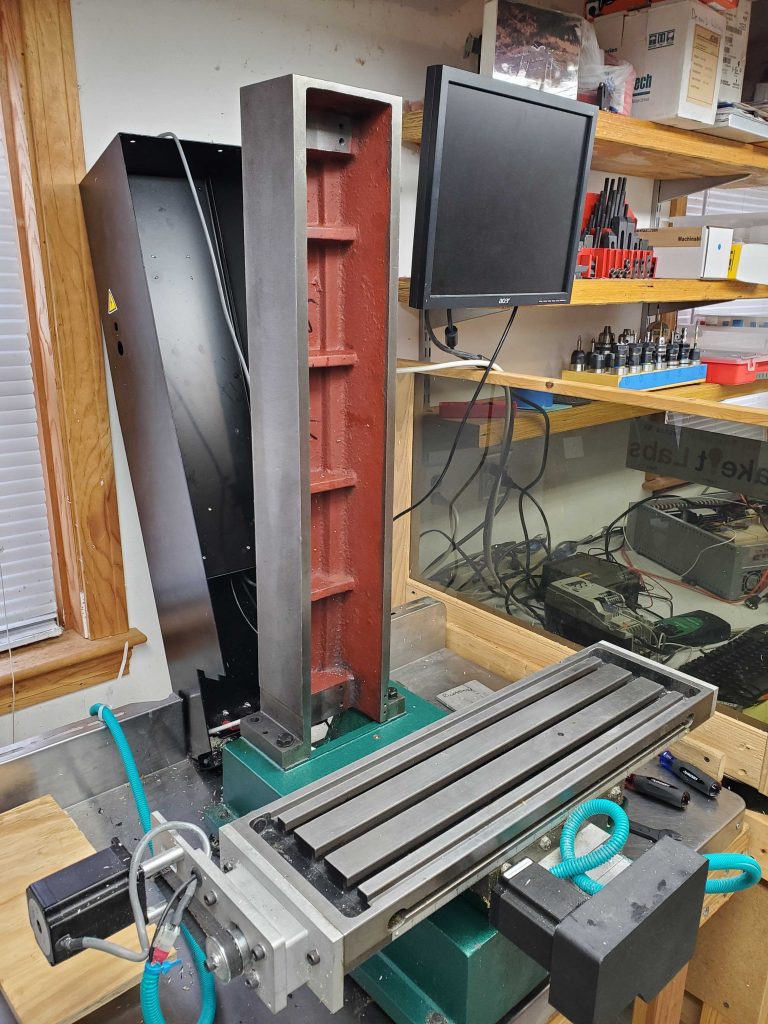
Disassembly and removal of the head was quick and easy, leaving only the pieces of the dovetail way Z motion setup. A quick flip of the column reveals what we’re working with.
Some questions to answer…
- how/where to mount linear rails
- what size linear rails to use?
- re-use old Thompson 16mm dia ballscrew or upgrade?
- new location for Z axis motor?
- possible to improve torsional rigidity of the “open box” design of the original column by partially closing it in?
- possible to improve overall rigidity by improving/expanding mounting surfaces between column and base? adding stiffening members to the column itself?


